Newsletter Subscribe
Enter your email address below and subscribe to our newsletter
Enter your email address below and subscribe to our newsletter

Have you ever meticulously packed a box with your most fragile, irreplaceable family heirlooms, sealed it with enough tape to survive re-entry from orbit, and labeled it “FRAGILE: GRANDMA’S CHINA,” only to wonder later… did I remember to put the china in there?
Or is it just a perfectly sealed box of packing peanuts and good intentions?
That little knot of anxiety in your stomach is exactly what millions of us feel about our digital memories.
We see the cheerful “Backup Complete!” message pop up on our phone or computer and breathe a sigh of relief.
We’ve done our digital duty. The photos of the grandkids’ first steps, the scanned letters from decades ago, the contact list that holds our entire social universe—it’s all safe.
Or is it?
Trusting that little notification without ever checking inside is like mailing that box without peeking.
The message might tell you the backup process finished, but it doesn’t tell you if the files inside are readable, complete, or even there at all.
This guide is your friendly digital detective kit. We’re going to peek inside that box together, make sure Grandma’s china is safe, and give you the peace of mind that comes from knowing—not just hoping—that your memories are secure.
Let’s get one thing straight right away, because it’s the most important concept in this whole conversation. When your device says “Backup Complete,” it’s telling you that it finished its to-do list.
It tried to copy your files from Point A (your device) to Point B (the cloud or an external drive).
But it doesn’t tell you about the quality of that trip. Did a file get corrupted along the way, like a teacup getting cracked in transit? Did it somehow miss a whole folder of photos? Think of it this way: getting a delivery confirmation for a package is great, but it’s not the same as opening the box and seeing your item safe and sound.
Backup verification is the act of opening that digital box. It’s the simple process of confirming three things:

A backup completion message does not guarantee your memories are safe—you must verify the backup to confirm data integrity and peace of mind.
You don’t need a magnifying glass or a deerstalker hat for this. Just a few minutes and a healthy dose of curiosity. We’ll start with the basics that apply to almost any device and then dig into the specifics.
No matter what device you use, these two quick checks are your starting point. Think of them as feeling your computer’s forehead for a fever.
Check the “Last Backup” Date: This is the easiest step. Your device’s settings will tell you the exact date and time of the last successful backup. If it says last week and you took 50 photos at a birthday party yesterday, you know those new memories aren’t safe yet.
Settings > [Your Name] > iCloud > iCloud Backup. It will say “Last successful backup:” right there.Settings > Google > Backup. You should see a status of when things were last backed up. (Note: Menus can vary slightly between Android phones, but it’s usually under “Google” or “Accounts and backup”).Settings > Update & Security > Backup. You’ll see the status of your File History drive.Check the Storage Space: If you’re backing up to a cloud service like iCloud or Google Drive, log into your account on a web browser. Do you see the storage bar filling up? If your backup is a few gigabytes in size and your cloud storage shows nearly empty, something is fishy.
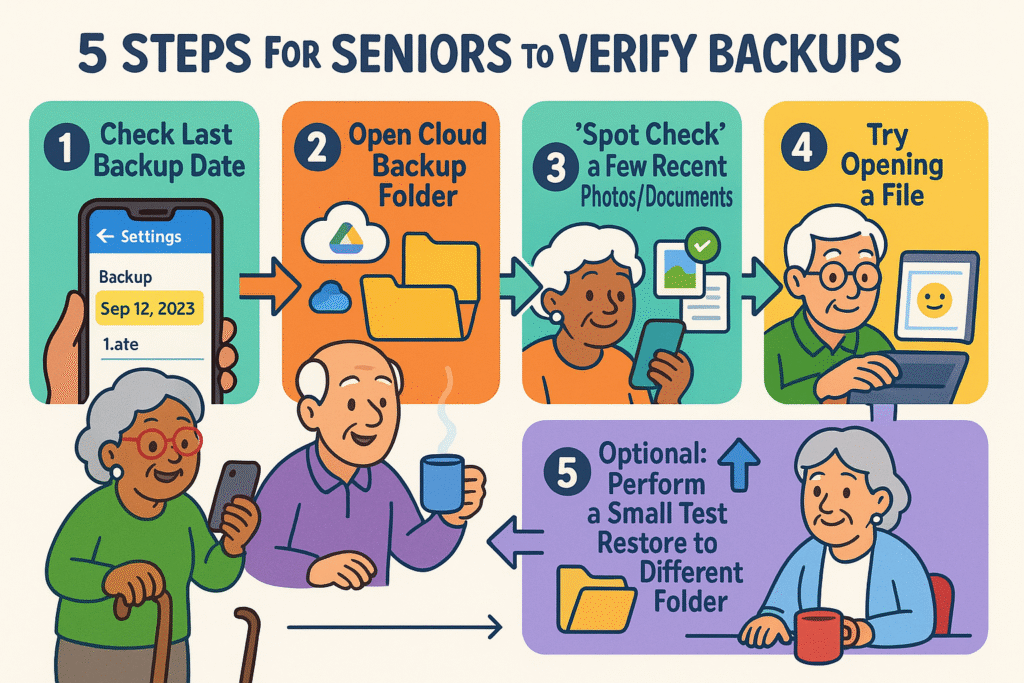
Follow these simple steps to confidently verify your device backups, ensuring that your precious photos and documents are safely stored and accessible when needed.
Now it’s time to actually peek inside the box. The goal here isn’t to check every single file. That would take forever. You just want to grab a few random items to make sure they look okay.
The beauty of cloud backups is that you can usually access your files from any web browser. This is the easiest way to spot-check.
If you back up to an external drive connected to your computer (using Windows File History or Mac’s Time Machine), the process is similar.
Okay, you’ve checked the date and spot-checked some files. You’re feeling 99% confident. Want to get to 100%? Try a mock restore.
This sounds scarier than it is. We are NOT erasing your device. A mock restore is simply a practice run. It’s like a fire drill for your data. You’re just proving you can get a file out of the backup when you need it.
Here’s the simple, safe way to do it:
If it opens, congratulations! You’ve just proven your backup works from start to finish. You can now delete the test folder. Doing this once every few months is the best way to sleep soundly, knowing your digital life is truly protected.
Q: What’s the difference between syncing and backing up?
A: This is a big one! Syncing makes your files the same across all devices. If you delete a photo on your phone, it gets deleted from your synced computer, too. A backup is a separate safety copy. If you delete a photo from your phone, it should still be safe in your backup from yesterday.
Q: How often should I check my backup?
A: A quick “first glance” check of the date once a week is a great habit. A more thorough “spot-check” once a month is even better. And performing a “mock restore” once every six months will make you a backup champion.
Q: My backup failed! What are the most common reasons?
A: Don’t panic! It’s usually one of three things:
Q: What if I check my backup and a file is missing or won’t open?
A: This is exactly why we verify! First, check if the file exists and works on your original device. If it does, try running a new backup immediately. If the problem persists, it may be time to contact support for your device or backup service.
Keeping your memories safe doesn’t have to be a source of anxiety. It’s a simple routine, like checking the oil in your car or watering the plants. By turning these steps into a habit, you’re not just hoarding files; you’re protecting your story.
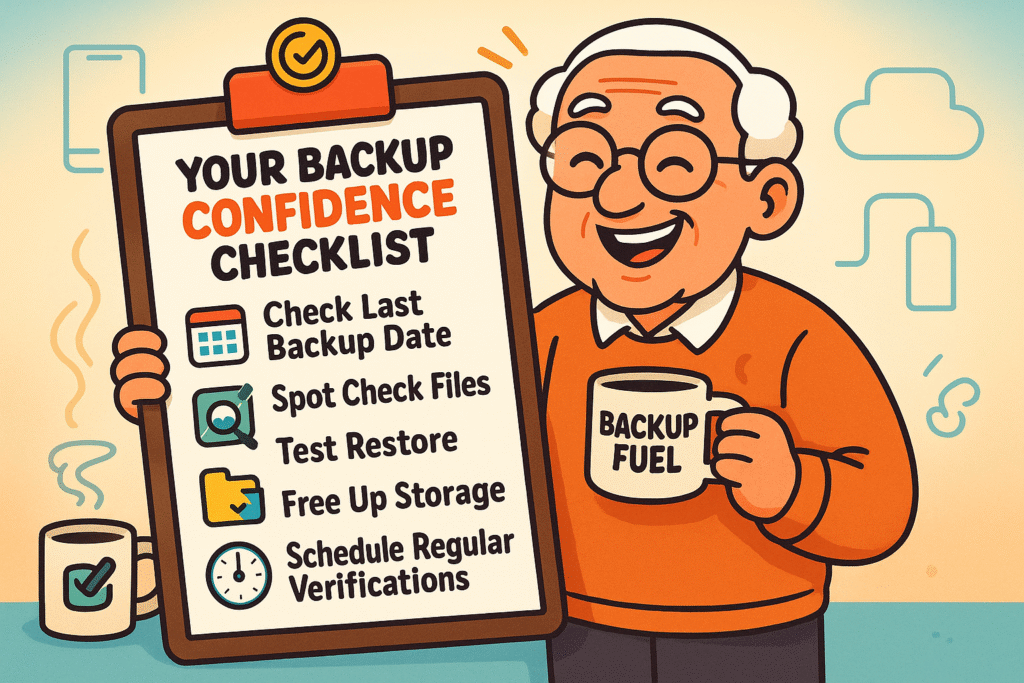
Keep this Backup Confidence Checklist handy to regularly verify your backups and protect your treasured memories with simple, effective steps.
Set a reminder on your calendar, put a sticky note on your monitor—whatever it takes. A few minutes of checking each month buys you priceless peace of mind, ensuring that your digital shoebox of memories will be there for you when you want to look through it.