Newsletter Subscribe
Enter your email address below and subscribe to our newsletter

Listen up iPhone users. Seriously. The info here can be truly lifesaving.
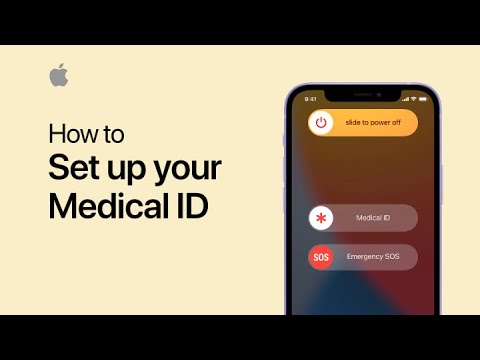
It’s about setting up Medical ID on your iPhone.
Medical ID is a feature that stores your essential health information, like allergies, medical conditions, medications, and emergency contacts.
Even if your phone is locked, first responders can access this info to provide you with the right care quickly.
It’s like having a trusted friend who knows all your important health details, ready to speak up for you when you can’t. Setting it up is quick and easy, ensuring that your vital information is always at hand in case of an emergency.
I’m not going to tell you why you should set this up. Instead, I’m going to let an ER doc do it. This is what the doctor said when someone asked about it in an online forum:
I’m a doctor and have used it multiple times in the emergency room. When I used it, it was because the patient was brought in by ambulance and was disoriented, intoxicated, or unconscious. It helped me identify them so I could look them up in our medical record system and figure out if they had other medical problems that needed to be considered, like diabetes, heart failure, or medication allergies.
It also helped me figure out if there were family members I could call for medical decision making and updates. I think it’s a great feature of the iPhone; mine is filled out and I told all of my family members to fill theirs out as well.
Before we dive into the steps, let’s touch on the small downsides. First, there are privacy concerns of having this information on your phone. Since Medical ID information can be accessed from your lock screen, anyone who finds your phone can see your health details. This might include sensitive information you’d rather keep private.
Second, there could be an issue with outdated information. If you forget to update your Medical ID when your health changes, first responders might get the wrong information. For example, if you start a new medication or develop a new allergy, and you don’t update your Medical ID, it could lead to confusion or incorrect treatment.
So, if you use it, be sure to keep it up to date!
Alright, let’s get down to the brass tacks here and get Medical ID set up on your iPhone!
(Note: Tech companies love rearranging things. If the instructions below aren’t exact, the tech fairies have probably moved things around. Try searching for the setting on your device. If that doesn’t work, ask a trusted friend or family member for help, or do a quick web search for instructions using your device model and software version.)
And there you have it, folks. Your iPhone is now more than just a device for funny cat videos and endless games of Candy Crush. It’s a tiny, life-saving superhero in your pocket.
Stay safe, stay healthy, and maybe give your iPhone a little thank you for being so darn helpful!