Newsletter Subscribe
Enter your email address below and subscribe to our newsletter
Enter your email address below and subscribe to our newsletter
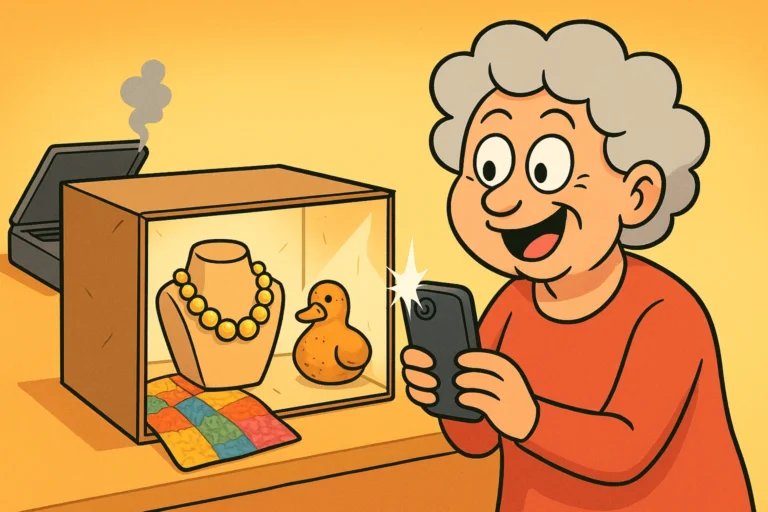
You’ve finally done it. You’ve spent the last three months feeding your family history into a high-speed scanner, one dusty shoebox at a time. You have successfully immortalized everything: your wedding photos, your kids’ first steps, and approximately 400 blurry pictures of a duck pond from a vacation in 1986.
The hard part is over, right? The digital files are safe in the cloud"The cloud" refers to storage and services that are accessed over the internet instead of being stor... More. But now you are standing in the middle of your living room, staring at the leaning tower of physical boxes you just scanned.
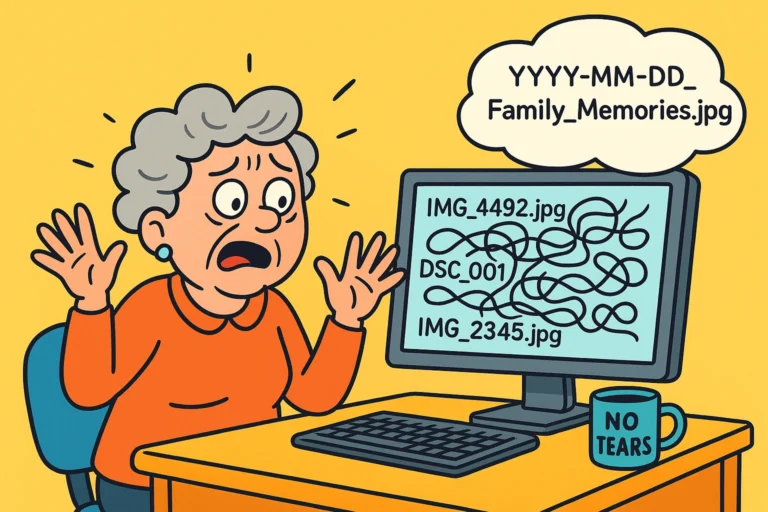
Suddenly, a wave of panic sets in. You can’t just throw them away. Throwing away a photo feels suspiciously like throwing away a relative. If you toss that picture of Great-Aunt Mildred, does she cease to exist in the afterlife? Does a ghost come and haunt your toaster?
This is the “After the Scan” paralysis. It’s where good intentions go to die (or at least, go to sit in the basement for another decade).
Here is the secret that professional archivists know, but rarely tell you: You do not need to keep everything. In fact, keeping everything is the fastest way to ensure your family eventually appreciates nothing.
Welcome to your new role. You are no longer a hoarder of paper; you are the Curator of the Family Museum. Let’s figure out what stays, what goes, and how to keep the good stuff from turning into yellow dust.
Imagine walking into the Louvre in Paris to see the Mona Lisa, but to get to her, you had to dig through piles of the artist’s grocery lists, doodles of cats, and blurry sketches of his thumb. You’d be exhausted before you ever saw the masterpiece.
Your family photo collection is the same. When you keep every single duplicate, bad shot, and landscape photo, you bury the treasures.
Your goal now is to curate a collection that tells your story without overwhelming your heirs. We want to leave a legacy, not a burden that requires a forklift to move.
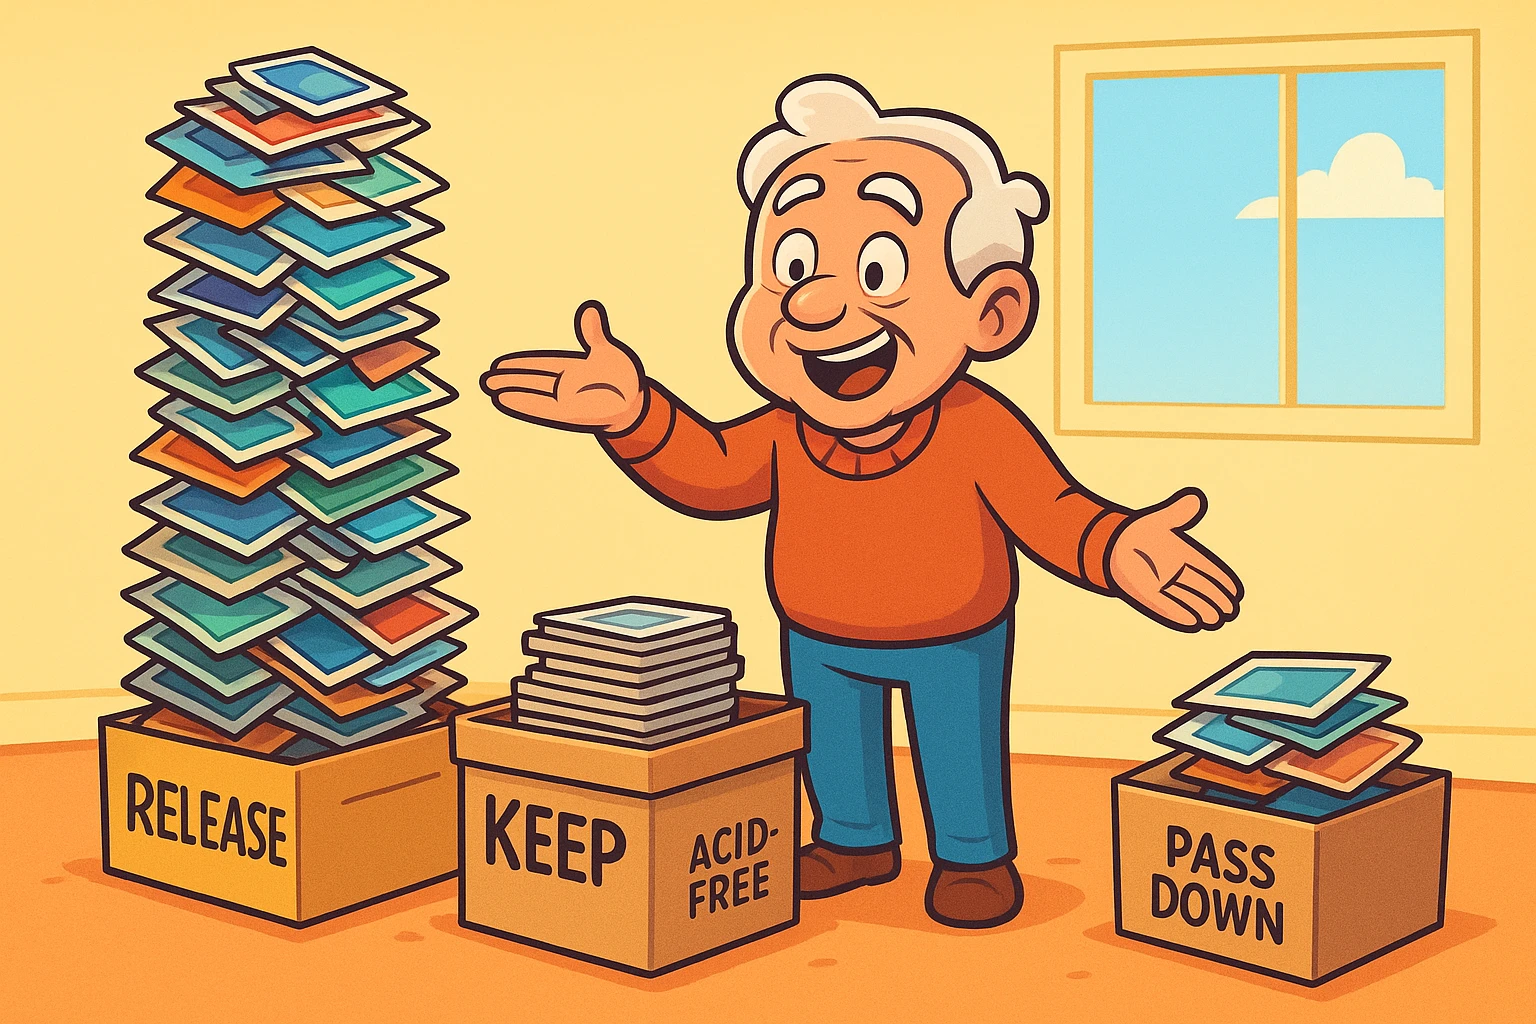
To do this, we use the 3-Pile Method.
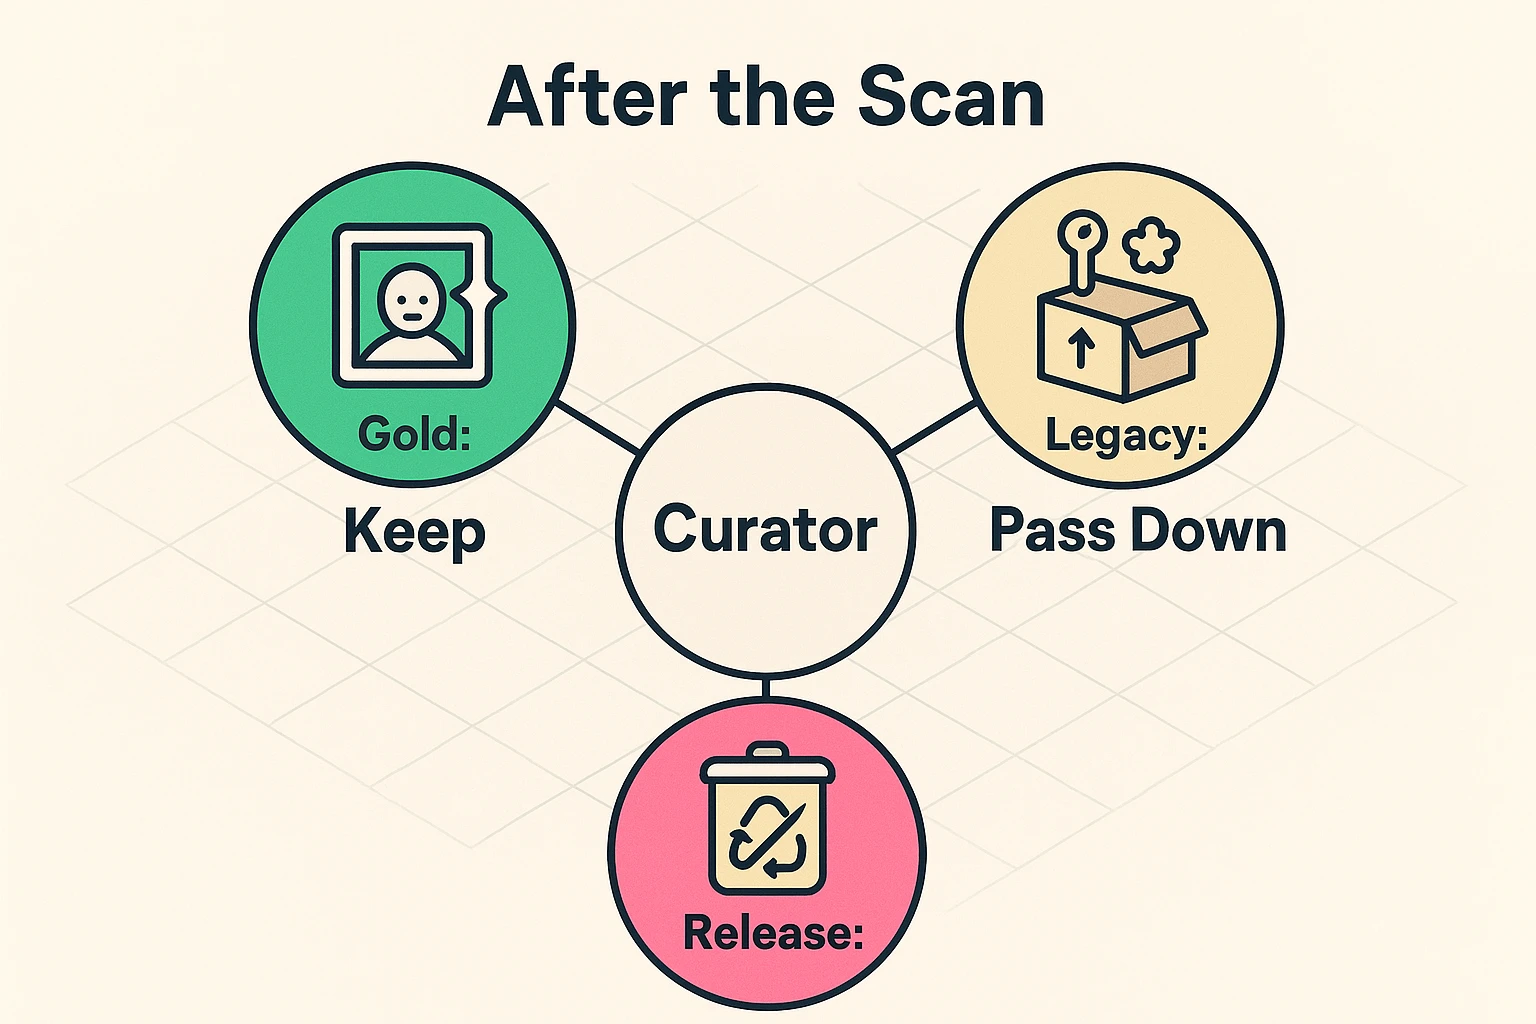
Grab a coffee (or something stronger) and three large boxes. Label them: The Gold, The Legacy, and The Release.
These are the VIPs (Very Important Photos). This pile represents the top 10-20% of your collection.
These are items that might not mean much to you, but belong to someone else’s story.
This is usually the biggest pile, often comprising 70% of a collection. It is also the hardest pile emotionally.
Now that you have whittled your collection down to the “Gold” pile, you need to store it properly.
Most people store photos in the two worst places in their house: the attic (an oven) or the basement (a swamp). If you wouldn’t be comfortable sleeping in a room for a week, your photos won’t be comfortable there for a decade.
Here is the science of keeping your photos safe.
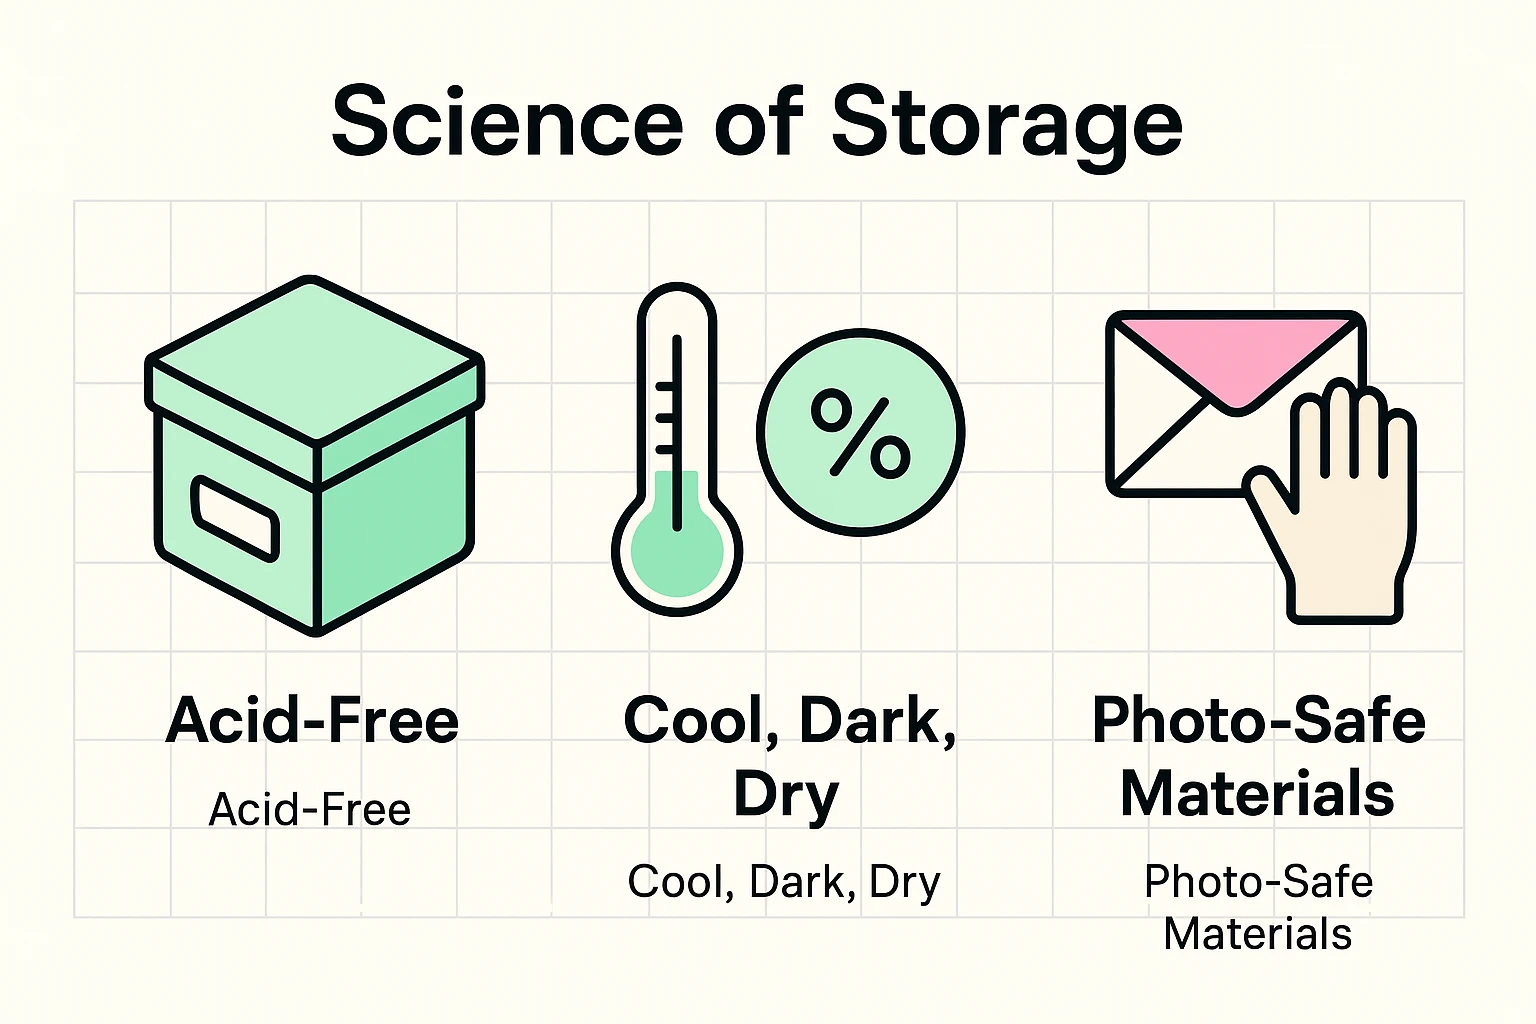
Photos are chemical sandwiches. Heat makes the chemicals react (fading), moisture invites mold (the archivist’s nightmare), and light bleaches the image.
When buying storage supplies, you’ll see terms like “Archival Quality.” This is often marketing fluff.
The only term that matters is PAT (Photographic Activity Test). This is an international standard (ISO 18916). If a product has passed the PAT, it means scientists have confirmed it won’t react chemically with your photos.
If a box or album doesn’t mention PAT or “acid-free, lignin-free,” assume it’s going to turn your photos yellow eventually.
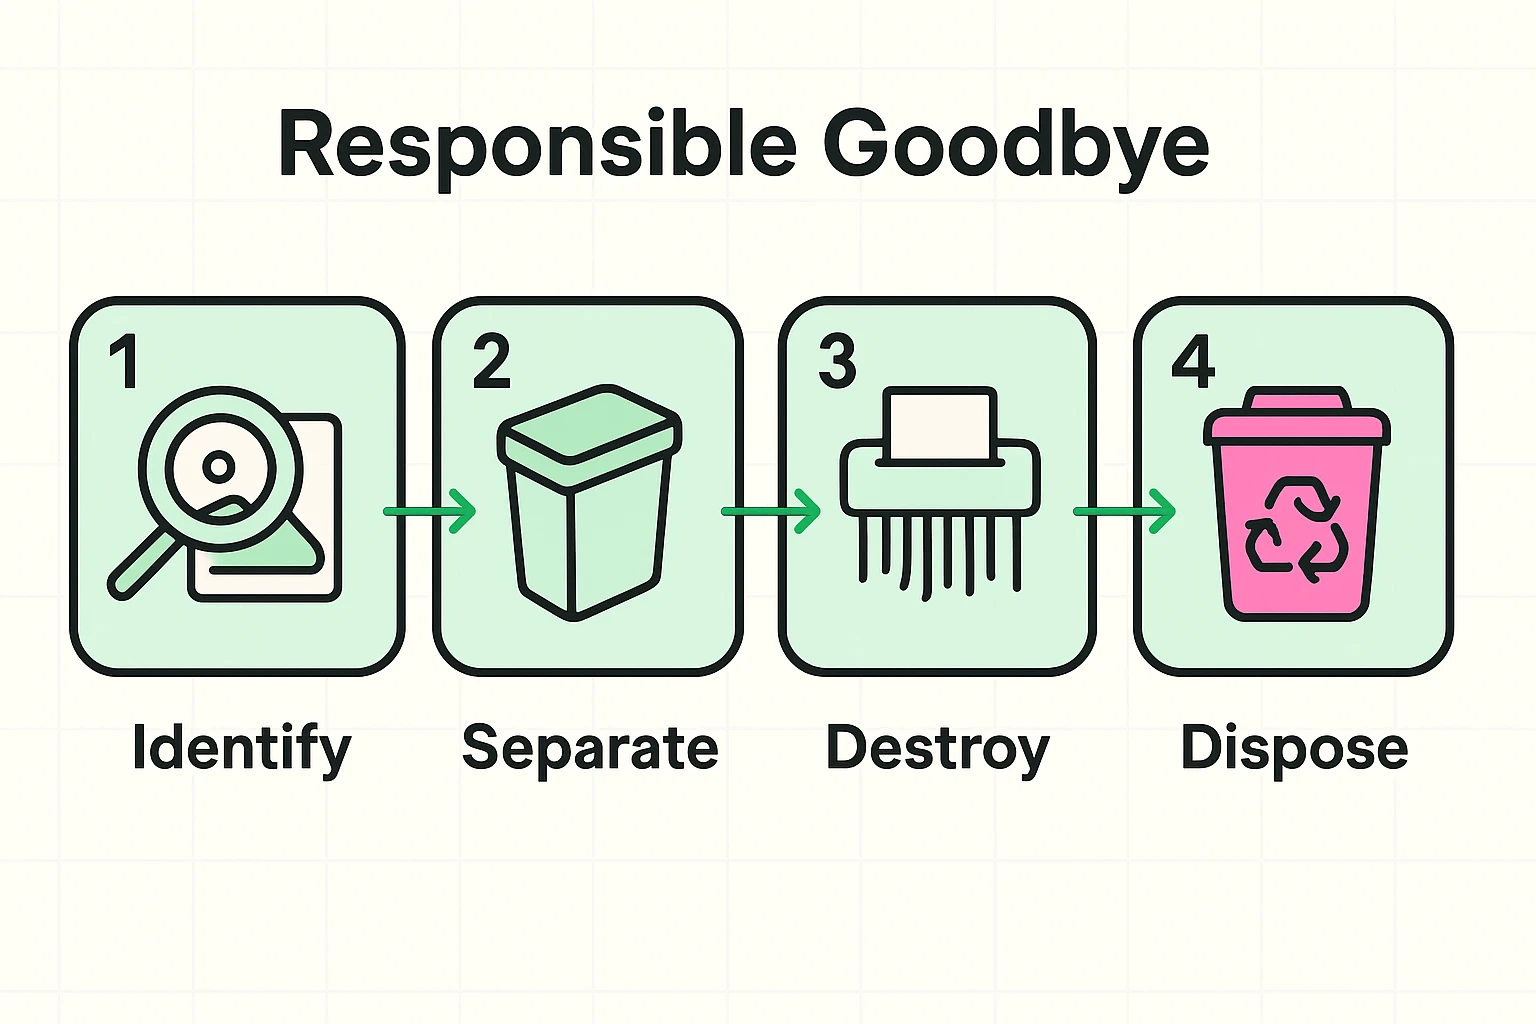
This brings us to the elephant in the room. You have a trash bag full of rejected photos (Pile 3). You feel guilty. You also feel environmentally conscious. Can you recycle them?
The short answer is: No.
This is the “Chemical Dilemma” that almost no one talks about.
Photographic paper is not just paper. It is coated in plastic (polyethylene) and embedded with silver and other chemical dyes.
Negatives are actually the highest-quality version of the image. However, do you have a way to view them? Will your grandkids? If you have scanned the prints at high resolution, you can generally let the negatives go. If you want to be extra safe, keep negatives for only the “Gold Pile” photos and store them in specific negative sleeves.
They are the worst. The “magnet” is actually acidic glue that permanently bonds to the back of the photo. If the photos are stuck fast, do not rip them out. You will tear the photo. Scan the whole page, or use dental floss to gently saw behind the photo to lift it. Then, throw that album away immediately.
We love our kids, so let’s be honest: leaving them 10 giant bins of unsorted photos is not a gift; it’s a homework assignment. By curating the collection down to one or two nice boxes, you are giving them a family history they can actually enjoy, rather than a storage problem they have to solve.
Technology gives us a wonderful backup plan, but the real benefit of scanning is the freedom it buys you. It gives you the freedom to let go of the physical clutter while keeping the emotional connection.
You are preserving the story, not the paper. So, go forth and curate. Your closet (and your descendants) will thank you.