Newsletter Subscribe
Enter your email address below and subscribe to our newsletter

Your iPhone is more than just a device for calls, messages, and watching cute cat videos — it’s a potential lifeline in emergency situations.
This feature may be one of the most important yet lesser-known features you have on your iPhone.
Using your phone’s Emergency SOS feature, your iPhone provides a quick way for you to call for help when you need it most.

Your iPhone’s Emergency SOS enables you to swiftly contact emergency services without fumbling through your phone’s apps or contacts.
By pressing a combination of buttons, you can initiate a call to local emergency responders. It can also alert your emergency contacts with your location after an emergency call is made.
Setting up these contacts beforehand ensures that your loved ones are informed if you’re in distress, providing both you and them with additional peace of mind during critical moments.
Let’s take a look at how to set up and use Emergency SOS so it’s ready to spring to action if you ever need it.
Since this article was first published, Apple has made a few updates to Emergency SOS—especially for users with newer iPhones and the latest iOS versions. Here’s what’s new in 2025:
Everything else still works the same way, so if you haven’t set it up yet, now’s a great time. Keep reading for the full how-to below.
Emergency SOS on your iPhone can be a lifeline in critical situations. It lets you quickly call for help and alert your emergency contacts. Below are the steps to activate Emergency SOS, configure auto-call features, and add emergency contacts.
To adjust the auto call feature for Emergency SOS on your iPhone, go to Settings > Emergency SOS.
Here, you will find the following options:

To add emergency contacts in the Health app on your iPhone, follow these steps:
Your emergency contacts will be notified with your location when you activate Emergency SOS, provided you have completed setup and are connected to a network.
Emergency SOS is a vital feature on your iPhone that enables you to quickly call for help in critical situations. Here’s how you can initiate an SOS call, disable the Auto Call feature, handle post-call actions, and use the Emergency SOS slider when necessary.
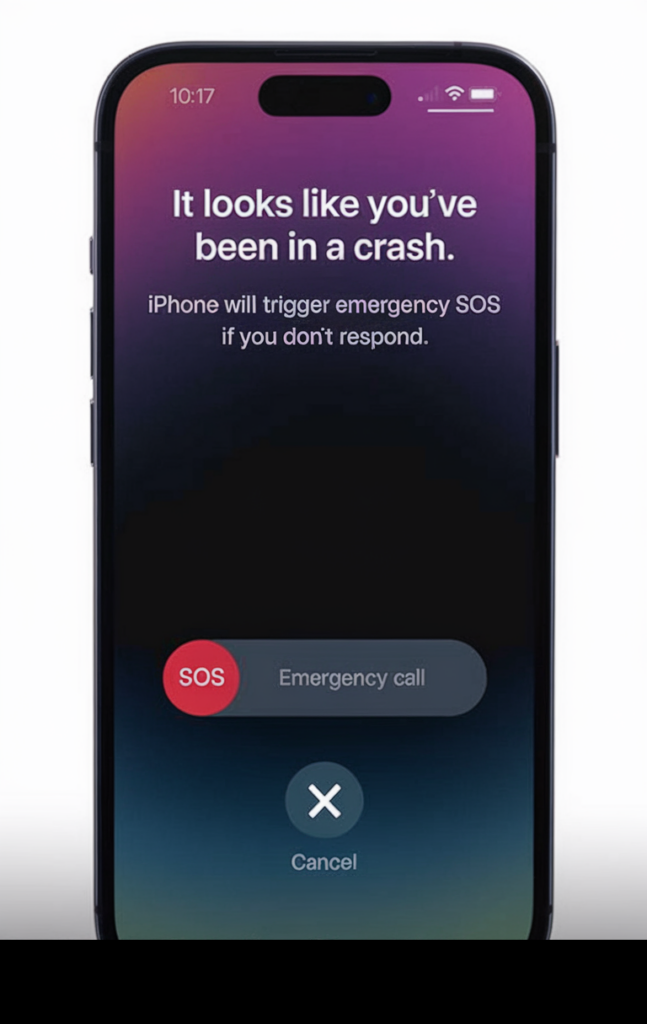
To initiate an SOS call on your iPhone 8 or later, press and hold the side button and one of the volume buttons until the Emergency SOS slider appears. For iPhone 7 or earlier, quickly press the side (or top) button five times. The call to emergency services will start after a countdown if Auto Call is enabled.
If you prefer not to automatically dial emergency services when triggering SOS, you can disable the feature. Go to Settings > Emergency SOS and toggle off Call with Hold or Call with 5 Presses according to your device’s options.
After an SOS call is made, your iPhone will alert your emergency contacts with your location, if you have set them up in the Health app. You’ll also see the option to stop sharing your location if you choose to.
If Auto Call is disabled, you can also use the slider. Just drag the Emergency SOS slider that appears on the screen to initiate the call immediately. No countdown will take place when you use the slider.
Does Android have a similar SOS feature.
Yes it does. You can find out about it here… https://support.google.com/android/answer/9319337?hl=en