Newsletter Subscribe
Enter your email address below and subscribe to our newsletter
Enter your email address below and subscribe to our newsletter
Learn simple steps to spot and stop unwanted monthly tech subscriptions draining your money.
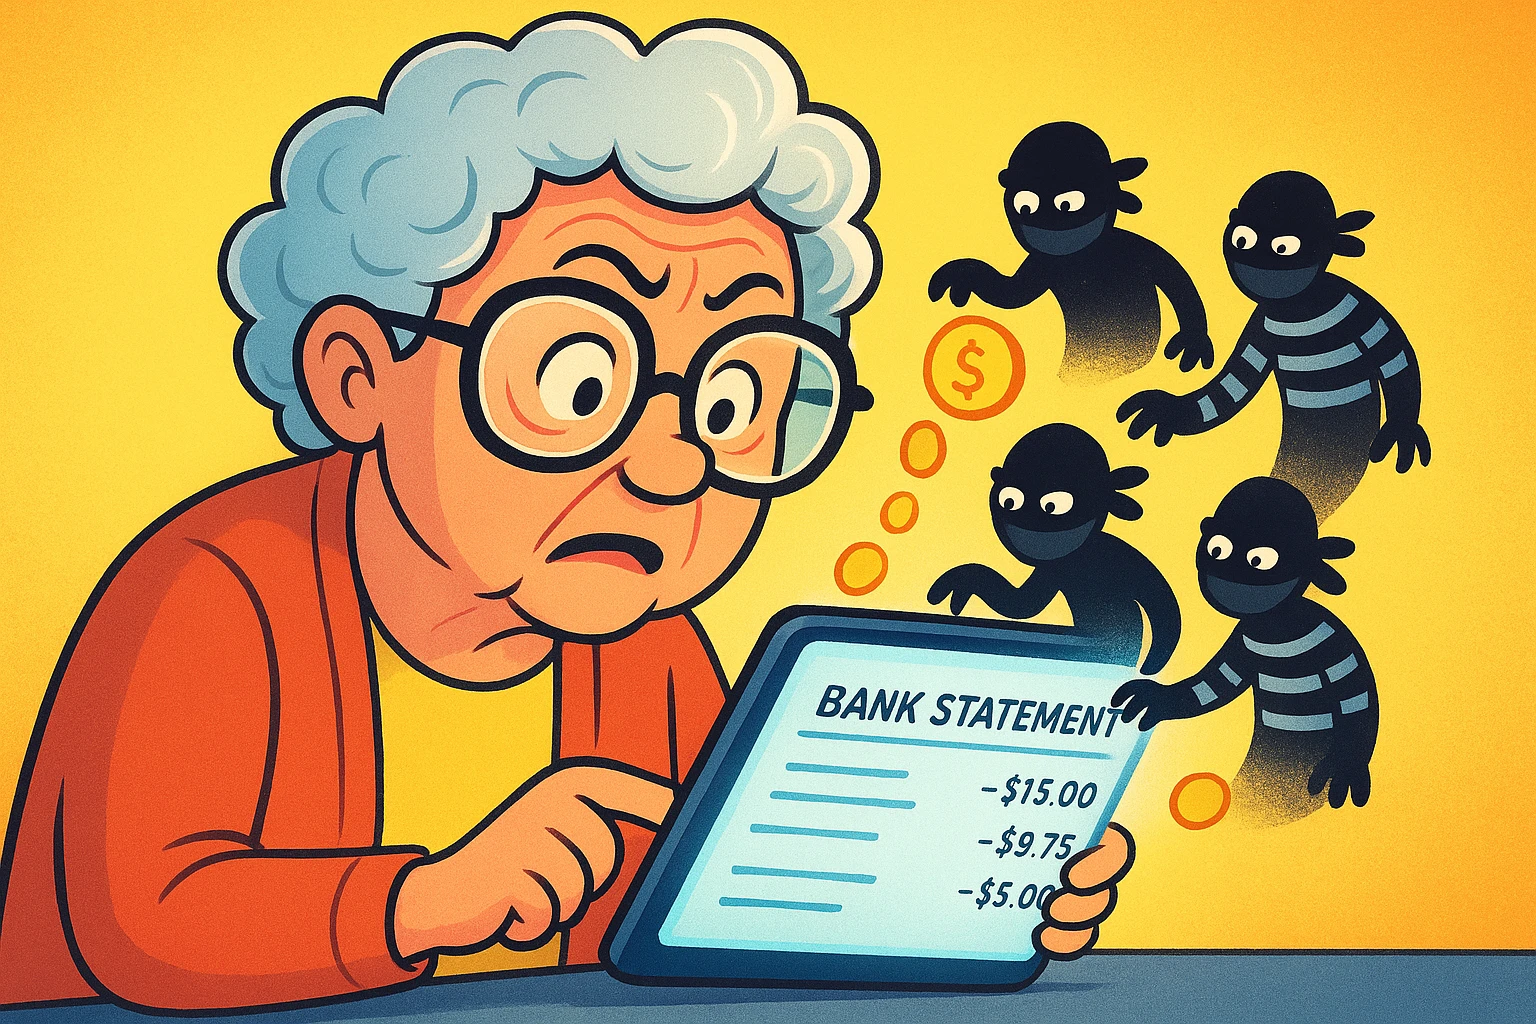
Have you ever looked at your bank statement and spotted a charge that made you tilt your head like a confused puppy? A mysterious $9.99 fee from a company with a name like “WebFlix-O-Stream Inc.” You don’t remember signing up for it. You certainly don’t remember giving it permission to dip into your checking account every month. Yet, there it is, month after month, quietly siphoning off your coffee money.
If this sounds familiar, you’ve been hit by a “sneaky subscription.” These little financial gremlins are the digital equivalent of finding a stray cat has moved into your basement and is now charging you rent. They often start as “free trials” that we swear we’ll cancel, but then life happens. Before you know it, that one-time trial to watch a single British detective show has turned into a long-term financial commitment you never agreed to.
Don’t worry, you’re not alone in this. Companies are masters at making it easy to sign up and devilishly difficult to leave. But today, we’re going on a treasure hunt. We’re putting on our detective hats, grabbing our magnifying glasses (or just our reading glasses), and taking back control of your budget, one sneaky subscription at a time.
So, what exactly makes a subscription “sneaky”? It’s not like they wear little trench coats and fedoras. Sneaky subscriptions thrive in the shadows of our busy lives, relying on a few common tricks.
The most famous culprit is the “free trial” that automatically converts to a paid plan. You sign up to try a service, provide your credit card info “for verification,” and promptly forget about it. The company, however, has the memory of an elephant and starts charging you the second the trial ends.
Then there’s “autorenewal.” It’s often the default setting, meaning you have to actively uncheck a box to prevent it. It’s a classic case of hoping you won’t notice the charge until it’s too late. As organizations like Consumer Reports have noted, these practices are designed to be confusing.
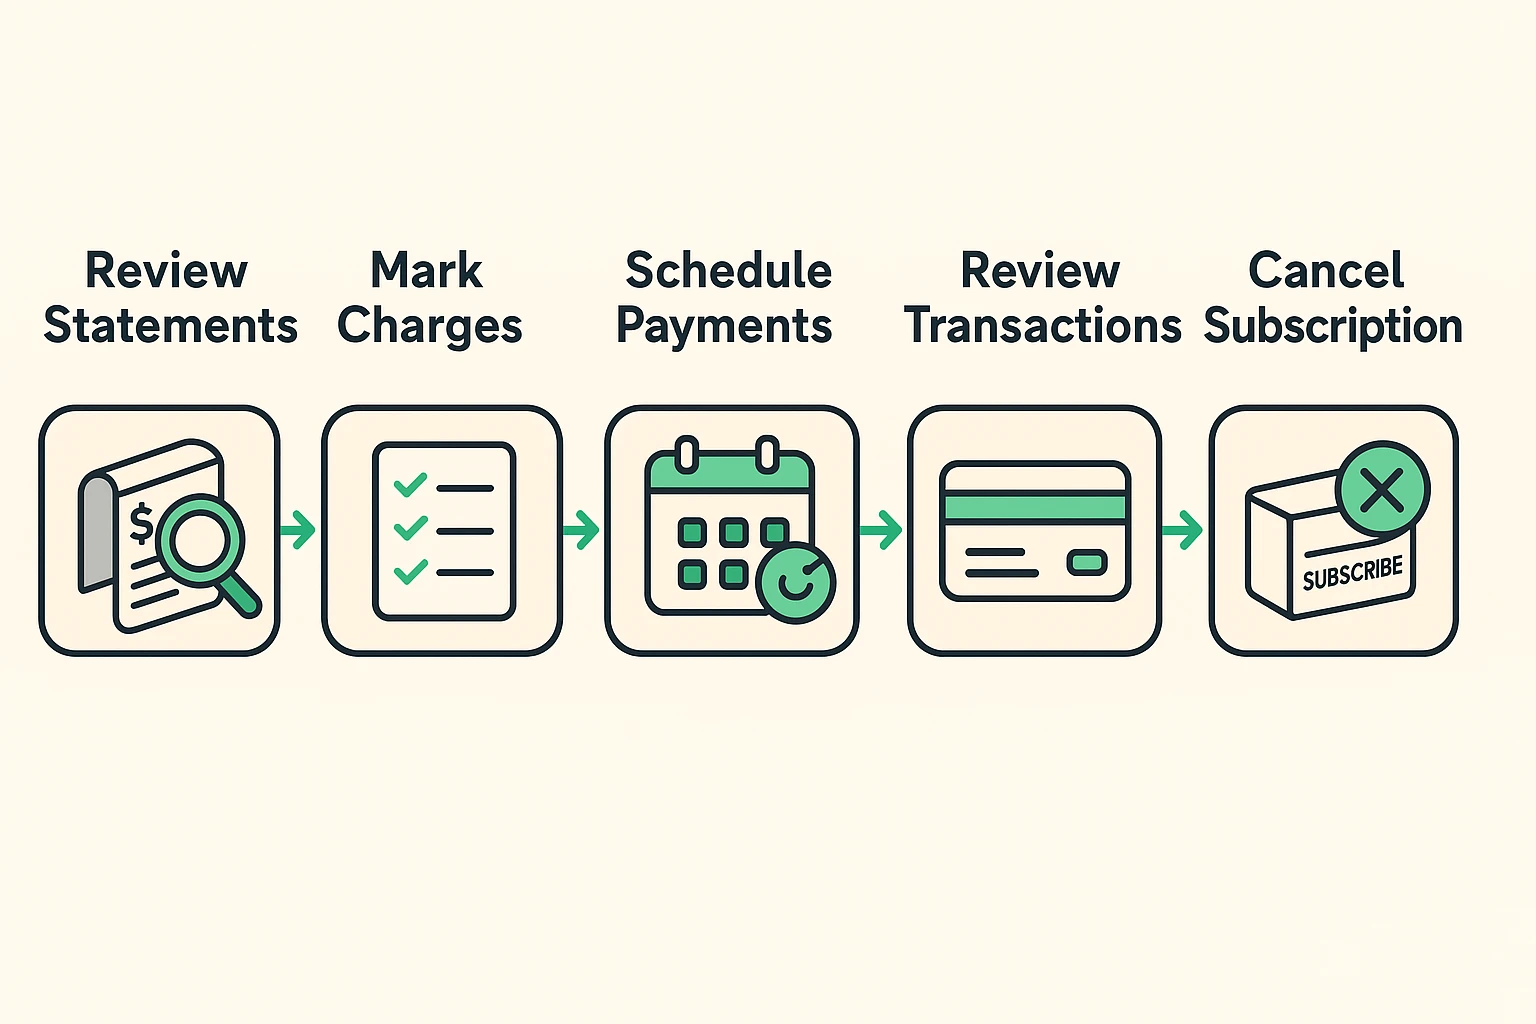
Ready to find the freeloaders? It’s time to audit your finances. This sounds scarier than it is. Think of it less like doing your taxes and more like spring cleaning for your wallet.
First, you’ll need your bank and credit card statements from the last three months. You can use the paper copies you get in the mail or log into your bank’s website to view them online. Three months is a good timeframe because it helps you spot charges that happen monthly or even quarterly.
Now, grab a highlighter (a real one or just a mental one) and scan every single line item. You’re looking for two things: recurring charges for the same amount and company names you don’t recognize.
Pay close attention to small amounts—$4.99 here, $12.99 there. These are the ones that fly under the radar. Also, be wary of cryptic descriptions. A charge from “AMZN MKTP US” could be that book you ordered from Amazon, or it could be a subscription to a channel you never watch. If you’re not sure, Google the company name!
On a piece of paper, write down every subscription you want to investigate or cancel. For each one, note the company name, the amount they charge, and the date of the last charge. This is your battle plan.
Once you have your list, it’s time to start canceling. Be prepared: some companies make this process as straightforward as trying to nail Jell-O to a wall. But with a little persistence, you can get it done.
If you signed up for a service through an app on your phone, you usually have to cancel it there, too.
A crucial point: Just deleting the app from your phone does not cancel the subscription. That’s one of the biggest misconceptions out there. The company will happily keep charging you for a service you can’t even use.
For most other services, you’ll need to log into your account on their website. Look for a section called “Account,” “Billing,” “Settings,” or “Manage Subscription.” The cancel button is often buried deep in these menus. Click it, and make sure you follow all the steps until you get a confirmation email saying it’s been canceled. Save that email!
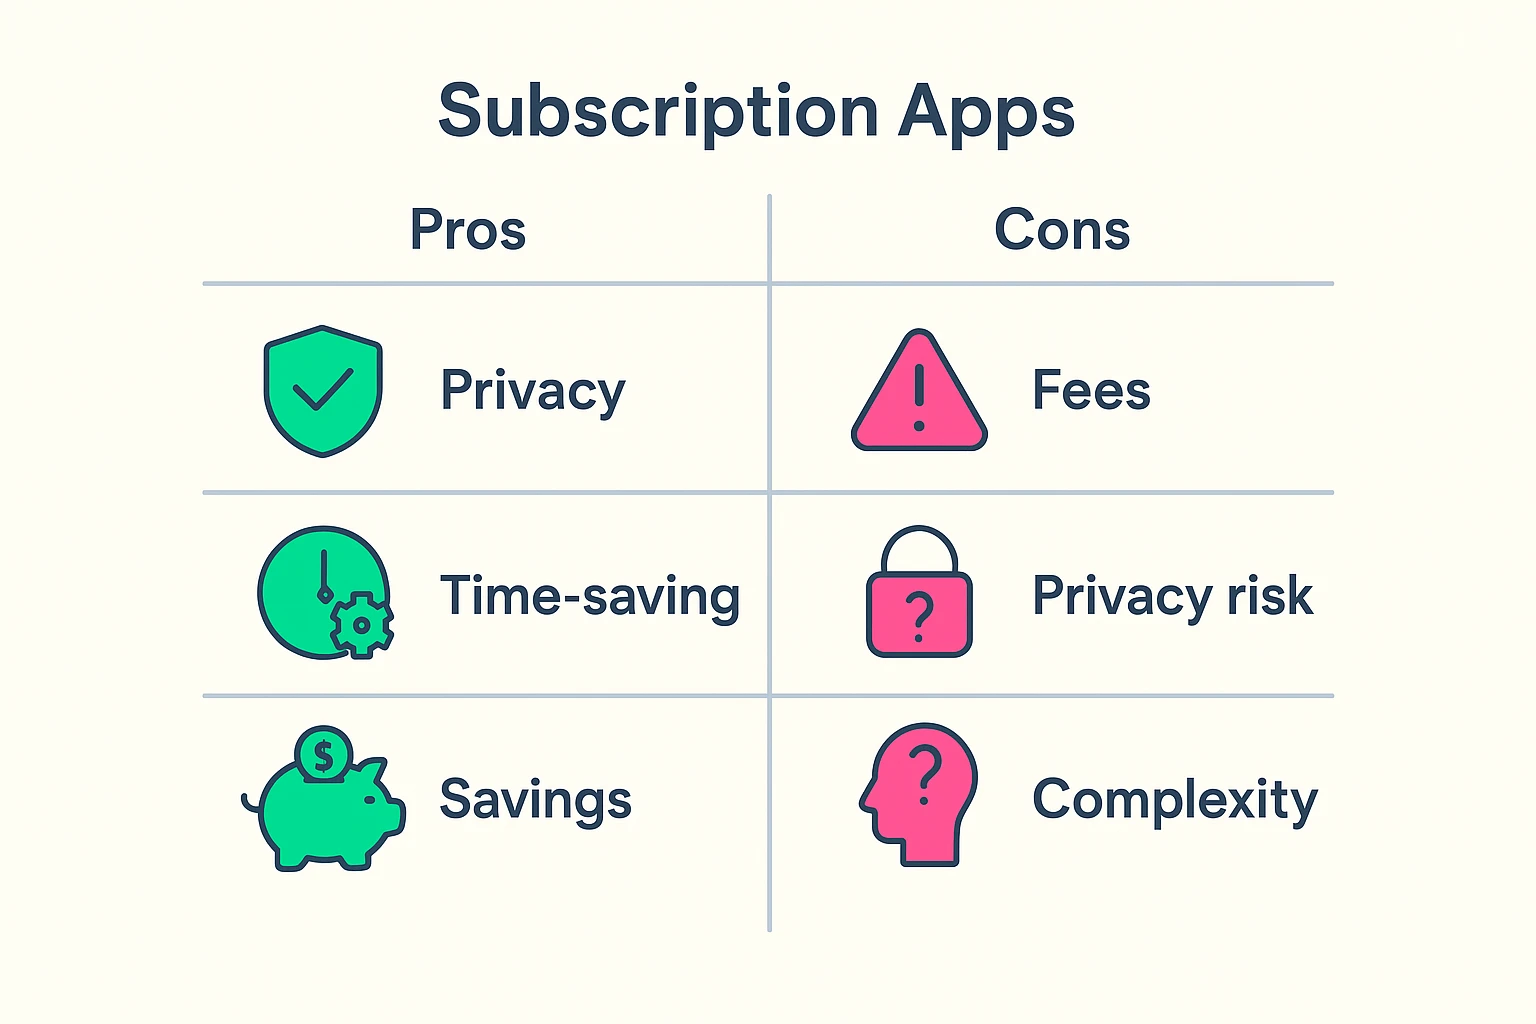
You may have heard of apps like Rocket Money or NerdWallet that promise to find and cancel your unwanted subscriptions for you. They work by securely linking to your bank accounts and automatically flagging recurring payments.
The Good: They can save you a lot of time and find subscriptions you might have missed. Some will even handle the cancellation process for you.
The Not-So-Good: You have to be comfortable giving a third-party app access to your financial data. While reputable companies have strong security, it’s a valid privacy concern. Also, some of these apps charge a fee for their services, so make sure you read the fine print.
Nope! This is a classic mistake. Deleting the app just removes it from your device. The billing agreement is with the company (or with Apple/Google), and they will continue to charge you until you formally cancel the subscription through the proper channels.
If you’ve tried everything and a company still won’t let you go, it’s time to call in the big guns: your credit card company or bank. Call the customer service number on the back of your card, explain the situation, and ask them to block future payments from that company.
It’s possible. If a charge looks completely unfamiliar and you’re certain you didn’t authorize it, contact your bank or credit card company immediately. They can investigate the charge and, if it’s fraudulent, reverse it and issue you a new card.
Good question! The rules around subscriptions have been pretty loose for a long time. The good news is that consumer protection agencies like the Federal Trade Commission (FTC) are cracking down and pushing for “click to cancel” rules that would make it as easy to unsubscribe as it is to sign up.
Taking a fine-toothed comb to your finances can feel like a chore, but the rewards are well worth it. Every sneaky subscription you cancel is money back in your pocket—money you can use for something you actually want, whether it’s a nice dinner out, a gift for the grandkids, or just a little extra peace of mind.
You are the boss of your budget. With a little detective work and persistence, you can plug those leaks and make sure your hard-earned money stays where it belongs: with you.