Newsletter Subscribe
Enter your email address below and subscribe to our newsletter
Enter your email address below and subscribe to our newsletter

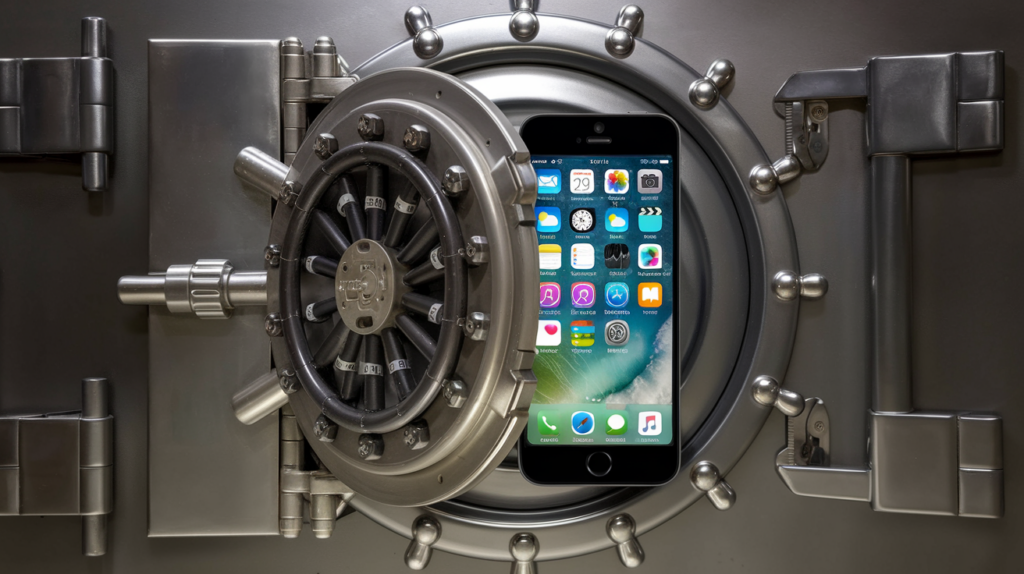
Imagine your iPhone is a little vault, packed with all sorts of digital treasures—photos from family gatherings, important reminders, and the occasional winning bingo selfie.
But unlike a real vault, your iPhone doesn’t come with a team of guards to keep people out. That’s where Advanced Data Protection comes in. Think of it as adding an extra layer of security to your digital treasure chest.
With this feature, you’re basically hiring an extra security team (minus the walkie-talkies) to keep certain sensitive data locked up, even from Apple.
And before you worry about needing a tech degree to turn it on, don’t fret! We’ve got you covered with this simple, senior-friendly guide—no tech mumbo-jumbo, just practical steps that’ll make sure your memories and messages stay safe.
So, what is Advanced Data Protection, exactly?
In plain English, it’s an optional extra-strength privacy setting from Apple that keeps certain information even safer. When you turn this on, some of your data—like iCloud backups, notes, and photos—gets locked up extra tight, and not even Apple has the key to peek inside.
Imagine a room where you keep all your most cherished and private belongings. Advanced Data Protection is like putting a super-secure lock on that room—only you can get inside, not even the builders (or, in this case, Apple) who put it there.
This feature is especially helpful if you have sensitive details on your phone, like medical notes, personal photos, or even those detailed reminders to water the plants (don’t worry, we won’t judge).
In short, Advanced Data Protection makes sure that only you (or someone you’ve trusted) can get into that special vault.
Before you jump in, there are a few things you’ll need to do to get your iPhone ready for Advanced Data Protection.
Think of this like gathering your “supplies” before starting a big recipe—once you have everything set up, you’re ready to go!
Once you have these in place, you’re ready to turn on Advanced Data Protection.
Here’s the easy part. Follow these steps to turn on Advanced Data Protection and add that final lock to your iPhone:
Like all good things, there are a few catches to Advanced Data Protection. Let’s cover a few of the potential potholes so you’re prepared.
So what’s the big payoff?
With Advanced Data Protection turned on, your iPhone becomes a digital Fort Knox for some of your most personal information.
This means that your data—whether it’s a personal note, a family photo, or an email—is locked up so tight that only you can open it. Even if a hacker somehow manages to nab your phone, they’ll be stumped without your password and two-factor authentication.
And here’s the good news: If this all feels like too much, don’t worry. Even if you don’t turn on Advanced Data Protection, Apple’s basic security measures are still strong. This just gives you a little extra peace of mind for anything you’d like to keep especially private.
To sum it all up, turning on Advanced Data Protection makes your personal data extra secure.
Yes, it takes a bit of setup. But it’s worth it for the added peace of mind in knowing your most important information is safe.
If you decide to try it, just follow the above and keep that recovery contact handy!
Final Tip: Give Advanced Data Protection a go or share this guide with a friend who might find it helpful.