Newsletter Subscribe
Enter your email address below and subscribe to our newsletter
Enter your email address below and subscribe to our newsletter
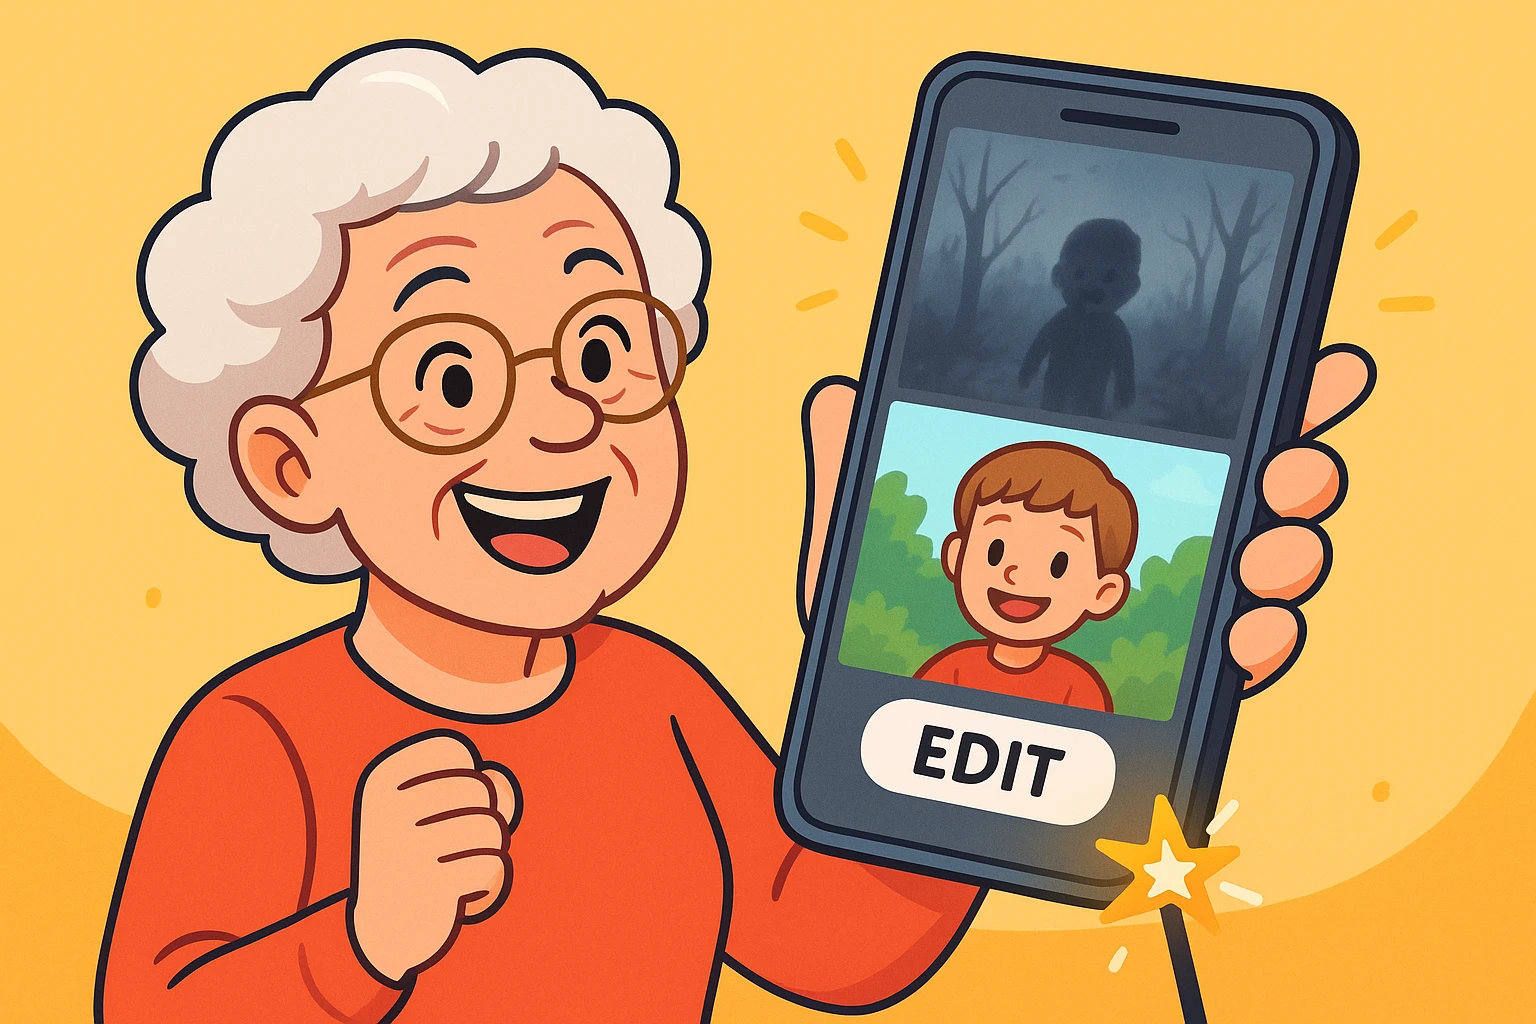
You know the feeling. You’re at your grandson’s birthday party. The cake comes out, the candles are lit, and little Timmy looks adorable. You whip out your smartphone, tap the button, and capture the moment for all eternity.
Later, you sit down with a cup of coffee to admire your work, only to discover that you didn’t capture a birthday party. You captured a blurry grey blob that looks less like a beloved grandchild and more like a cryptid sighting in a foggy swamp. Or perhaps you took a photo of a beautiful sunset, but your phone decided to make the foreground look darker than the inside of a cow.
Before you drag that photo to the digital trash can, stop!
Most of us assume that a bad photo is a life sentence. We think that unless we have a degree in Graphic Sorcery or pay a monthly subscription for complex software, we’re stuck with our mistakes. But here is the secret the tech companies don’t tell you: your phone has a “magic wand” built right into it.
You don’t need to download anything. You don’t need to pay anyone. You just need to know which sliders to wiggle.

Whether you use an iPhone or an Android (like a Samsung or Google Pixel), your “Photos” app isn’t just a shoebox where pictures go to gather digital dust. It is a fully equipped photo lab.
To enter the lab, open a photo and look for a button that says Edit. On an iPhone, it’s usually at the top right. On Android, it might look like a little pencil icon or a series of sliders.
Click it. Did the phone explode? No. Good. Now, let’s perform some surgery.
This is the most common tragedy. You took a picture of your spouse in front of a window. The window looks great; your spouse looks like a silhouette in a witness protection program interview.
The Rookie Mistake: Most people see a dark photo and immediately crank up the Brightness slider. Why that’s bad: Brightness is a blunt instrument. It brightens everything. It makes the dark parts lighter, sure, but it also turns the bright parts (like that window) into a blinding nuclear explosion.
The Pro Trick: Use “Shadows”Instead of Brightness, look for the slider labeled Shadows.
What happens: This tool is smart. It ignores the parts of the photo that are already bright and only turns on the lights in the dark corners. It’s like using a flashlight exactly where you need it, rather than turning on the stadium floodlights. Suddenly, your spouse has a face again!

This is the opposite problem. You took a picture at the beach, and the white sand is glowing so brightly it hurts your eyes. The details are “blown out,” which is photographer speak for “gone forever into the white abyss.”
The Fix: Tame the “Highlights”Look for the slider labeled Highlights.
Think of this as putting sunglasses on your photo. It calms down the super-bright areas without making the rest of the picture muddy. You might be surprised to see that the “white sky” actually had blue clouds hiding in it all along.
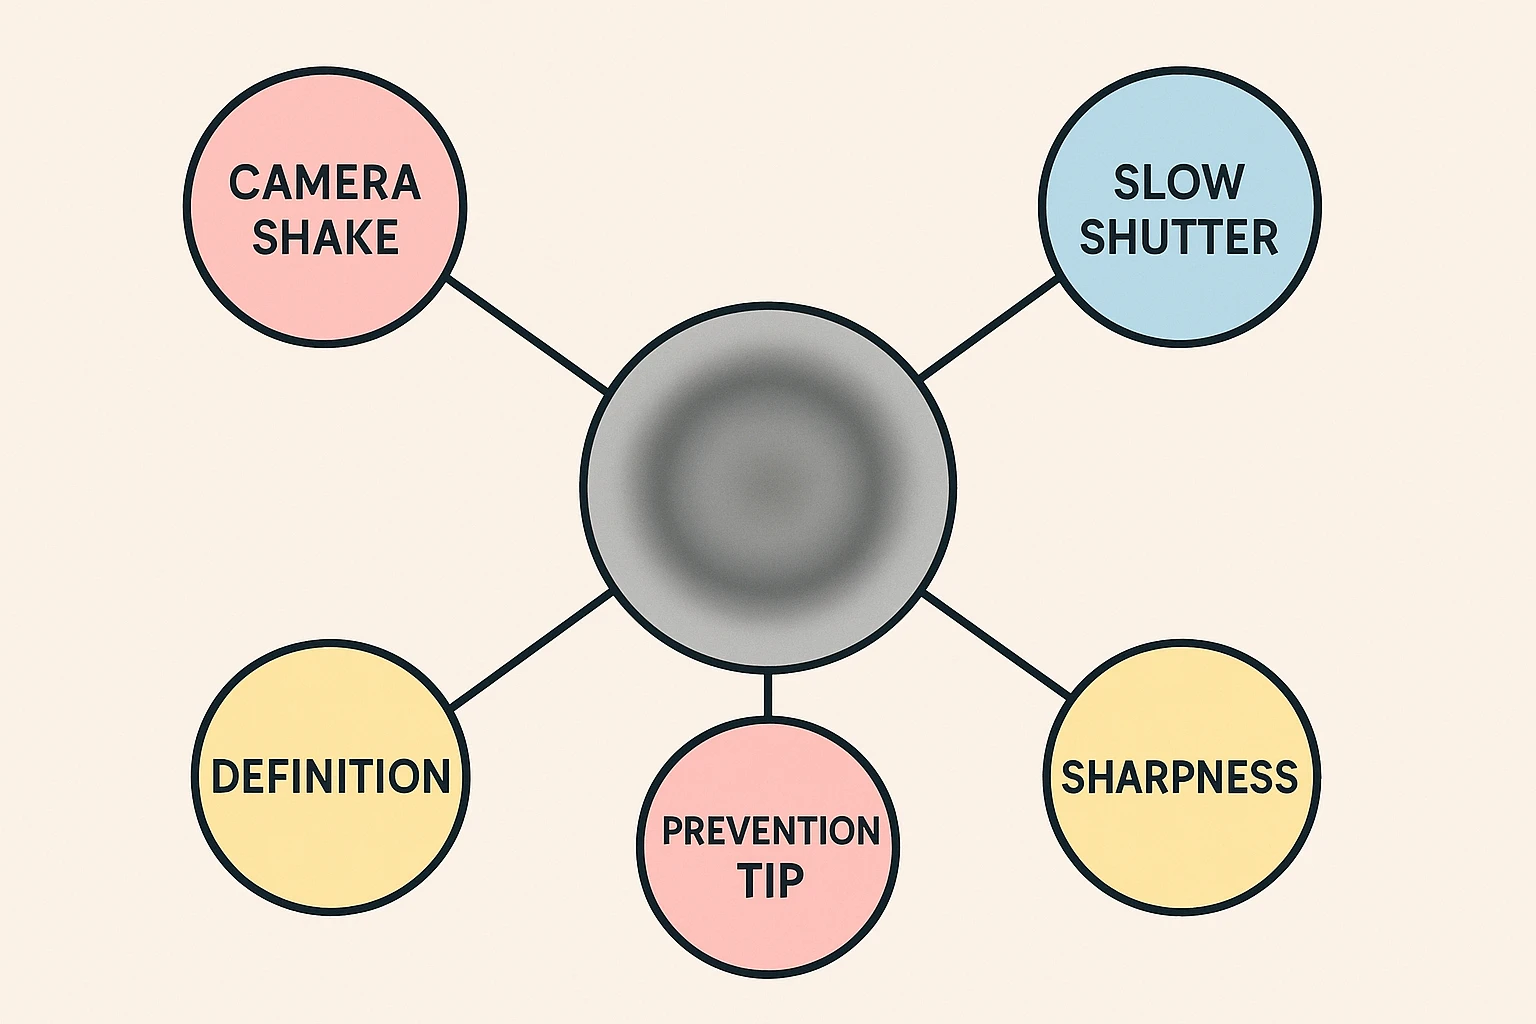
Let’s be honest: If you took a photo while riding a mechanical bull during an earthquake, no app can fix that. If the photo is a total smear, let it go. However, if the photo is just slightly soft—maybe your hands weren’t perfectly steady—we can tighten it up.
The Tools: Sharpness and Definition
Most phones have a tool called Sharpness or Definition.
Warning: Use this sparingly! If you slide it all the way to 100%, your beautiful landscape will look “crunchy” and unnatural, like it was drawn with a dried-out marker. A little goes a long way.
Sometimes a photo looks flat or dull. You want the colors to pop! So, you find the slider called Saturation and crank it up.
Suddenly, the grass is radioactive green, the sky is neon blue, and your family looks like they have a severe case of orange spray-tan poisoning. This is the “Oompa Loompa” effect.
The Better Way: VibranceIf your phone has a setting called Vibrance, use that instead of Saturation. Vibrance is smart—it boosts the dull colors but protects skin tones so people still look human.
If your photo looks “cold” or bluish (common on cloudy days), look for Warmth. Sliding this up adds a nice, cozy golden glow, like late afternoon sunlight.
Here is the single most important thing to know, the thing that should give you the confidence to experiment freely: You cannot break the photo.
Modern smartphones use something called “non-destructive editing.” That’s a fancy way of saying your phone secretly keeps the original photo safe underneath your edits.
If you mess up—if you make the photo too dark, too orange, or just plain weird—you can always hit Cancel or look for a red button that says Revert or Reset. One tap, and your photo is back to exactly how it looked when you took it.
So go ahead. Open that “Edit” menu. Slide the sliders. Wiggle the buttons. Play detective with your own memories. You might find that the perfect photo was hiding inside that dark, blurry mess all along.
No! For 99% of what you need to do (brightening, cropping, color fixing), the free “Photos” app that came with your iPhone or Android is more than powerful enough. Be wary of “free” apps on the app store that ask for a credit card after three days.
Great question. Think of a photo like a recording. In a dark room, the “signal” (the light) is weak. When you brighten it digitally, you are turning up the volume. Just like turning up the volume on a quiet radio station creates static hiss, turning up the brightness on a dark photo creates visual “noise” or grain. It’s a trade-off, but usually, a grainy photo where you can see faces is better than a smooth black square!
Yes. Most phones have an “Auto” fix wand in the Edit menu that handles this. On iPhone, when you tap Edit, look for an eye icon with a line through it. Tap it, then tap the red eye in the picture. Poof! The demonic glow is gone.
If you use cloud storage (like iCloud or Google Photos), yes. The changes you make on your phone will sync to your other devices. But remember—the “Revert to Original” safety net works on those devices, too!