Newsletter Subscribe
Enter your email address below and subscribe to our newsletter
Enter your email address below and subscribe to our newsletter
Picture this: It’s Thanksgiving. The turkey is carved, the gravy is hot, and your grandkids have just burst through the door. But before they even ask how your arthritis is doing or compliment your centerpiece, they ask the Golden Question of the 21st Century:
“Grandma, what’s the Wi-Fi password?”
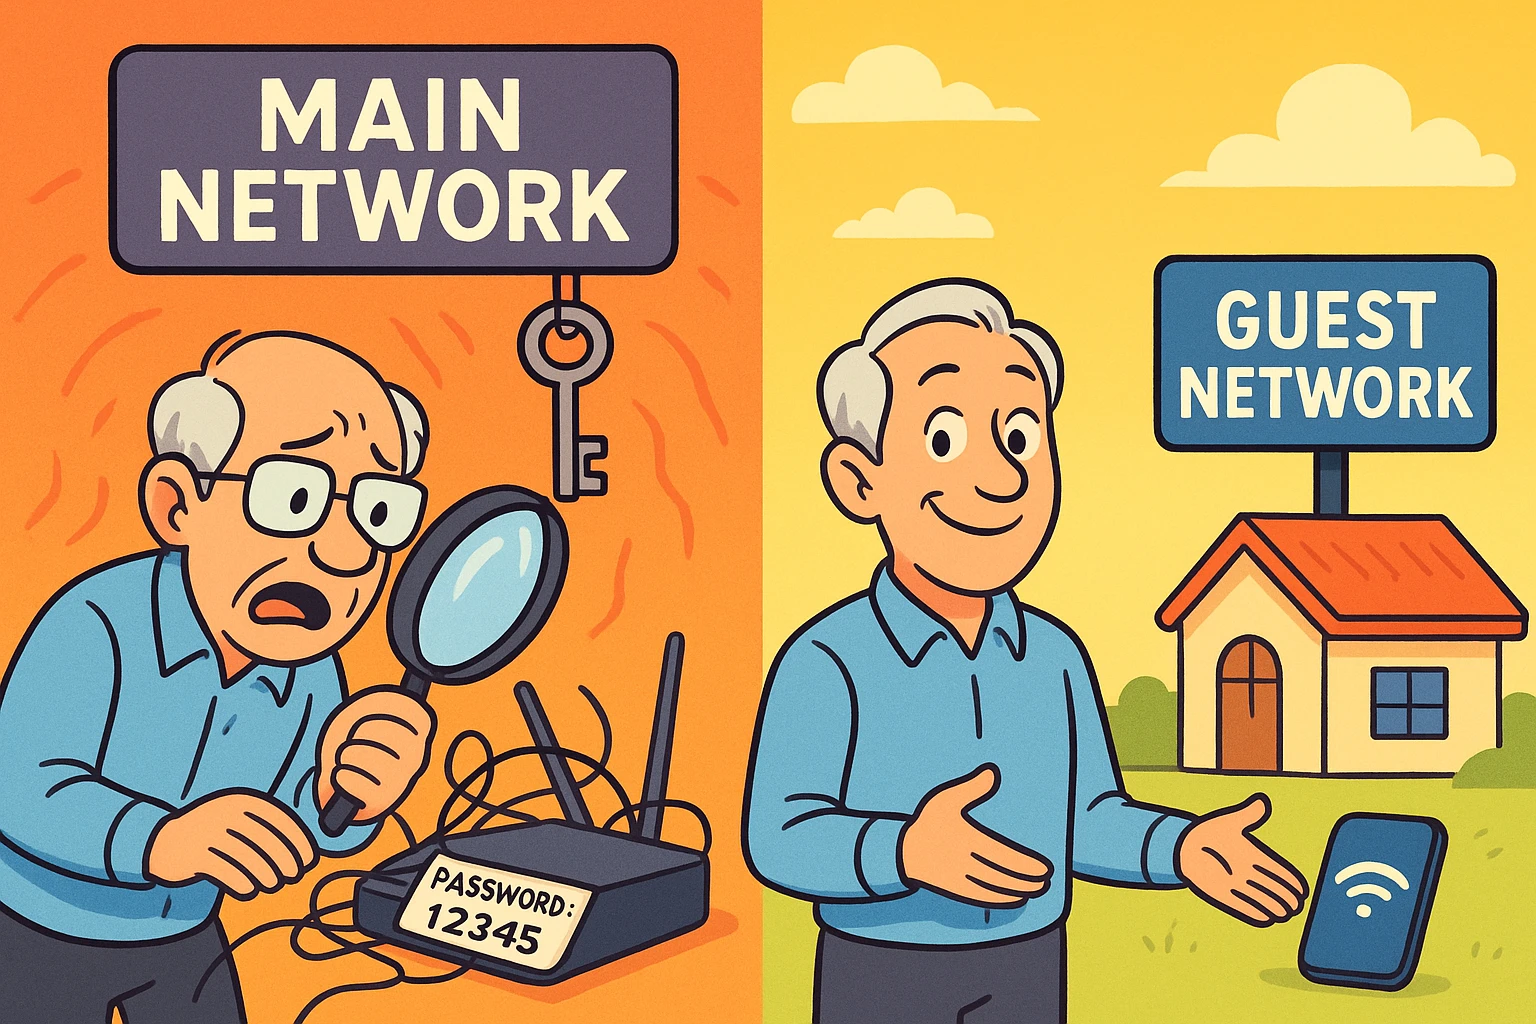
Suddenly, you’re on your hands and knees with a flashlight, squinting at a sticker on the back of your router that is covered in dust bunnies, trying to decipher if that character is a capital “O” or the number “0.” Meanwhile, the grandkids are staring at their phones like they’re defusing a bomb, waiting for a signal.
Eventually, you give them the password. The same password you use for your iPad, your smart TV, and maybe even your online banking.
If that scenario makes you a little sweaty, you aren’t alone. Giving out your main Wi-Fi password is the digital equivalent of giving a houseguest the key to your front door, the combination to your safe, and unrestricted access to your filing cabinet—just because they asked to use the bathroom.
There is a better way. It’s called a Guest Network. It sounds fancy, like something a hotel would have, but it’s actually a simple feature built into almost every modern router. It allows you to be the gracious host who provides internet access, without being the vulnerable victim who exposes their digital life.
To understand why this matters, let’s leave the computer jargon behind and think about your property.
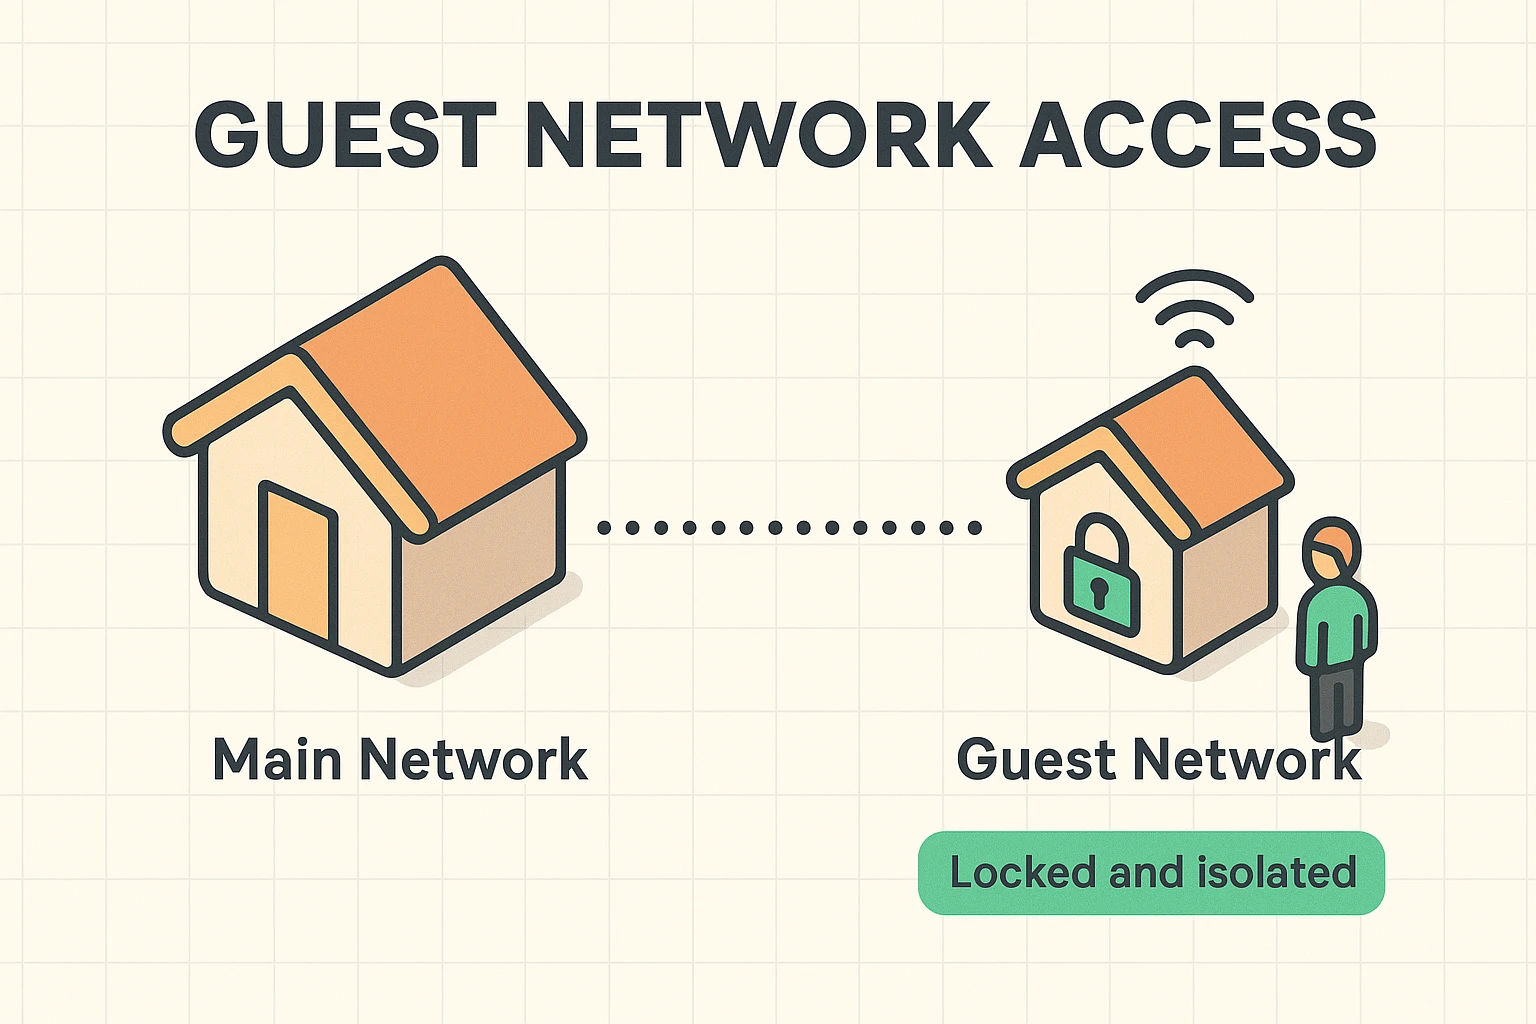
Your main Wi-Fi network is your House. Inside your house, you have your personal things: your photos, your tax returns, your smart devices that control the thermostat. When you give someone the password to your main network, you are inviting them into the living room.
A Guest Network is like a detached Guest House or a locked shed in the backyard. It has electricity (internet access) and a comfy chair, but there is no door connecting it to the main house.
When your nephew connects to your Guest Network:
Here is the “aha” moment most people miss: It’s not just about trust. You might trust your grandson implicitly. But do you trust the questionable apps he downloaded last week?
If a guest’s device is infected with malware (a digital virus), and they connect to your main network, that virus can sometimes jump to your devices. On a Guest Network, that virus is trapped in the “shed.” It can’t cross the yard to get to you.
Setup usually takes about five minutes. We’re going to cover two main paths: the specific method for the popular Cox Panoramic Wifi (which can be tricky), and the general method for everyone else.
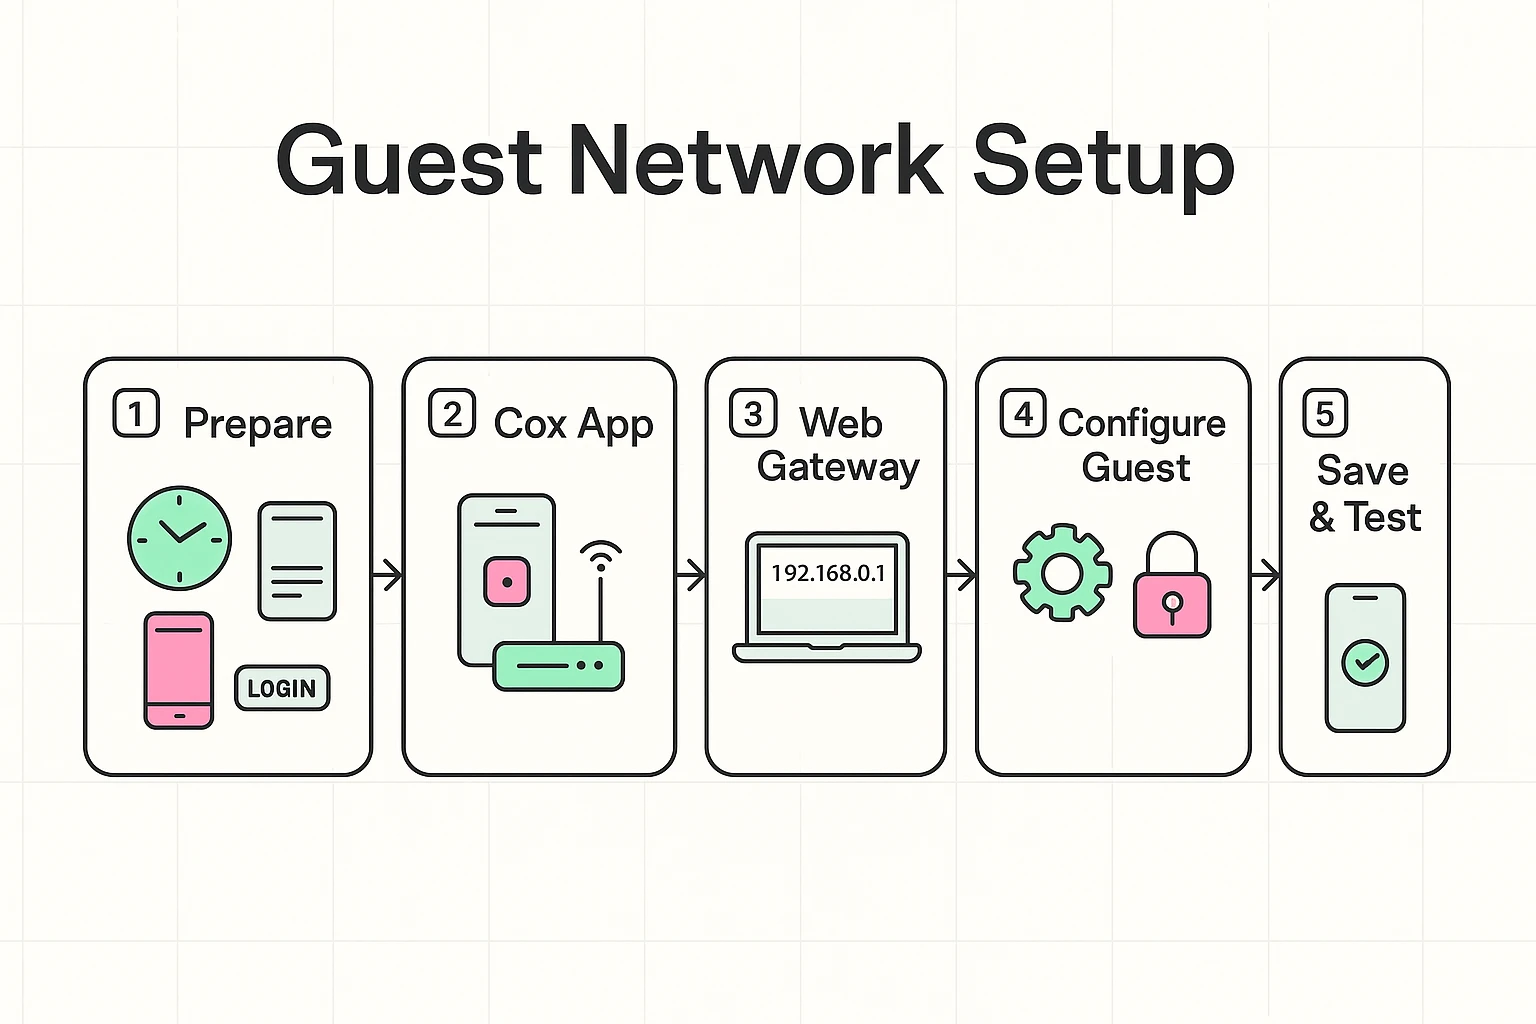
If you rent your router from Cox, you might have noticed their menus can be a bit… creative. Here is the trick: Cox often hides these settings in their app rather than the website.
Note on the “Static IP” Confusion: You might see forums talking about “Static IPs” for Cox. Ignore this. You do not need a static IP to run a guest network. That is a rabbit hole you don’t need to go down!
If you have a Netgear, Linksys, or Asus router, the process is similar.
192.168.1.1 or 192.168.0.1. (Check your manual or the sticker if these don’t work).Setting up a guest network is a proactive safety net for your digital home. It’s similar to how you might configure the iPhone emergency SOS feature—you hope you don’t encounter a disaster, but having the protection pre-configured gives you incredible peace of mind. Just as Emergency SOS calls for help when you can’t, a Guest Network blocks intruders (and nosey guests) so you don’t have to monitor them constantly.
You aren’t done until you verify it works.
If it works, congratulations! You have successfully partitioned your digital life.
Now, do yourself a favor. Write this new password down on a nice index card or a piece of paper. Stick it on the fridge. The next time the family comes over, you don’t have to crawl on the floor. You just point to the fridge and say, “Help yourself, but stay out of the main house!”

No. This is a common myth. Think of your internet connection like a water pipe coming into your house. The Guest Network adds a second faucet, but it doesn’t shrink the pipe. If you have 10 people all streaming movies at once, things will slow down, but simply having the guest network turned on does not reduce your speed.
No. As long as you are on your Main Network and they are on the Guest Network, they cannot see your browsing history, your files, or your printer. That is the beauty of “Network Isolation.”
You can, but you don’t have to. Since it has a password, neighbors can’t just hop on. Many people leave it on permanently so it’s ready for the next visit. If you want to be extra secure, you can disable it in the app when the house is empty.
Maybe not. If you log in and don’t see “Guest Network” anywhere, your equipment might be a bit of a dinosaur. This might be a sign it’s time to upgrade—not just for the guest features, but because older routers often lack modern security updates that keep hackers out.
Now that your network is segmented and secure, you’ve taken a massive step toward hardening your home security. You are no longer the “low hanging fruit” for digital snoops.
Want to learn more about securing your handheld devices? Check out our guide on how the iPhone 16 emergency SOS works to keep you physically safe, just like your new network keeps you digitally safe.