Newsletter Subscribe
Enter your email address below and subscribe to our newsletter

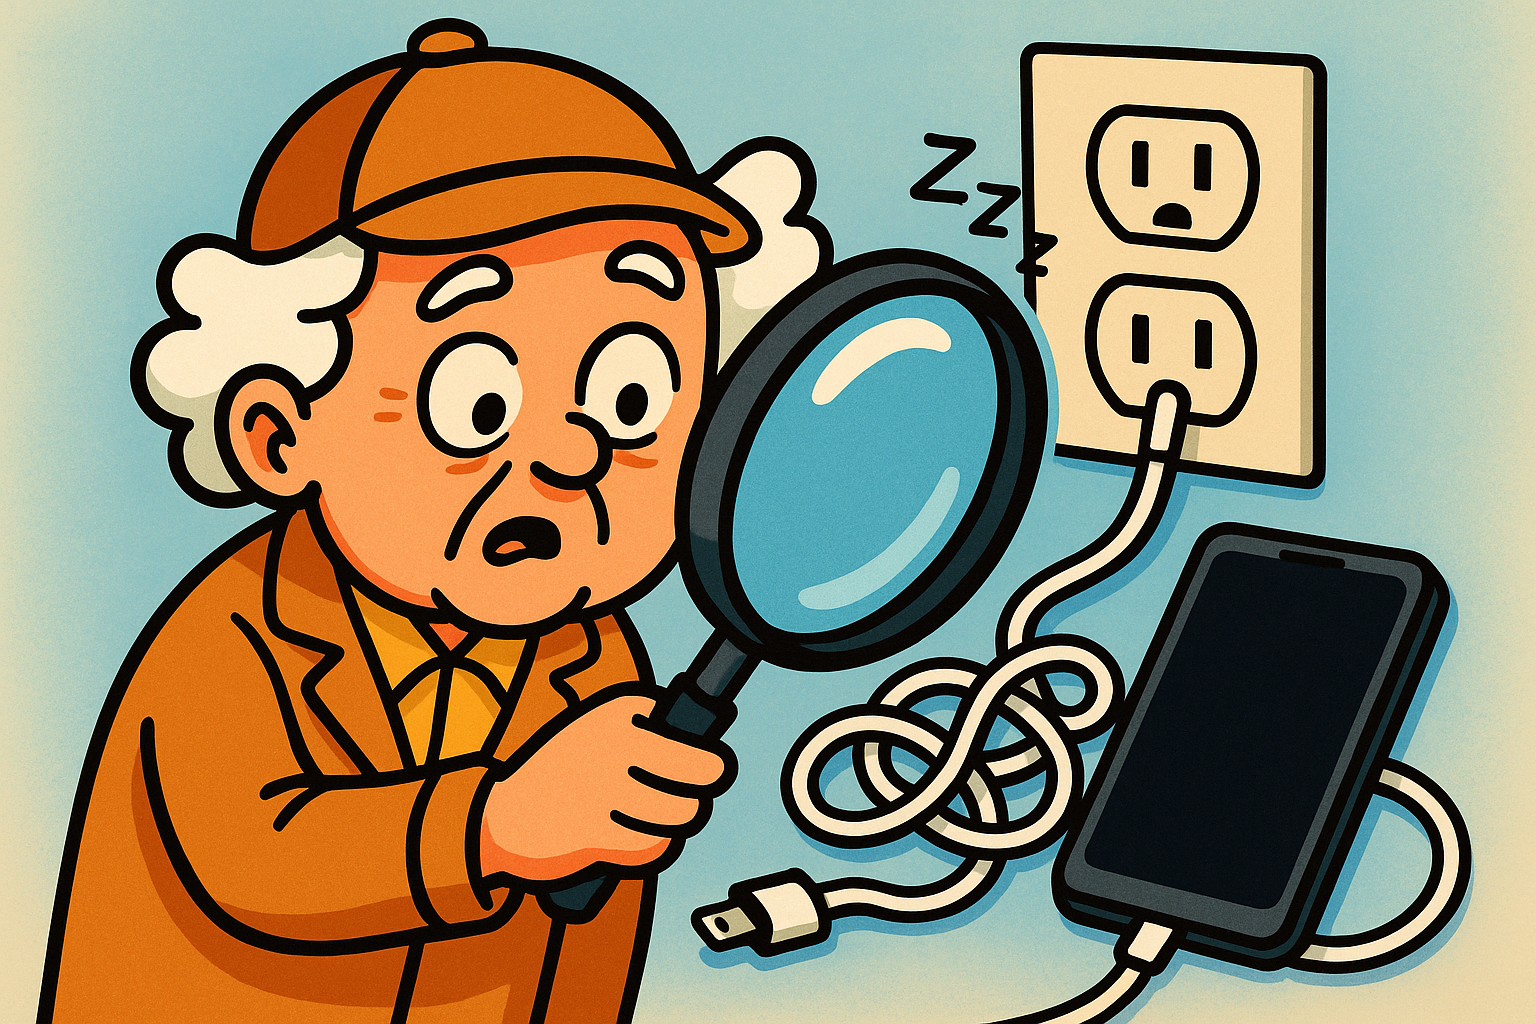
Have you ever tried to upload your grandkid’s birthday photos to a “cloud” service and found yourself staring at a progress bar that moves with the enthusiasm of a teenager asked to clean their room?
You start the upload, go make a sandwich, watch a whole episode of your favorite show, and come back to find it’s at… 4%.
At this rate, the photos will be safely backed up sometime around the next solar eclipse.
If this digital purgatory sounds familiar, you are not alone. For those of us with internet speeds that are more “leisurely stroll” than “superhighway,” the idea of backing up years of precious photos and files online can feel like trying to fill a swimming pool with a leaky thimble.
The good news is, you can completely sidestep this frustration. You don’t need lightning-fast internet to keep your memories safe. You just need a little box that works a whole lot faster.
Let’s get one thing straight: “The Cloud” is just a fancy name for someone else’s computer that you rent space on. To put your files there, your computer has to send them over the internet.
With large files like photos and videos, a slow internet connection turns this process into an absolute slog.
This is where our hero comes in: the external hard drive.
Think of an external hard drive as a super-spacious, private photo album. Instead of painstakingly mailing each photo one by one to a storage facility across the country (like a slow cloud upload), you’re just putting the whole album into a safe box right next to you.
It’s fast, it’s private, and it doesn’t care one bit how slow your internet is.
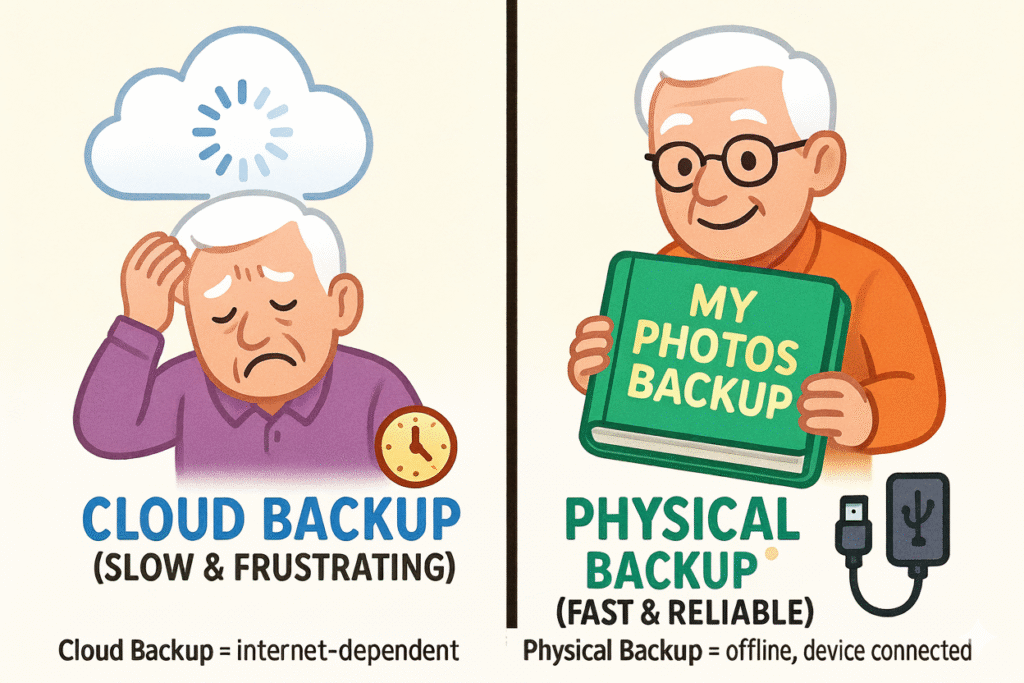
The best part? You are in complete control. There are no monthly fees, no passwords to forget, and no watching a progress bar mock your very existence.
Ready to take back control? This is easier than programming a VCR back in the day, we promise.
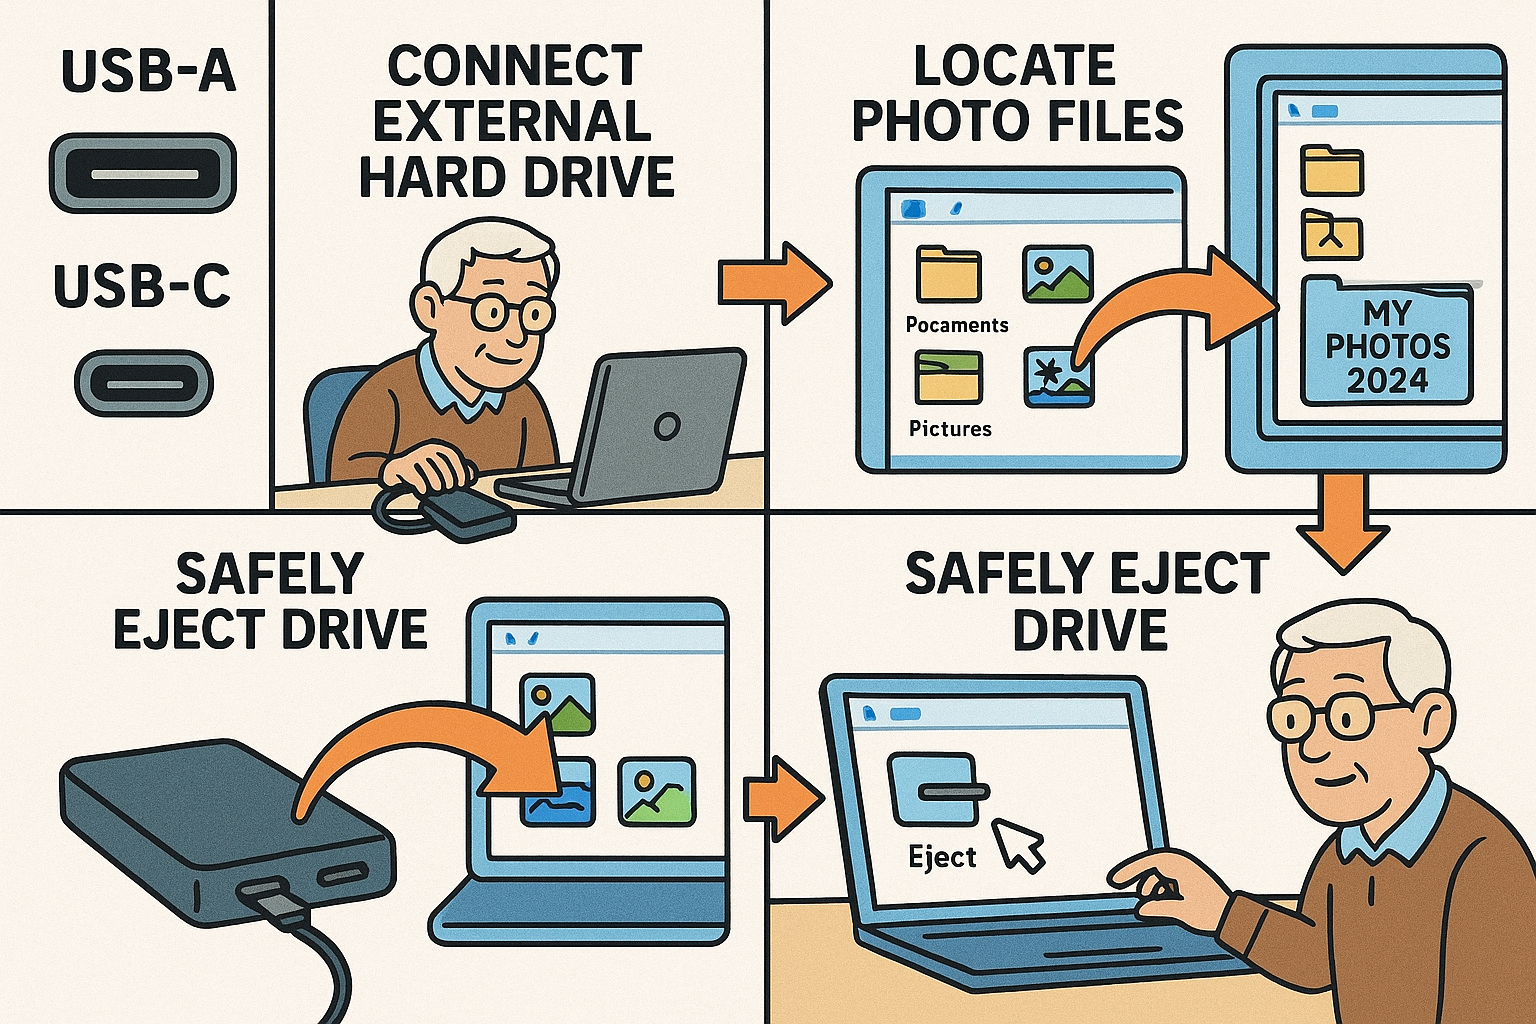
You don’t need anything fancy. When you’re shopping for an external hard drive, just look for two things: enough space (most modern drives have plenty) and a plug that matches your computer.
Don’t worry about terms like “SSD” vs. “HDD” for backups—either will do the job wonderfully.
This is the easy part. Your external drive comes with a cable. Plug one end into the drive and the other end into a rectangular hole (a USB port) on your computer.
That’s it! Your computer will make a happy little “bing” sound and a new icon will likely pop up on your screen, like a new drawer has just been added to your filing cabinet.
Now for the fun. Find the photos or files on your computer you want to back up.
Open the new drive icon as well, so you have two windows open. Now, just click and hold the folder with your photos, drag it over to the window for the external drive, and let go.
Voila! You’ll see a new progress bar, but this one will actually move at a respectable speed. You’re now copying your files directly, no internet involved. Go grab a cup of coffee—this will be done before it gets cold.
Most of our pictures live on our phones, right? The simplest way is to get them onto your computer first. Plug your phone into your computer using its charging cable. Your computer will recognize it, and you can copy the photos from your phone to your computer’s “Pictures” folder. From there, just drag and drop them to your external drive!
The pros have a simple rule for keeping data super-safe, and it’s called the 3-2-1 rule. It sounds technical, but it’s as simple as pie.
It means: Have 3 copies of your important files, on 2 different types of devices, with 1 of those copies stored somewhere else (off-site).
You might think that requires the cloud, but it doesn’t! Here’s the slow-internet-friendly version:
Just update that second drive every few months, and you’ll have a bulletproof system for protecting your memories that is 100% frustration-free.
After you’ve copied everything, “eject” the drive safely from your computer (usually by right-clicking the icon and selecting “Eject”). Unplug it, then plug it back in. Open the drive and click on a few photo files. If they open up, you know your backup is a success!
It depends on how many new photos you take. A good rule of thumb is to back up new photos once a month. Just create a new folder on your external drive for that month (e.g., “Photos – May 2024”) and copy the new pictures into it.
Nope! After your first big backup, you only need to copy over the new stuff. This is called an “incremental backup” and it saves a lot of time.
Almost certainly, yes. The USB connector has been a standard for decades. As long as your computer has one of those rectangular ports, you’ll be good to go.
You don’t need to be a tech wizard to protect your digital life. With a simple external hard drive, you can take charge of your backups, keep your memories safe, and tell that spinning internet upload wheel to take a hike.