Newsletter Subscribe
Enter your email address below and subscribe to our newsletter
Enter your email address below and subscribe to our newsletter

We all have The Box.
You know the one. It lives in the back of a closet, under the bed, or perhaps in the attic where it serves as a luxury condo for spiders. It is stuffed with the chaotic paper trail of your life and the lives of those before you. Inside, you’ll find your grandmother’s handwritten recipe for a casserole that defied the laws of physics, a birth certificate that looks like the Declaration of Independence, and a letter from your Uncle Stan written in 1964 about how much he hated the weather in Cleveland.
You know you should do something with it. You worry about a burst pipe, a hungry moth, or simply the slow fade of ink turning your family history into invisible ink. But the thought of organizing it feels about as fun as a root canal performed by a sadist.
Here is the good news: You don’t need a degree in Library Science to save these treasures. You don’t even need expensive equipment. You just need a plan, a pot of coffee, and the willingness to finally tackle The Box.
The biggest mistake eager historians make is trying to scan everything. If you try to digitize every receipt, greeting card, and blurry photo of a thumb, you will burn out by Tuesday.
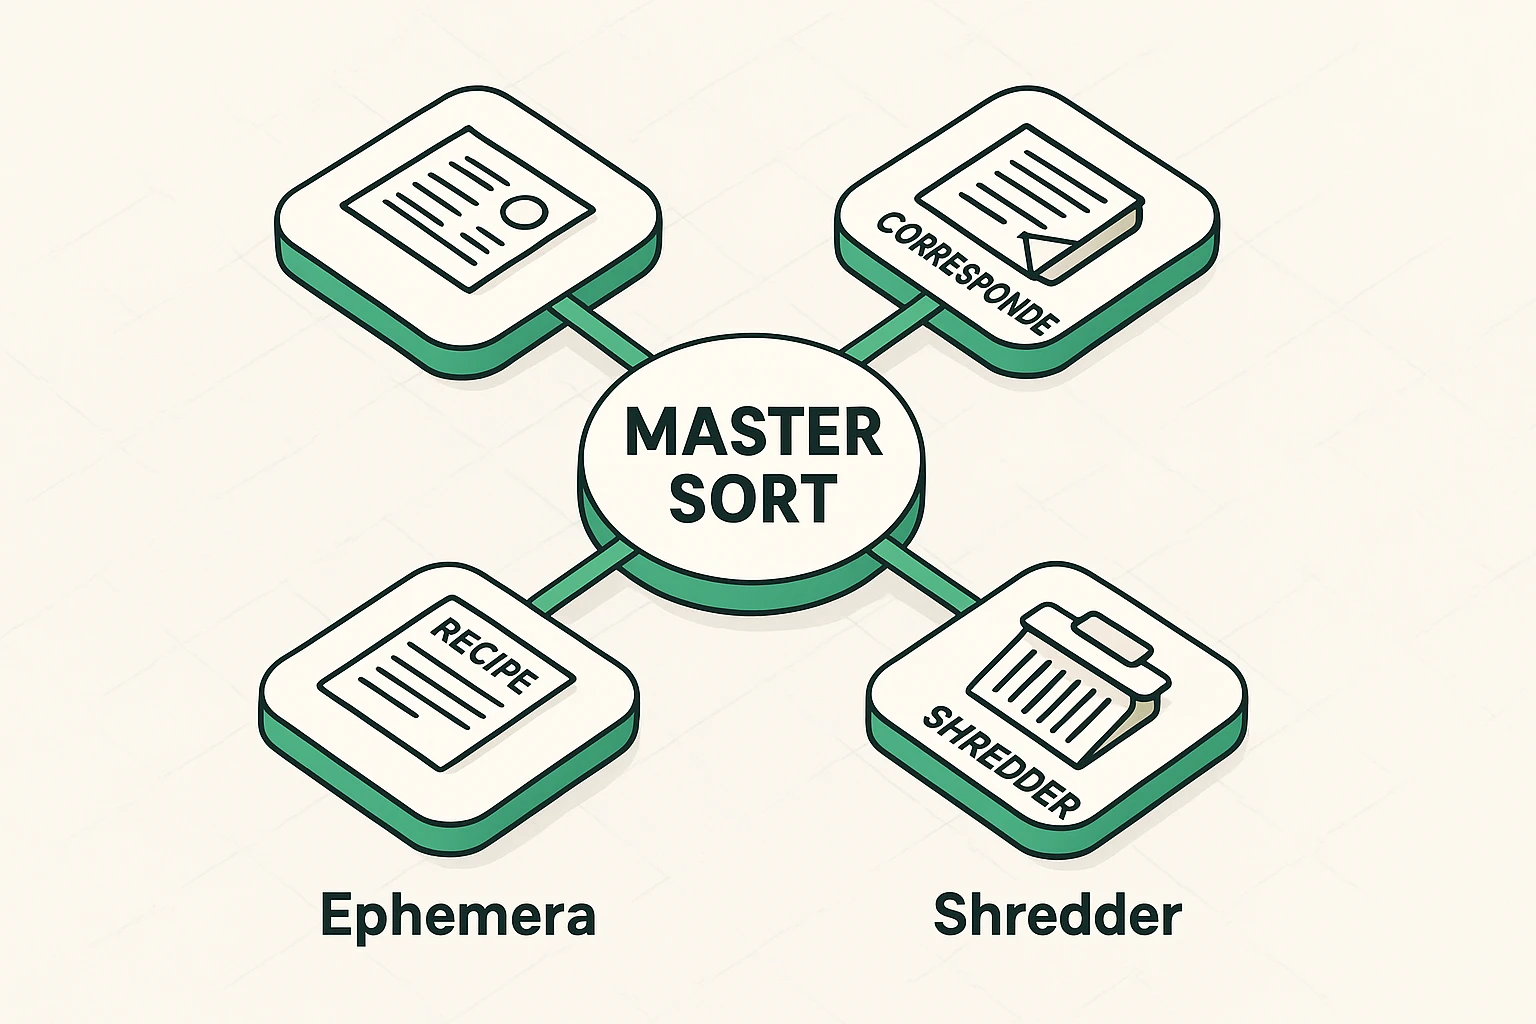
Before you turn on a single computer, you need to clear a large table and start the “Master Sort.” We are going to channel our inner museum curator and divide everything into four piles:
These are the heavy hitters. Birth certificates, marriage licenses, military discharge papers, and deeds. These aren’t just sentimental; they are legal necessities. These get scanned first, and the originals must be kept in a fireproof box or safe deposit box.
Letters, postcards, and diaries. These tell the story of who your people actually were. That letter where your dad talks about meeting your mom? Keep it. The postcard from the dentist reminding you of an appointment in 1993? Toss it.
“Ephemera” is a fancy archivist word for “stuff that was meant to be thrown away but wasn’t.” This includes Grandma’s index cards stained with vanilla extract and newspaper clippings. These are high-priority for scanning because they are usually made of cheap paper that is rapidly disintegrating.
Duplicates, blurry photos, and receipts for appliances you haven’t owned since the Reagan administration. Be ruthless. If it doesn’t tell a story or prove a fact, let it go.
Now that we have separated the treasures from the trash, how do we get them into the computer? You might picture a giant, humming Xerox machine, but technology has become much friendlier.
You generally have three options, and the right choice depends on what you are holding.
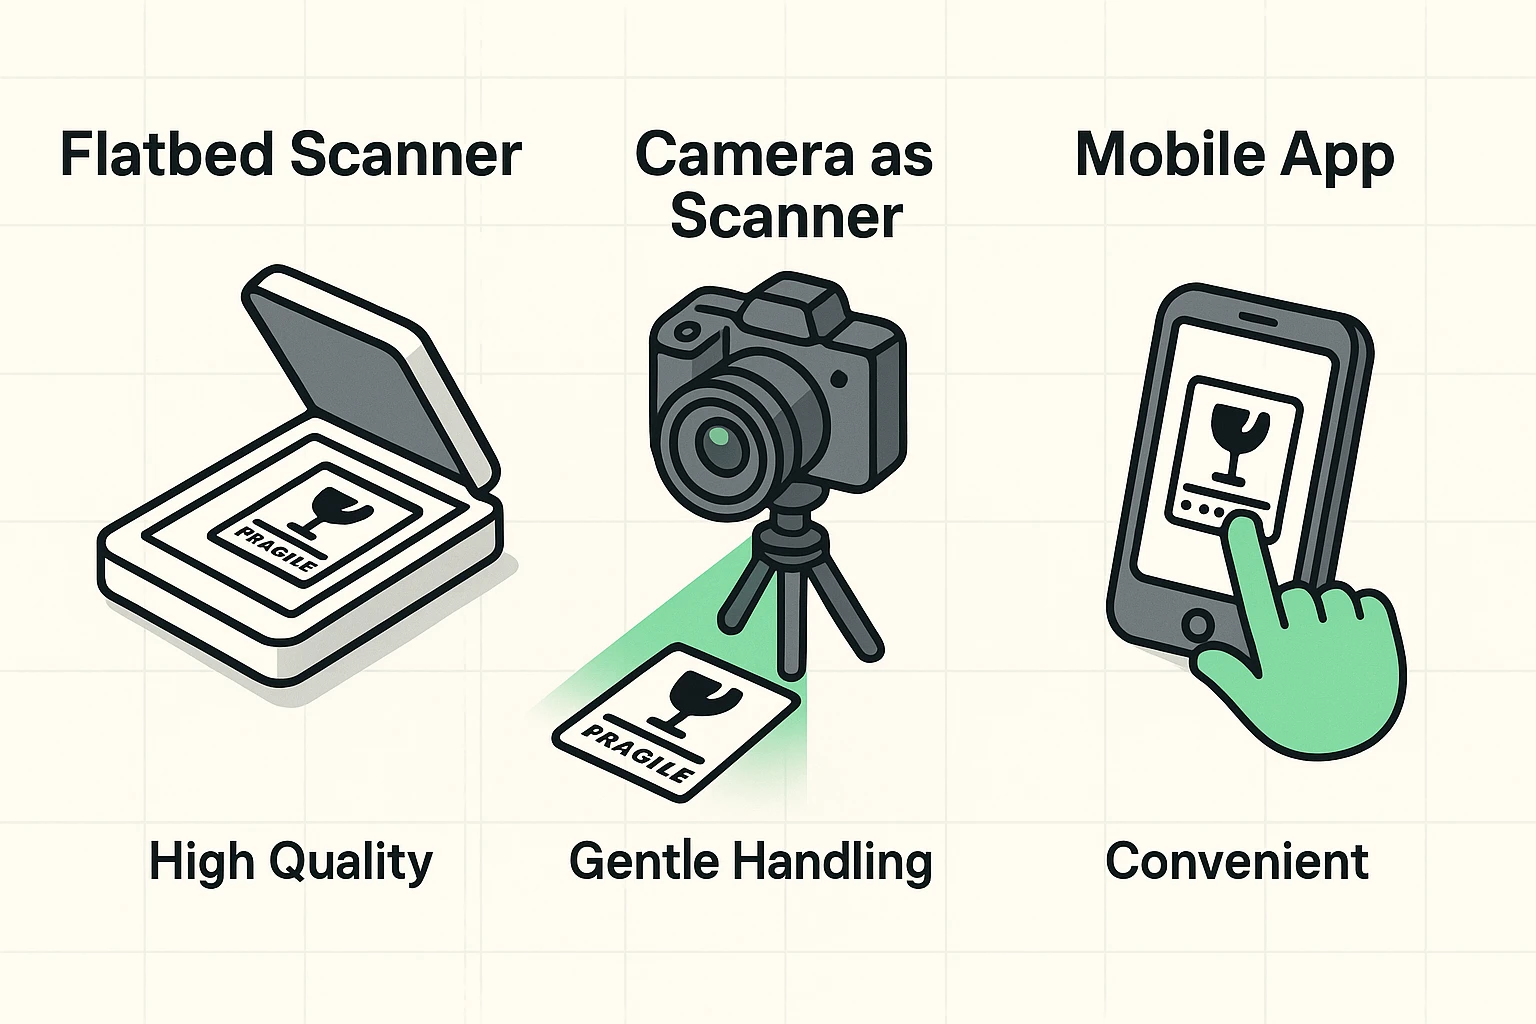
For robust items like photos and standard letters, a flatbed scanner is king. It provides consistent lighting and keeps the paper flat.
The “Aha” Moment: Stop using the default settings! Most scanners default to 72 or 150 DPI (dots per inch), which is fine for email but terrible for printing. Set your scanner to 300 DPI for documents and 600 DPI for photographs. This ensures that if you want to print a copy for your grandkids, it won’t look like a blurry Minecraft painting.
Have a brittle letter that feels like it might crumble if you look at it wrong? Do not smash it into a flatbed scanner. Instead, use your smartphone or a digital camera.
Modern apps like Adobe Scan or Microsoft Lens act as a scanner in your pocket. They find the edges of the paper, flatten the image, and remove the glare. This is where modern tech really shines—using ai for seniors to store and retrieve documents creates a process that is often faster and safer for fragile items than traditional hardware.
Here is a common frustration: You scan a letter from 1910, but the handwriting looks like a seismograph reading during an earthquake.
In the past, you had to type that all out manually. Today, technology is catching up. Many scanning apps now use Optical Character Recognition (OCR) that can actually read cursive. This means you won’t just have a picture of the recipe; you’ll have a searchable text file. Imagine typing “chocolate cake” into your computer and instantly finding Grandma’s card.
Congratulations! You have scanned the documents. Now, where do you put them so they don’t vanish when your computer decides to take an unscheduled permanent nap?
We use a rule in the tech world called 3-2-1-0. It sounds like a countdown, but it’s actually an insurance policy for your memories.
You need three distinct copies of your files. One is the “working” copy on your computer.
Don’t put everything on two USB drives from the same brand. Keep one copy on your computer’s hard drive and another on an external hard drive or USB stick.
This is vital. If (heaven forbid) there is a fire or a flood, the drives in your house won’t survive. Cloud storage (like Google Drive, Dropbox, or OneDrive) keeps a copy safe on a server far away from your house.
This is the new “Archivist Rule.” Do not save files in formats that require specific, paid software to open. Save your images as JPEGs (for easy sharing) or TIFFs (for high-quality masters), and save your documents as PDFs. These are standard formats that will likely be readable 50 years from now.
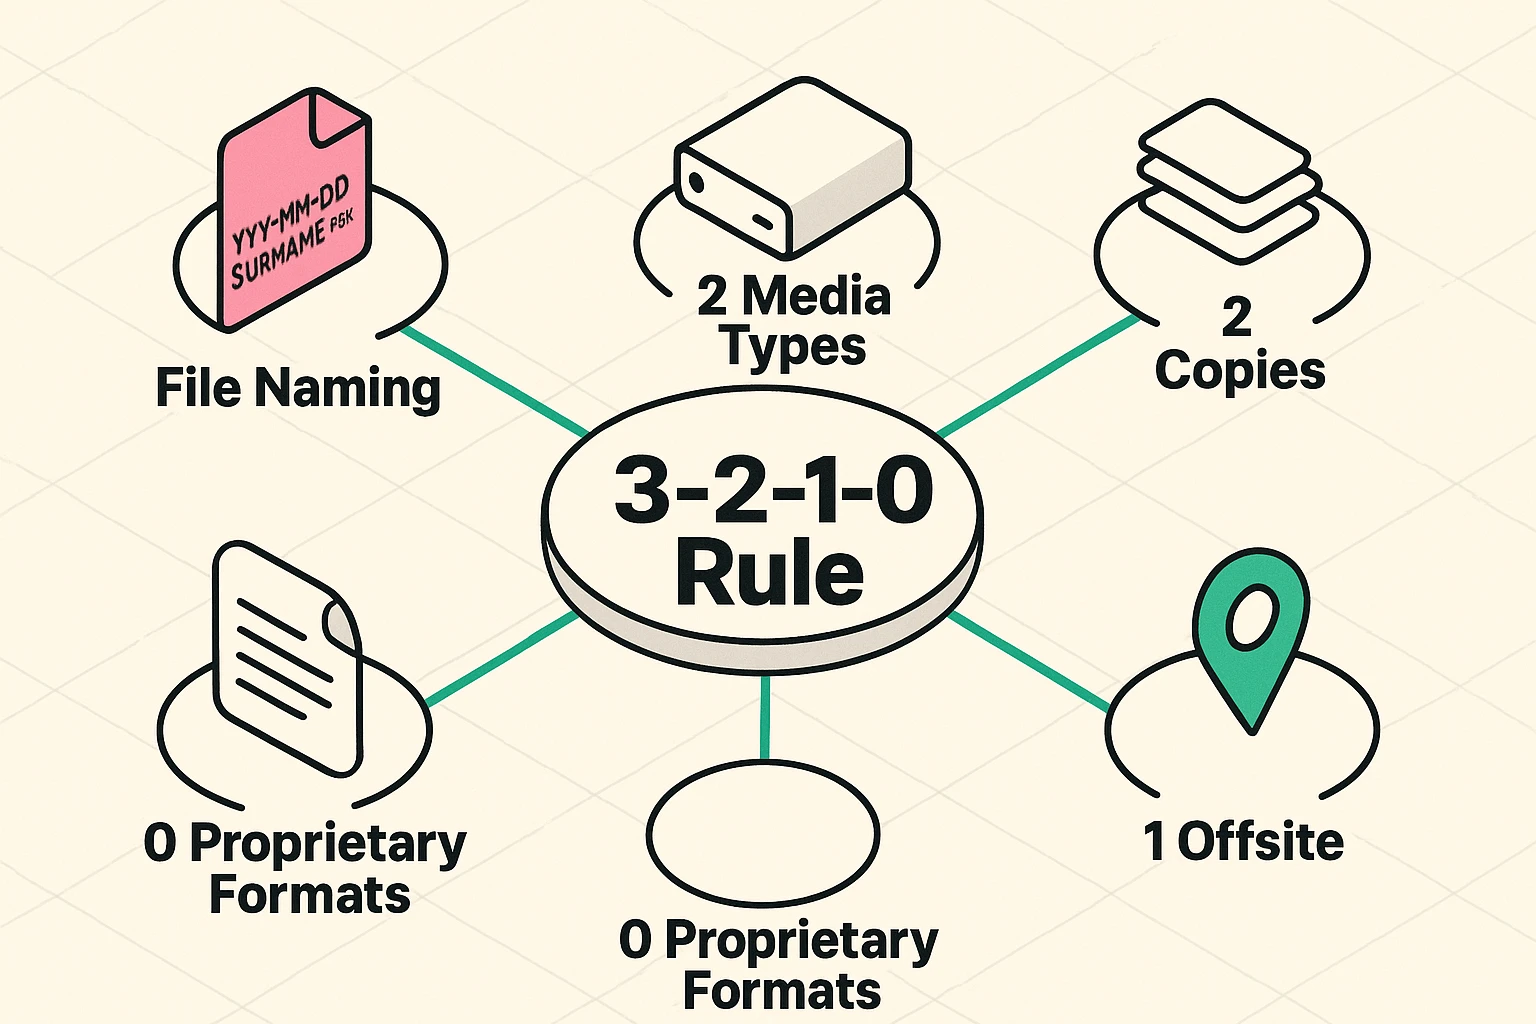
Do not—I repeat, do not—let your computer name your files “Scan00432.jpg.” When you look at that file in five years, you will have no idea what it is.
Use the “Date-Name-Event” format.
IMG_0988.jpg1965-06-Smith-Wedding-Certificate.jpgBy putting the date first (Year-Month), your computer will automatically sort your life chronologically. It’s a simple trick that makes you look like a organizing genius.
For vital records (birth certificates, deeds, wills), the answer is a hard NO. Keep those forever. For sentimental items like letters, it’s up to you, but many people find it hard to part with the original handwriting. For generic receipts or newspaper clippings? Recycle away.
Yes! When you scan, you don’t have to accept the image “as is.” Even basic photo software on your computer allows you to adjust the “Contrast” and “Exposure.” increasing the contrast often makes faint gray pencil pop out as readable black text.
Start with one folder. Do not look at the whole box. Pick the “Recipes” or “Letters from 1970” and just do that. Momentum is a powerful thing. Once you see that first crisp image on your screen, you’ll want to do the next one.
The best part of digitizing isn’t the organization—it’s the sharing. Once that recipe is a digital file, you can email it to your niece in Oregon, text it to your grandson in college, or post it on Facebook to humble-brag about your family’s baking lineage.
You are not just scanning paper; you are ensuring that your family’s story doesn’t end up in a landfill. You are building a bridge to the future, one PDF at a time. And frankly, that beats letting the spiders have it.
Ready to make your search even easier? Learn how new technology is helping archivists by using ai for seniors to store and retrieve documents, turning messy piles into searchable history.