Newsletter Subscribe
Enter your email address below and subscribe to our newsletter
Enter your email address below and subscribe to our newsletter

Remember the good old days when we had shoeboxes full of printed photos (or even *gasp!* slides)? We’d spend hours flipping through them, reminiscing about the past and laughing at our questionable fashion choices.
Now, instead of shoeboxes, we’ve got digital albums—thousands upon thousands of photos scattered across devices, cloud accounts, and somewhere deep in your email attachments.
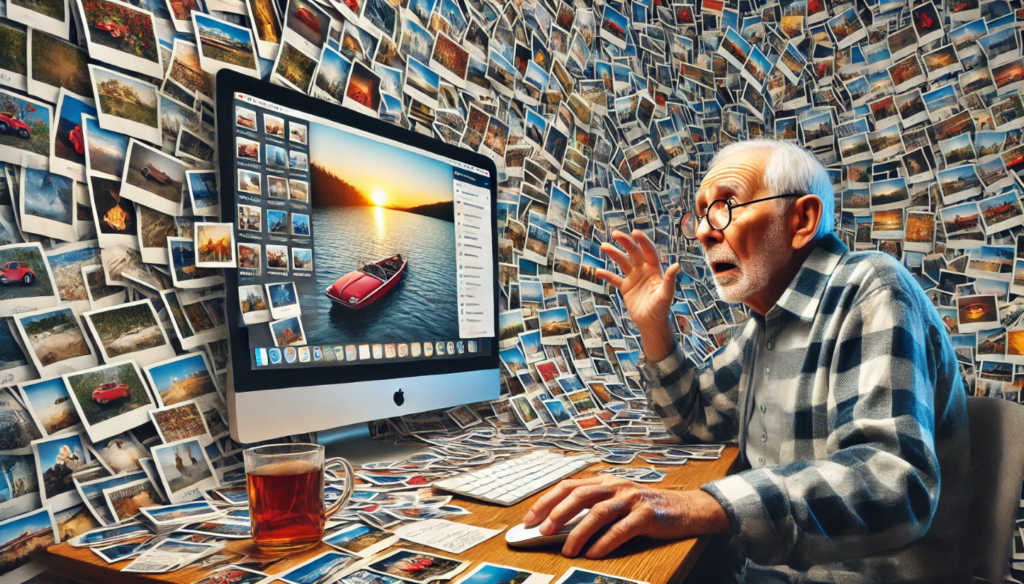
Have you ever tried to find that one perfect photo from your last vacation? You know, the one where you’re not blinking, everyone’s actually smiling, and there’s a beautiful sunset in the background?
It’s buried somewhere among 14,000 pictures of receipts, blurry shots of your grandkids running at the speed of light, and countless identical sunset photos (that, let’s face it, all look exactly the same)?
If this sounds familiar, you’re not alone. Organizing your digital photos can feel like trying to tame a herd of cats.
And we’re not going to sugarcoat things here; that’s not far off from reality. It’s a project that could take days, weeks, or even longer to really get under control.
That said, if you’re willing to tackle the challenge, there’s a light at the end of the tunnel: a neatly organized photo collection where every memory is at your fingertips.
Yes, it’ll take time—but once it’s done, you’ll wonder how you ever lived without it.
So, if you’re up to the task, grab a cup of tea (or something stronger if you need it), and let’s dive into how to turn that digital chaos into a well-organized photo collection!
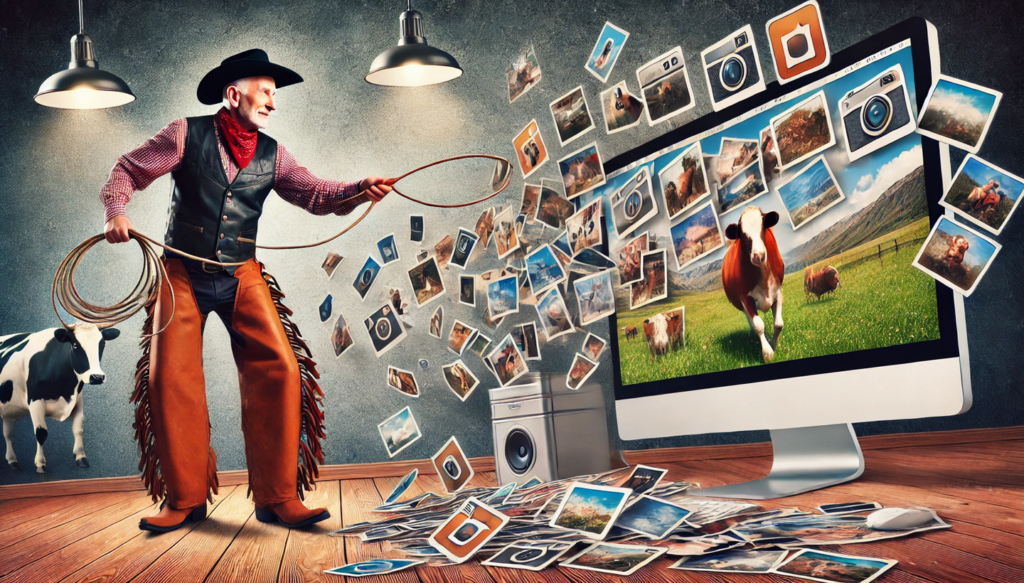
Before you start organizing, get all your photos in one spot. So, the first step is to round up all those stray photos like a digital cowboy gathering wayward cattle.
That means finding every picture you’ve taken on every device—check your phone, tablet, laptop and any old cameras hiding in the back of your closet. Also check your social media accounts, and maybe even an old floppy disk or two (hey, we won’t judge!).
As for where to put them all? It can be the hard drive of your computer.
It can also be a cloud storage solution. For most of us, that place can be Apple Photos for iPhone users or Google Photos for Android users.
Both apps are free, easy to use, and sync across your devices, so you can always find the right picture—no matter if you’re using your phone, computer, or even your friend’s iPad that they let you borrow to watch cat videos.
If you’re not into Apple or Google, you can use another service like the privacy-focused Proton Drive or Dropbox.
Personally, I have all my photos on an external hard drive that gets backed up to a cloud storage solution. I sleep better having multiple copies of these treasured memories!
Once you’ve wrangled all your photos into one place, give yourself a pat on the back – you’ve already made progress!
Remember those old photo albums and shoeboxes we mentioned earlier? It’s time to bring them into the digital age.
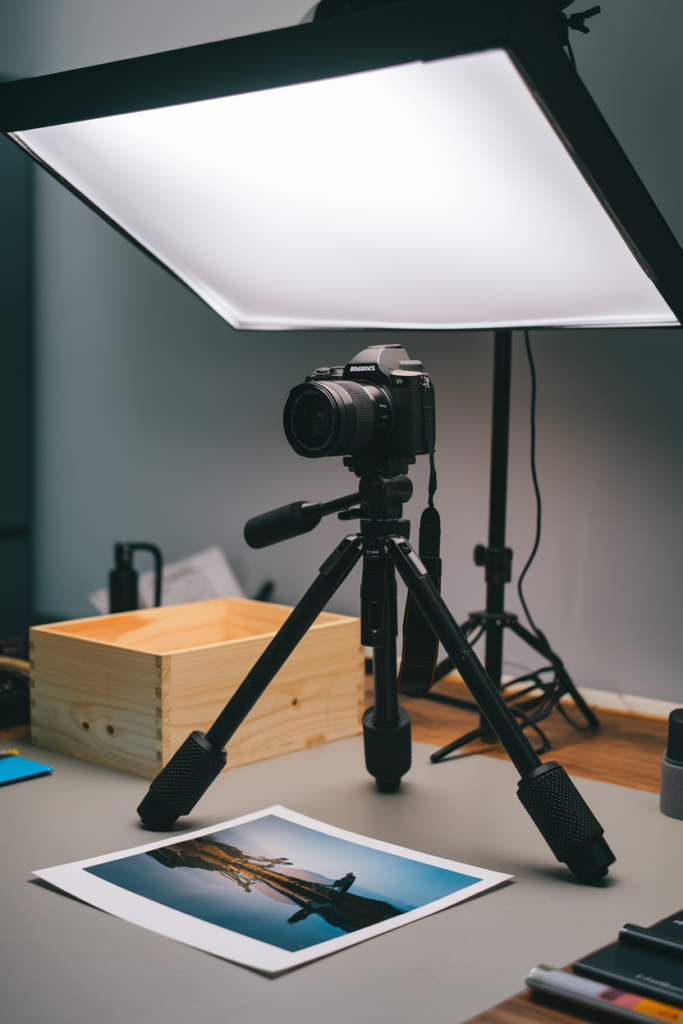
You can use a scanner, your smartphone or even a digital camera to digitize those precious prints. Just make sure to dust off the cobwebs first!
Scanners are generally the easiest and fastest. Using a true digital camera (DSLR, mirrorless) will give you the best results.
Speaking from personal experience, this ups the degree of difficulty a bit. And, when you’ve got thousands of print photos lying around like I do, it will take A LOT of time!
For me, however, this step was totally worth it. You may feel differently.
Either way, if you do digitize your photos, add them to your hard drive or cloud storage so all your memories will be in one convenient place.
Now that all your photos are in one place, it’s time to create some order out of the chaos.
Imagine your photo collection as a big library. Without proper sections or labels, it’s hard to find what you’re looking for. We’re going to make things easy by organizing photos into folders.
A good, simple system is to use folders based on dates. This is what I do.
For instance, you could have folders like “2023,” then break it down into “August – Hawaii Trip” or “December – Christmas with the Family.”
This way, everything is organized chronologically by specific events. So, if you’re ever looking for that great holiday dinner shot, you won’t need a magnifying glass and a Ph.D. in file hunting.
Next up: file renaming.
I consider this step optional. I don’t do it myself. I find creating a good folder structure like we just described gets me what I need.
But, renaming your photos can make it quicker and easier to find them.
By default, many of your photos have names like “DSC_0078.jpg,” which is about as descriptive as calling your cat “Animal_001.”
When organizing, it’s helpful to give your files names that make sense. Consider a system like “2023-08_Hawaii_Sunset.jpg.”
If you’re thinking, “Rename thousands of photos one-by-one? I don’t have time for that!”—don’t worry. Most photo apps have an option to batch rename files, so you can do it all at once.
Now comes the fun part: deleting the junk.
If you’re anything like me, you’ve got 47 blurry shots of the neighbor’s cat, 25 pictures of your thumb, and receipts from the time you bought garden gloves three years ago.
It’s time to Marie Kondo those photos and delete anything that doesn’t bring you joy—or even makes you wonder, “Why did I take this?”
Start by deleting the easy stuff: screenshots, duplicates, and accidental photos of the inside of your pocket.
Both Apple Photos and Google Photos have handy features that can help you find and delete these items more easily—just search for “screenshots” or check for duplicates highlighted by the app.
For those “iffy” photos that you’re not quite ready to part with, move them into a “Maybe” folder for now. That way, they’re out of your main library, but you can go back and delete them later if you find you’re not missing them.
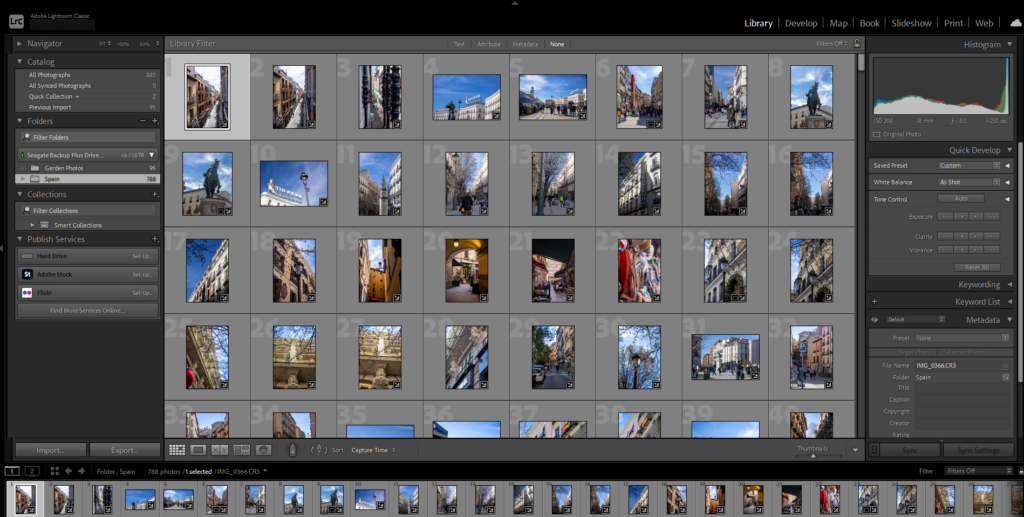
To take your photo organization to the next level, consider using photo management software. Think of it like having a personal assistant for your digital photos.
These programs can help you tag, categorize, and even search for specific photos based on who’s in them or where they were taken.
Some popular options include Adobe Lightroom (which I use and recommend), Google Photos, and Apple Photos.
These programs have begun to incorporate search and AI features. One particularly cool thing is their ability to identify and tag people across all your photos automatically.
So, if you ever want to bring up every picture of Cousin Eddie—whether he’s photobombing your birthday or passed out in a hammock—you can do it with a few clicks.
(Just imagine the look on Eddie’s face when you pull up every awkward moment of his in under ten seconds!)
Don’t worry if this photo management software seems overwhelming at first – just take it one step at a time, and soon you’ll be a photo-organizing pro!
Now that you’ve put in all this work organizing your photos, you want to make sure they’re safe and sound. Consider investing in an external hard drive to store all your precious memories.
Think of it like a digital vault for your photos. Plus, it frees up space on your devices, so you can take even more pictures of your adorable grandkids or that delicious pie you baked last week.
Don’t forget to back up your photos! You know how sometimes you misplace your reading glasses or forget where you parked? Well, computers can have memory lapses, too.
Make sure to have at least one backup of all your photos, whether it’s on another external hard drive or a cloud storage service. That way, even if technology fails you, your memories will be safe and sound.
Organizing your digital photos may seem like a daunting task, but just remember – you’ve faced bigger challenges in your life!
Take it one step at a time, and soon, you’ll be the proud owner of a well-organized digital photo library that makes finding and sharing the memories you love a breeze!