Newsletter Subscribe
Enter your email address below and subscribe to our newsletter
Enter your email address below and subscribe to our newsletter
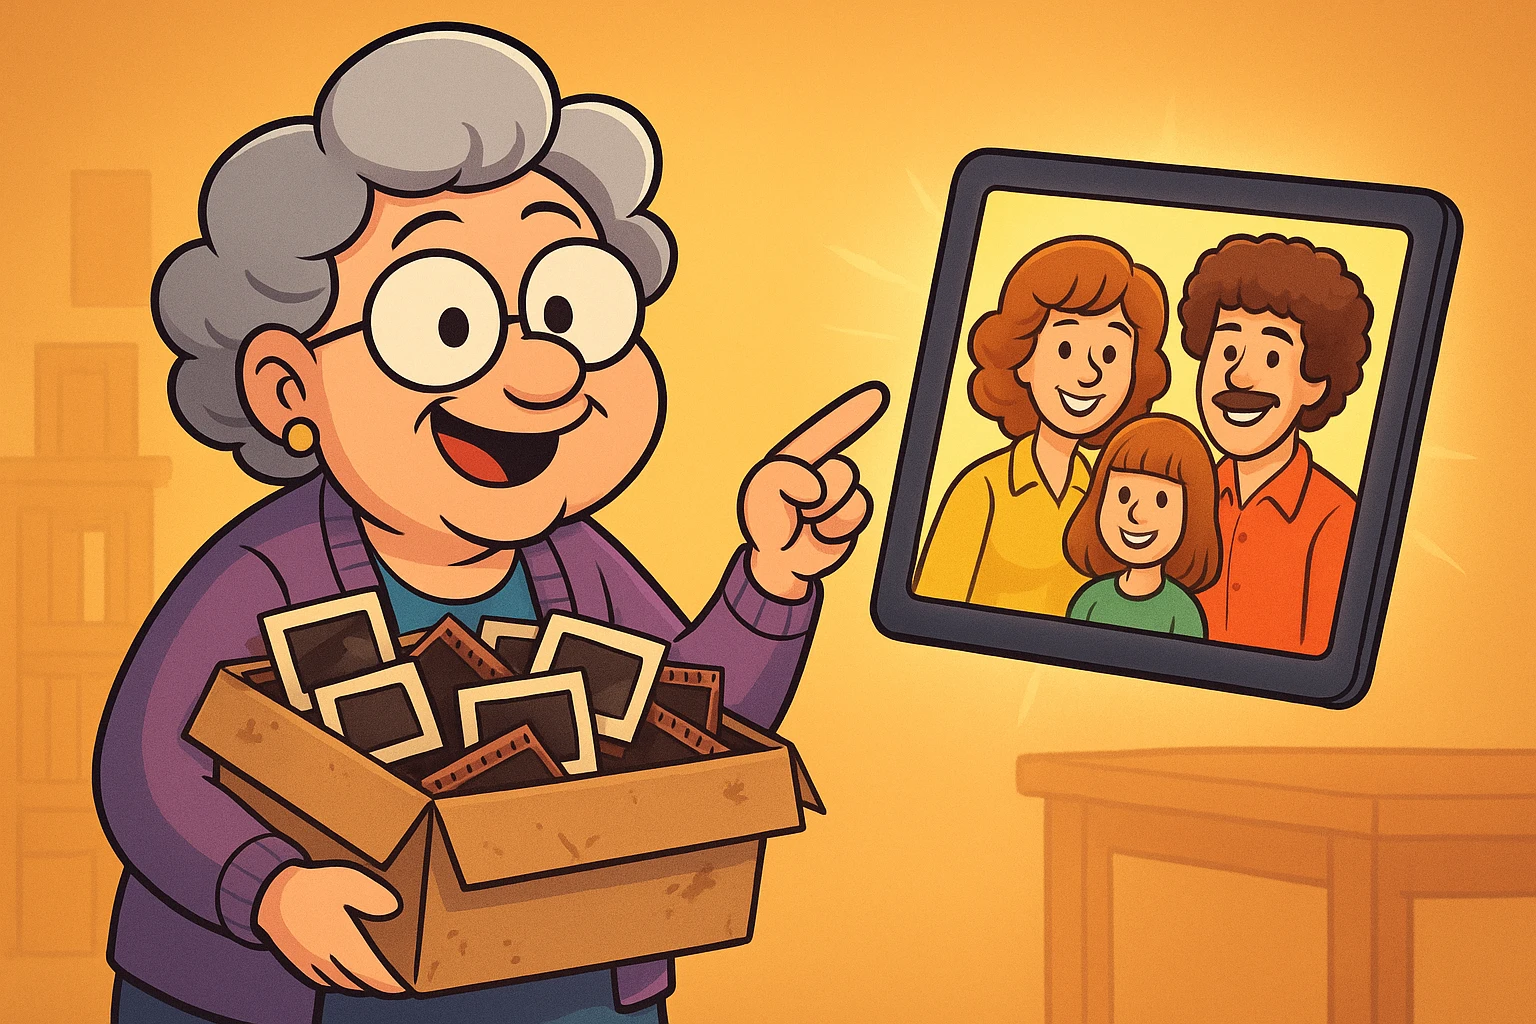
Remember the “good old days” of family photography? I’m talking about the era before smartphones, when taking a picture required physical effort, patience, and a small fortune in developing fees. Back then, family entertainment often involved a darkened living room, a wobbly portable screen, and a slide projector that sounded like a jet engine preparing for takeoff.
You’d sit there, listening to the rhythmic clack-whirrr-clack of the carousel, waiting to see if the next image was a beautiful landscape or just a blurry photo of your thumb.
Today, those carousels and shoeboxes of negatives are likely gathering dust in the back of a closet, nestled between your high school yearbook and that fondue pot you haven’t used since 1982. But here is the hard truth: those physical memories are fading. Unlike digital files, film has an expiration date. The colors shift, the plastic becomes brittle, and eventually, Uncle Bob’s face will fade into a ghostly white blob.
If you’ve been thinking about dragging those memories into the 21st century, you aren’t alone. But the process can feel overwhelming. Do you buy a scanner? Do you send them away in a box and pray? What on earth is a “DPI”?
Relax. Pour yourself a coffee. We are going to demystify the process of digitizing your slides and negatives without using confusing tech jargon or judging your 1970s fashion choices.
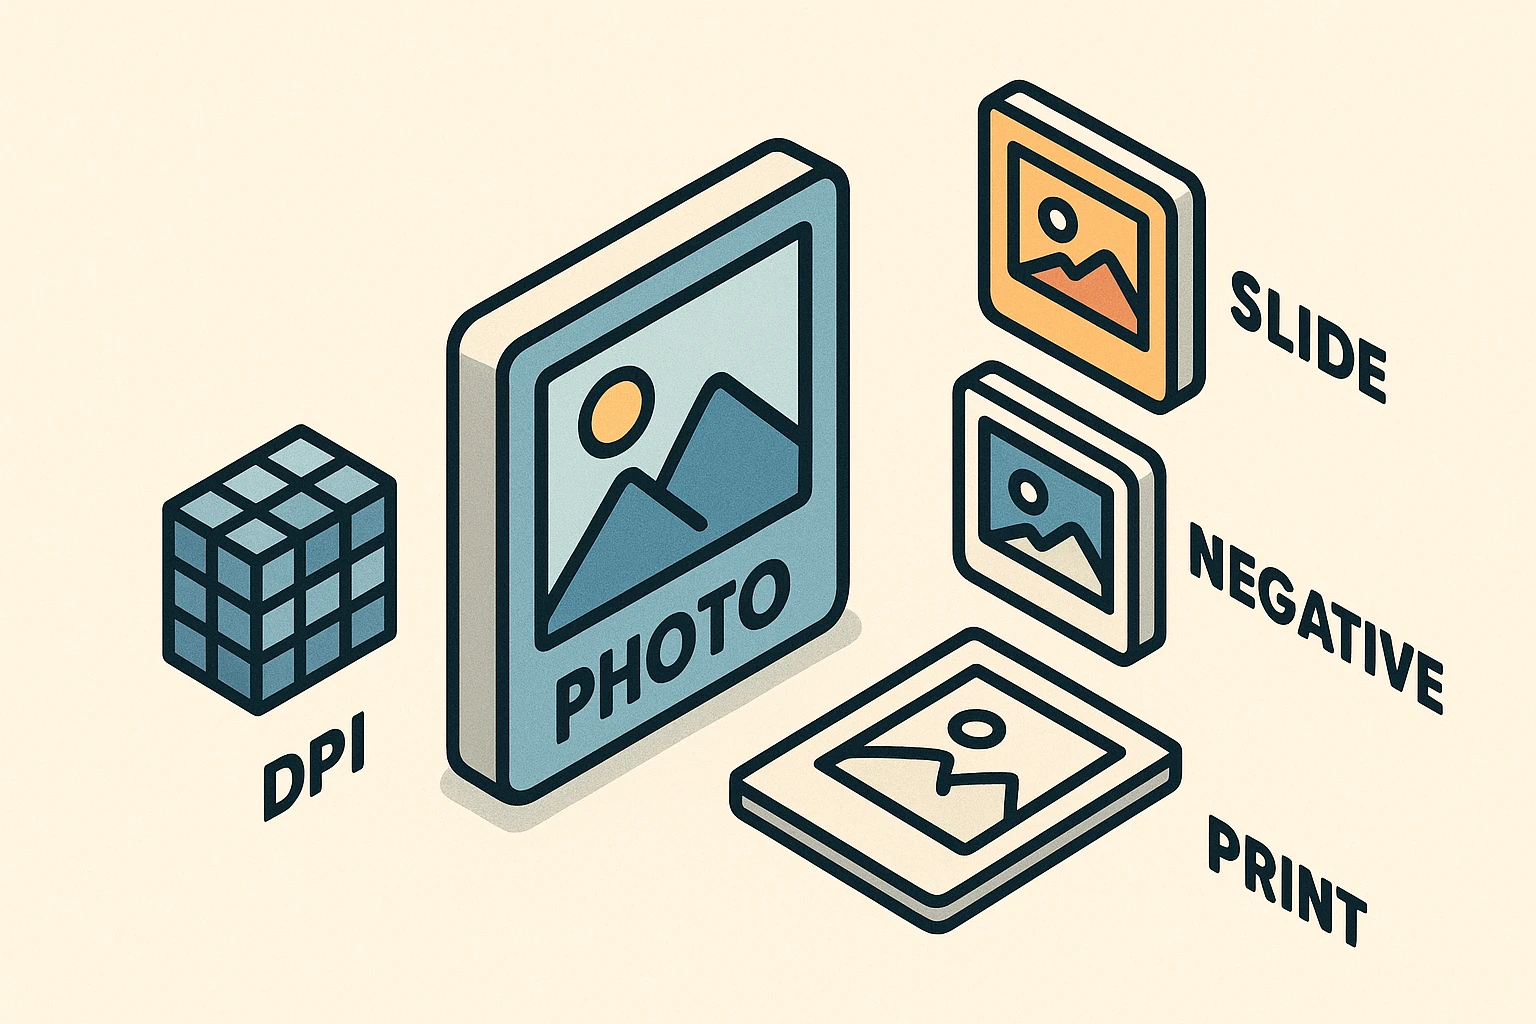
Before we start pressing buttons, we need to understand what we are actually working with. Many people assume that scanning a printed photograph is the best way to preserve a memory. Actually, that’s like making a photocopy of a photocopy.
If you have the original slides or the strips of negatives (those translucent brown plastic strips that usually lived in a flap on the back of the photo envelope), you have the “master copy.” Scanning these gives you a much sharper, clearer image than scanning a faded paper print.
However, moving from a tiny 35mm slide to a big digital image on your computer requires understanding one tricky concept: Resolution, or DPI (Dots Per Inch).
Think of a digital image like a mosaic floor. If you use big tiles, the picture looks blocky and jagged. If you use tiny, microscopic tiles, the picture looks smooth and detailed. DPI creates those tiles. Because a slide is so small (only about 1.4 inches wide), we need the scanner to use a lot of tiny “tiles” to make a digital picture big enough to view on your TV or iPad.
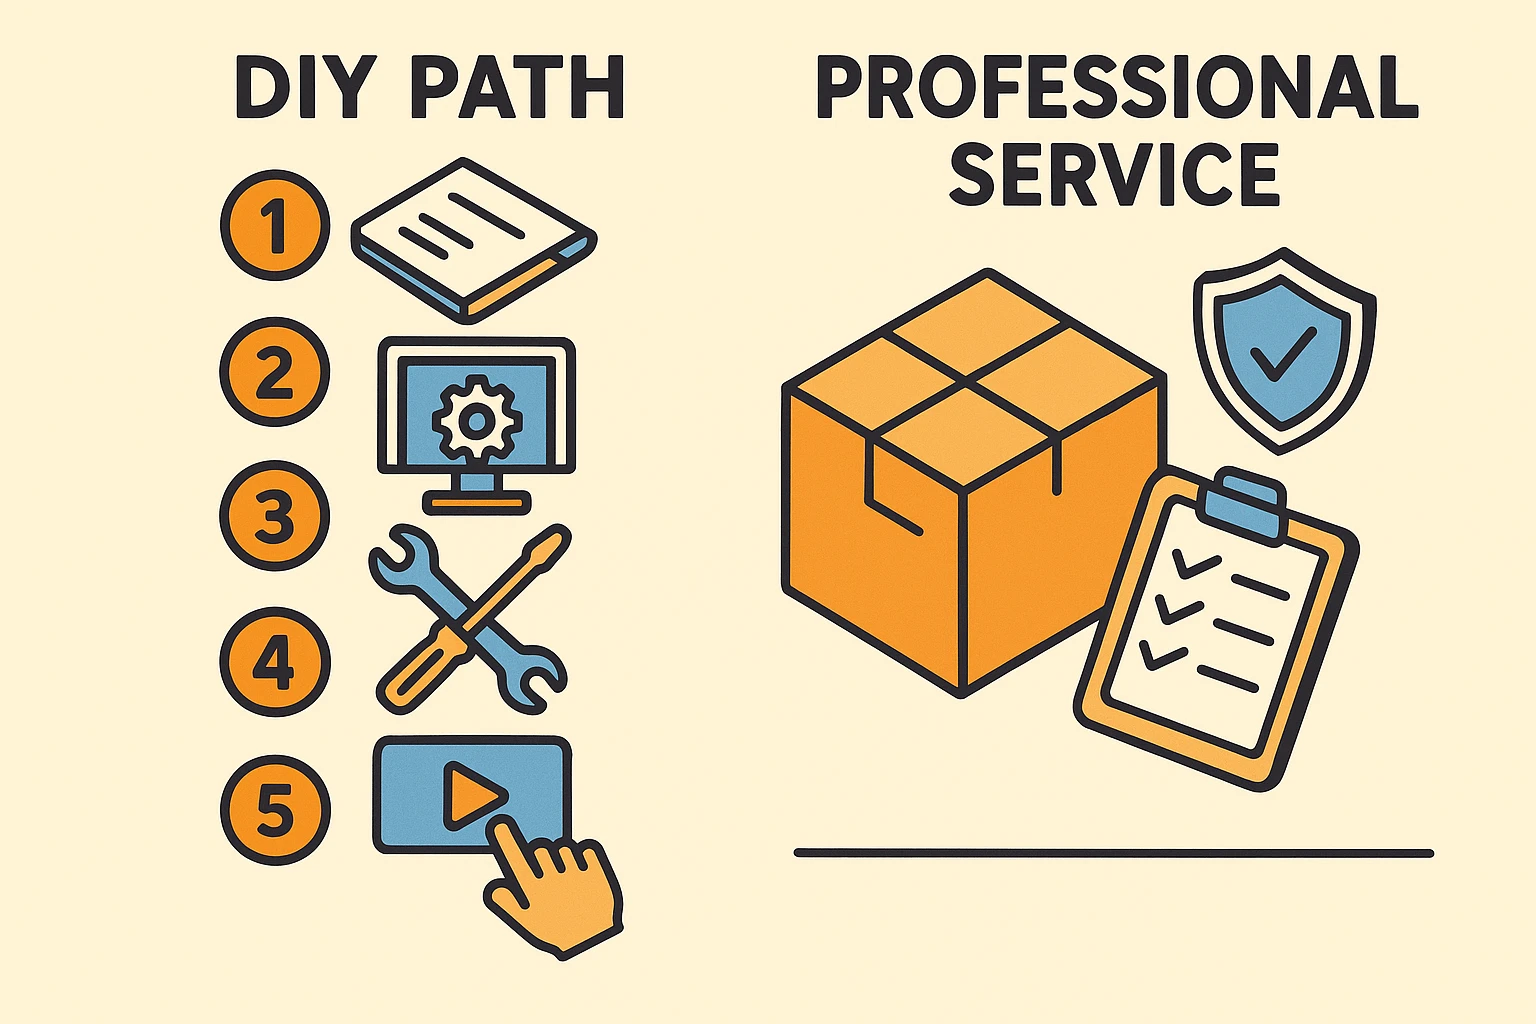
Now that we know why we are doing this, we have to decide how. This generally breaks down into two paths. Your choice depends entirely on how much free time you have and how much patience you possess for finicky technology.
This is the “I want this done, but I don’t want to do it” method. You pack your slides into a box, ship them to a company, and a few weeks later, you get your originals back along with a USB drive or a link to download your photos.
This is for the hands-on learner. You buy a scanner and do it yourself at the kitchen table.
If you’ve decided to brave the DIY route, you’ll need the right gear. You can’t just put a slide on a standard document scanner—the light has to pass through the film, not bounce off it. You’ll need a scanner specifically built for film, or a flatbed scanner with a “transparency unit.”
Once you have your machine, here is the battle plan:
Dust is your enemy. A tiny speck of dust on a slide will look like a boulder on your computer screen. Do not use water, Windex, or an old t-shirt. Use a generic “air puffer” (sold at camera stores) or a can of compressed air to gently blow the dust away.
Load your slides or negatives into the plastic holder that came with your scanner. Make sure you aren’t loading them backward, or all the signs in your family vacation photos will be unreadable.
This is where people get stuck.
Press the button. Wait. Listen to the whirring noise. Maybe knit a sweater.
Check the image on the screen. If it’s sideways, rotate it now. If it’s too dark, most software has an “auto-correct” button that works like magic.
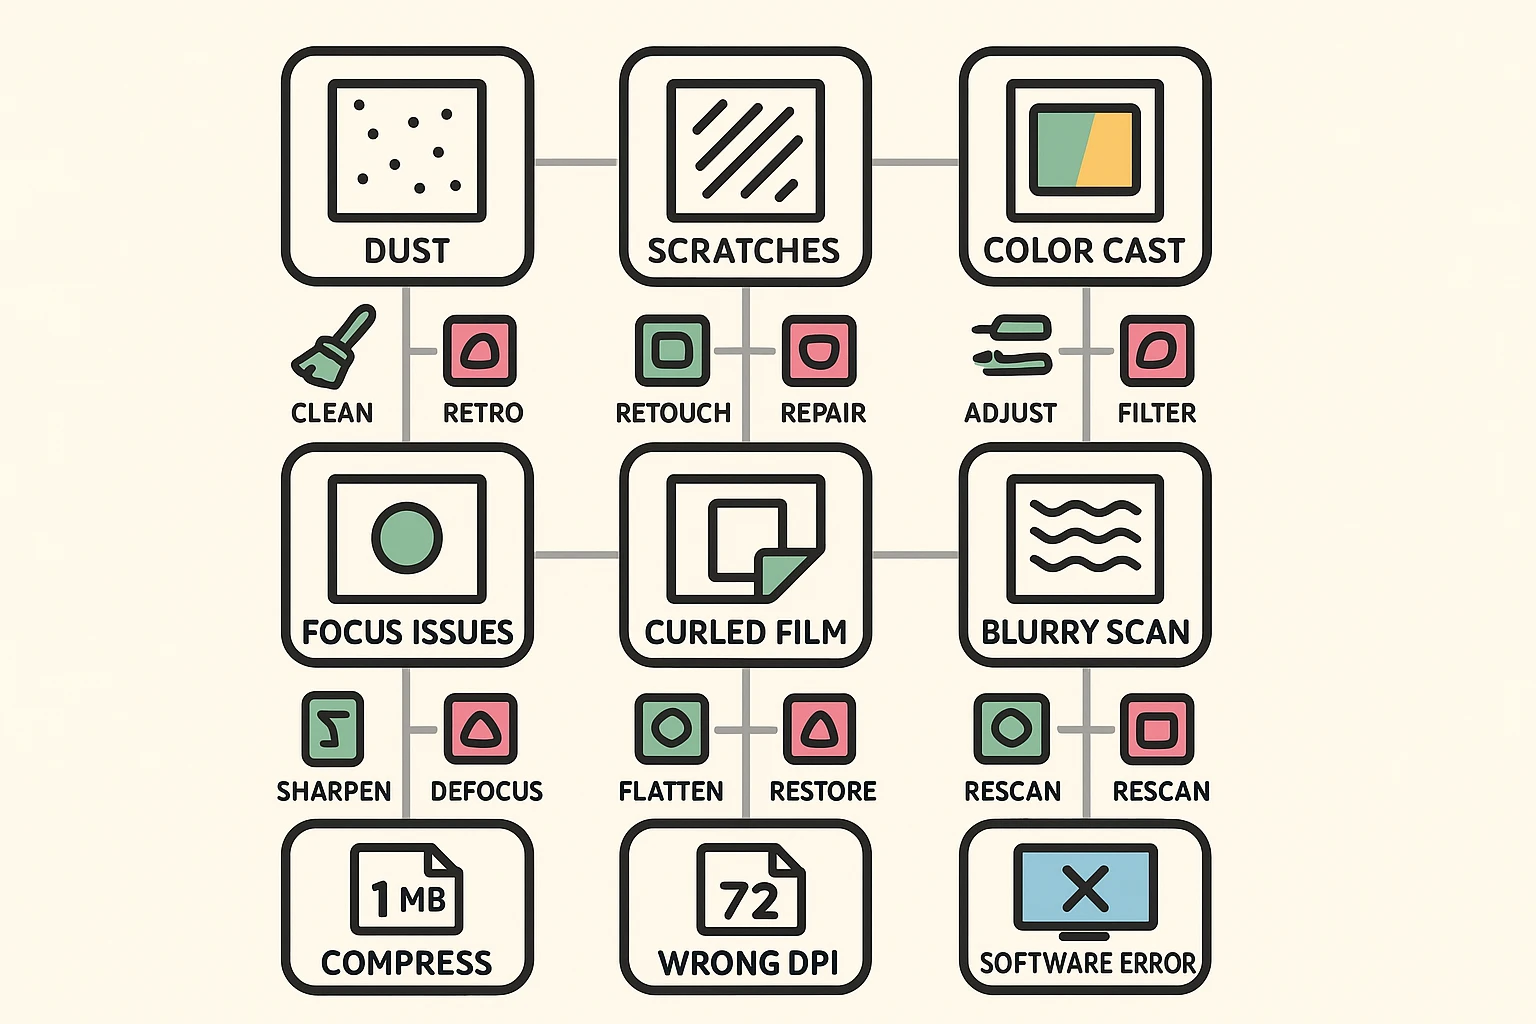
Sometimes, despite your best efforts, the result looks terrible. Don’t panic. Old film has a personality, and sometimes it gets cranky.
One common issue is Color Casting. Film dye fades at different rates. Often, old photos turn magenta or blue. This isn’t your fault; it’s chemistry. Look for a setting in your scanner software called “Color Restoration” or “Fade Correction.” It essentially tells the computer, “This snow isn’t supposed to be pink, please fix it.”
Another issue is the dreaded Newton Rings. These look like oily, rainbow-colored swirls on your image. This happens when the film touches the glass of the scanner. Ensure your film is sitting flat in the holder and not curling against the glass.
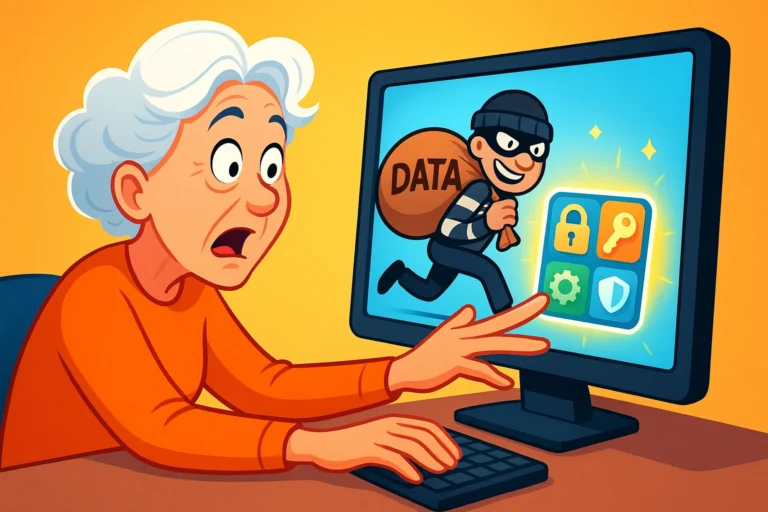
We talk a lot about safety at Senior Tech Cafe, and preserving photos is no exception. Once you have these beautiful digital files, you must protect them.
Follow the 3-2-1 Backup Rule:
This ensures that if your computer decides to retire early (crash) or you accidentally spill tea on your hard drive, your memories remain safe.
You can, and there are even apps for it, but the quality usually isn’t great. It’s fine for a quick text to a friend, but if you want to print the photo or see clear faces, a scanner is much better.
This is often just the “grain” of the film itself. Old high-speed film was naturally grainy. It adds character! However, if it looks like a snowstorm, check that your scanner glass is clean.
Generally, yes. Reputable services track packages carefully. However, always use a service that offers tracking and insurance. If the photos are truly irreplaceable and you would be devastated to lose them, the DIY method is the safest bet.
Scanning your collection is a marathon, not a sprint. Start with a small batch—maybe just that one trip to the Grand Canyon in 1978. Once you see those memories pop up on your screen, looking vibrant and new, you might find the process addictive.
You are doing something important. You are rescuing your family history from the dark and bringing it back into the light where it belongs. Plus, you finally get proof that your hairstyle in the 70s was exactly as groovy as you remember.