Newsletter Subscribe
Enter your email address below and subscribe to our newsletter
Enter your email address below and subscribe to our newsletter
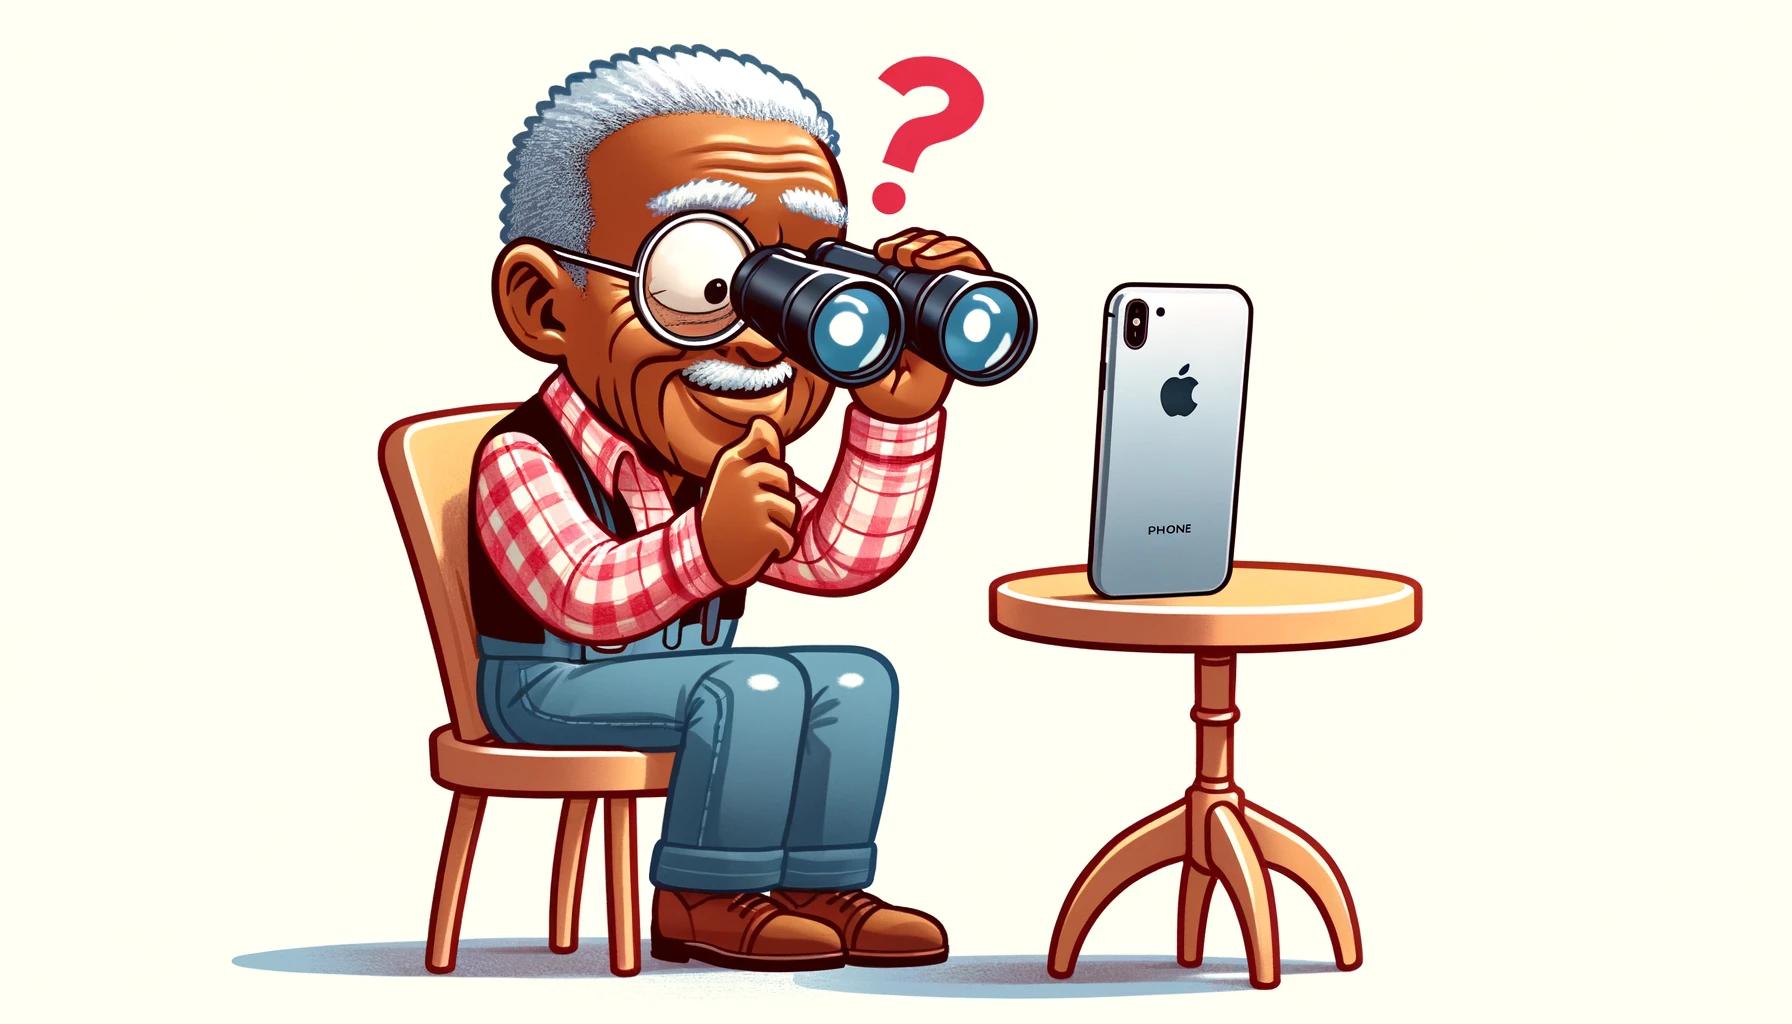
Remember the “good old days” of photography? You’d buy a roll of film, wind the little plastic wheel, snap 24 pictures, and then wait two weeks to get your prints back from the pharmacy. And inevitably, 12 of them were blurry, six featured your own thumb, and the family reunion shot caught Uncle Jerry mid-sneeze.
Today, you are walking around with a camera in your pocket that is roughly 1,000 times more powerful than the equipment NASA used to film the moon landing. Yet, if you are like most of us, you open the camera app, point it at something, tap the big white button, and hope for the best.
That is the “Point and Pray” method. It works fine for grocery lists and parking spot numbers. But have you ever looked at your photos and thought, “Why does my grandson look flat?” or “Why does this magnificent sunset look like a smudge on a dirty window?”
The answer isn’t that you’re a bad photographer. It’s just that you’re stuck in “Photo Mode” when your phone has a secret toolkit waiting to be unleashed.
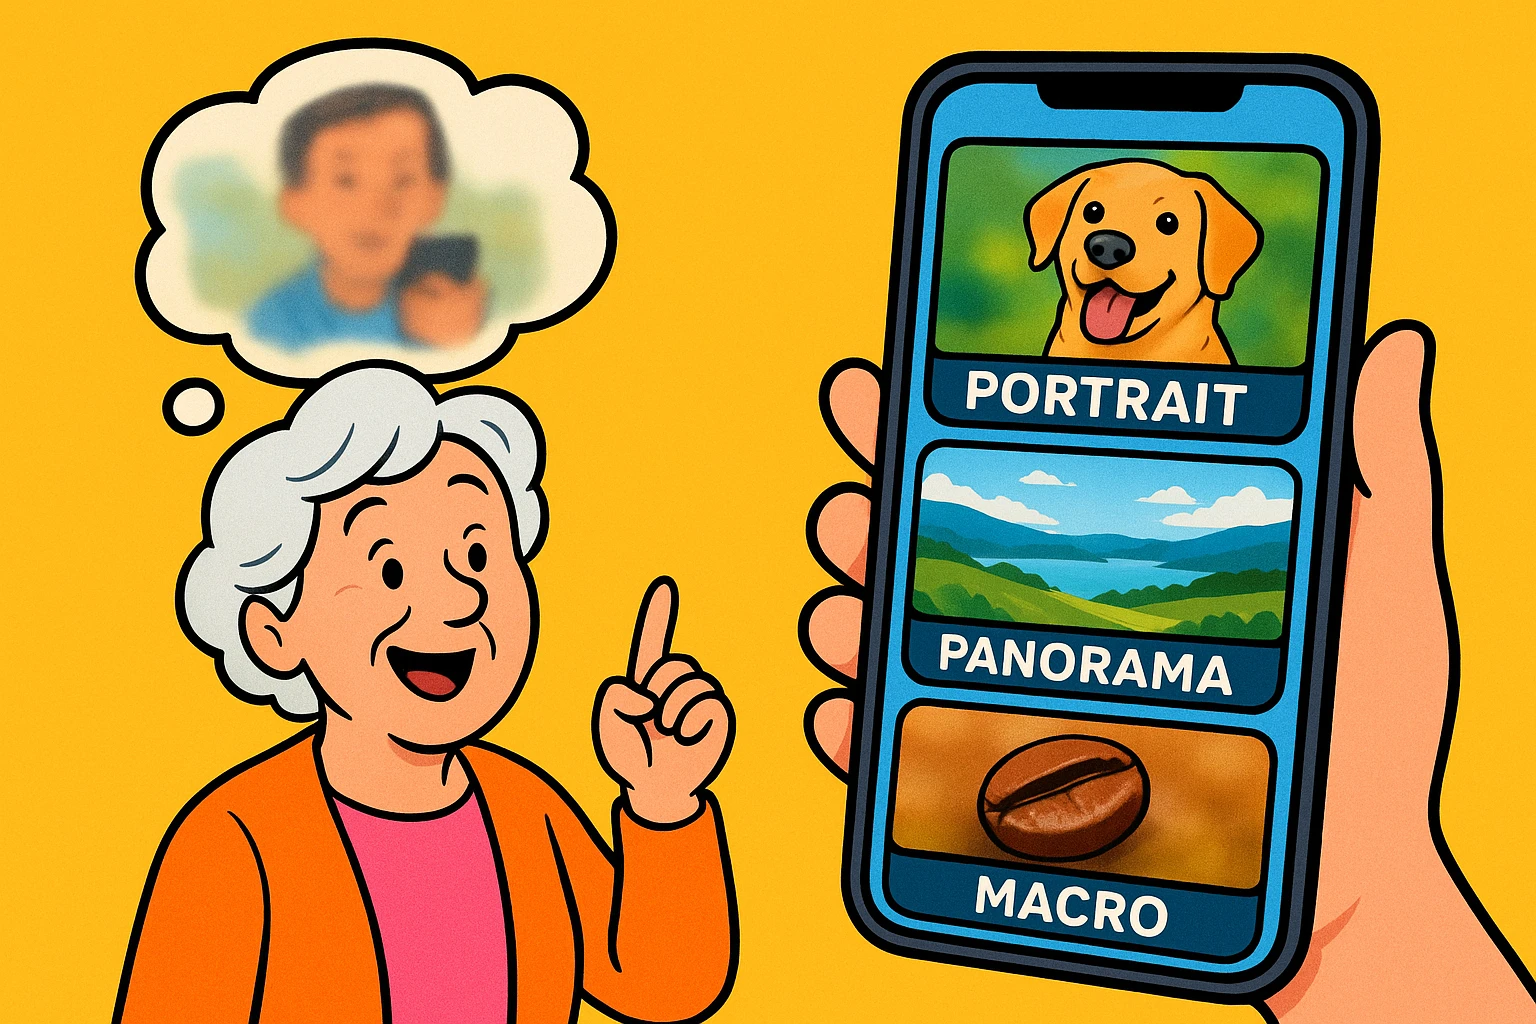
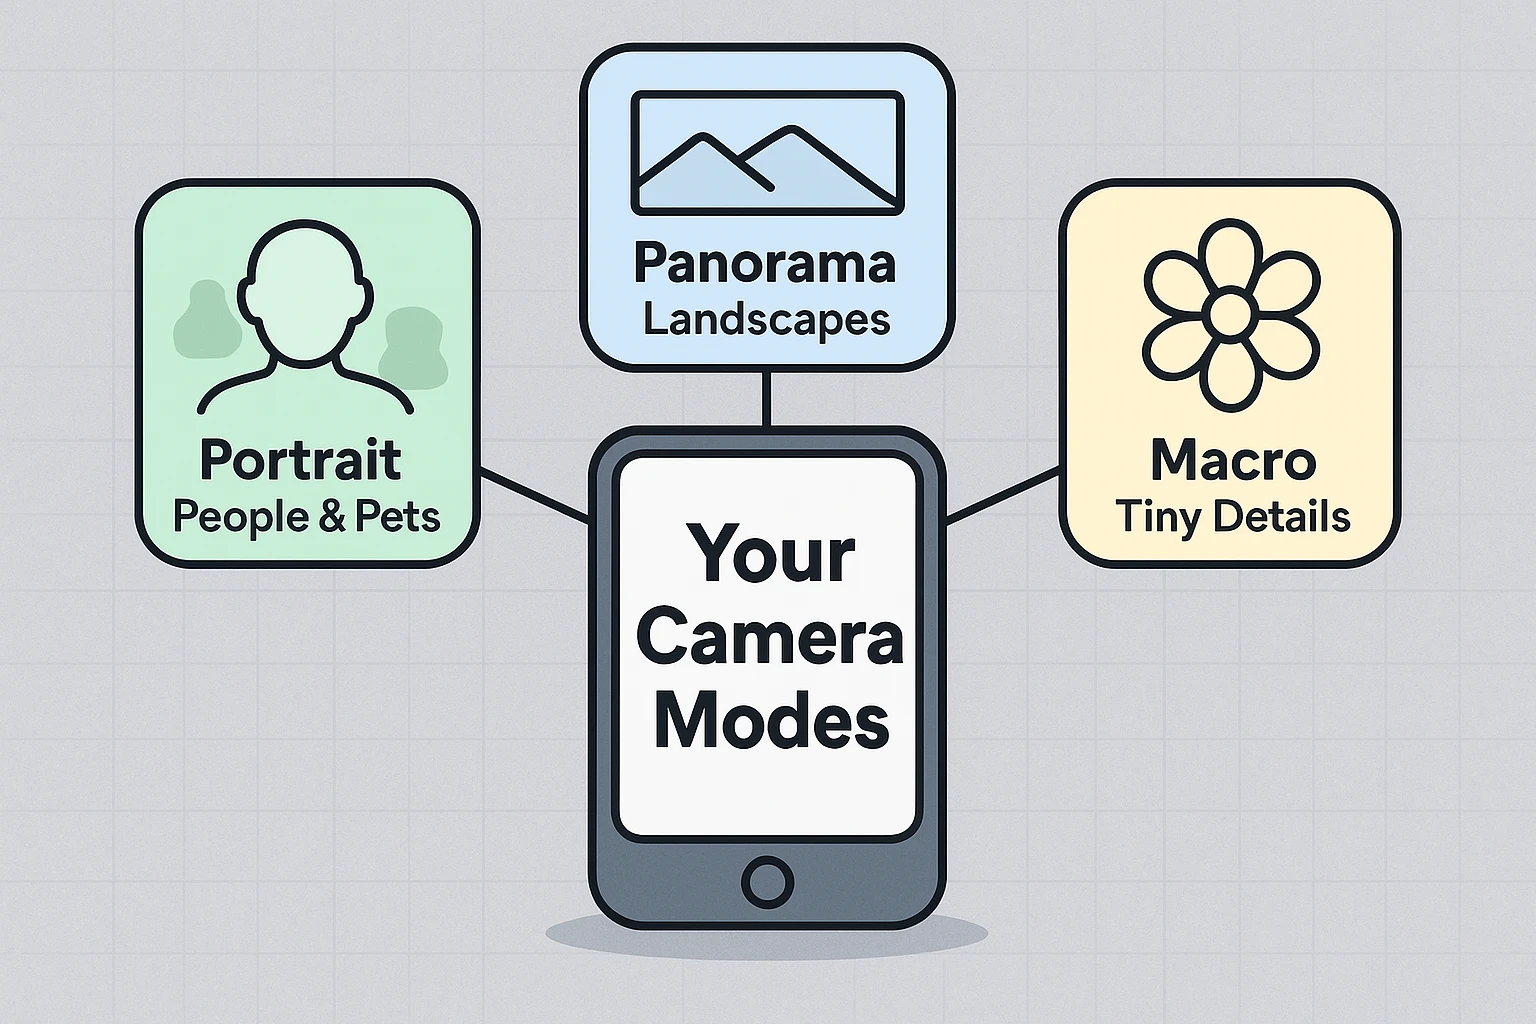
We are going to explore three “hidden” modes that are likely already on your screen: Portrait, Panorama, and Macro. Think of this not as learning “tech,” but as simply telling your phone exactly what you want it to do.
Have you ever seen a professional photo where the person looks crisp and sharp, but the background is a creamy, artistic blur? That blur makes the subject “pop.” In photography circles, they call this bokeh (pronounced “bo-kay”), which is just a fancy Japanese word for “blur.”
In the old days, you needed a camera lens the size of a thermos to do this. Now, your smartphone does it using Portrait Mode.
Your phone is actually a tiny genius. When you switch to Portrait Mode, the camera uses its multiple lenses (or some very smart software) to create a 3D map of the scene. It figures out, “Okay, this is Gladys, and that behind her is a rose bush.”
Then, it artificially blurs the rose bush while keeping Gladys sharp. It’s like digital scissors cutting you out and pasting you onto a soft background.
You’re at the Grand Canyon. You hold up your phone. You take a picture. You look at the screen. It looks like a ditch.
Standard cameras have a limited field of view. Panorama Mode (often labeled as Pano) creates a super-wide image by stitching multiple photos together. It’s like painting a room with a roller—you capture the scene in one long sweep.
Think of your phone as a scanner. As you move the phone, it takes dozens of slivers of photos and instantly glues them together side-by-side to make one long strip.
Have you ever tried to take a picture of a bumblebee or a beautiful texture on a flower petal, only to have the camera refuse to focus? It frantically zooms in and out, resulting in a blurry mess. That’s because standard lenses can’t focus on things that are touching their nose.
Enter Macro Mode. This allows you to get incredibly close—sometimes within an inch—of your subject to reveal details the naked eye often misses.
On newer iPhones (Pro models) and many Androids, this happens automatically when you get close to an object. The camera switches to an “Ultra Wide” lens that acts like a magnifying glass.
If you’ve tried these modes and ended up with photos that look like modern art experiments gone wrong, don’t worry. It’s usually not you; it’s the tech getting confused.
Here is why your photos might be acting up and how to fix them.

Once you stop being afraid of these buttons, you can start having some real fun. You don’t need to be Ansel Adams; you just need to be willing to experiment.
Here is a roadmap to take your skills from “Accidental Tourist” to “Family Photographer.”

Who says panoramas have to be side-to-side? Try taking a Panorama of a tall redwood tree, a skyscraper, or a waterfall. Start at the bottom (the roots) and pan up. It captures the sheer scale of tall objects in a way a normal photo never could.
Portrait mode isn’t just for people! It works beautifully on food (fancy brunch photos, anyone?), pets, or flowers. It makes a simple cupcake look like it belongs in a cookbook by blurring out the messy kitchen counter behind it.
This is a fun one to show the grandkids.
Not all phones have a dedicated Macro lens. If yours doesn’t, simply hold the phone as close as you can until it blurs, then pull back two inches. You can also tap the screen to tell the camera where to focus. If you really get into it, you can buy a cheap “clip-on” macro lens online for a few dollars.
If you have a newer iPhone or Samsung, yes! Open the photo in your gallery, tap Edit, and you can actually dial down the blur (Depth Control) or even turn Portrait mode off completely. It’s like having a time machine for your mistakes.
These special modes require a lot of light to do their math. Portrait and Macro modes struggle in dim restaurants. If it’s dark, stick to the standard Photo mode—it’s much better at handling shadows.
Technology is intimidating when we think we might break it. But the worst thing that happens here is you take a bad picture that you can delete in two seconds.
So, here is your assignment for the week:
Go forth and photograph. And if you accidentally take a video of your feet while trying to find the settings… well, welcome to the club. We’ve all been there.