Newsletter Subscribe
Enter your email address below and subscribe to our newsletter

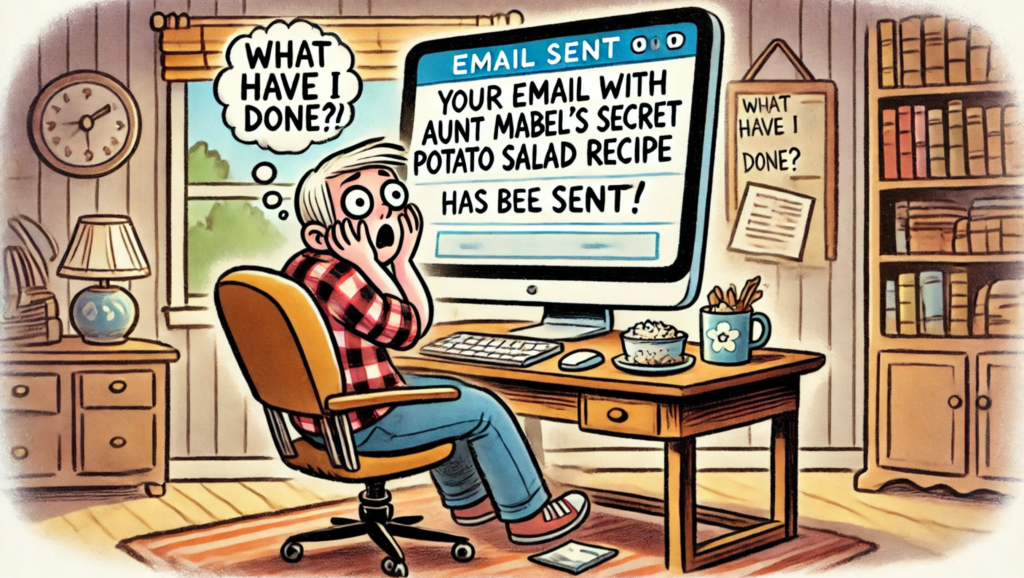
Ever hit “send” on a document, only to realize it included your Social Security number or Aunt Mabel’s top-secret potato salad recipe? Whoops!

That’s where redaction comes in. Think of it as a digital black marker that actually erases the juicy info you don’t want anyone snooping on.
The good news? You don’t need to be a tech genius or shell out big bucks for some fancy software.
This guide will show you the best (and safest) ways to redact sensitive information, common mistakes to avoid, and even a hands-on, low-tech option if you’re feeling old-school.
Let’s dig in so your private details don’t become the star of a hacker’s next big celebration.
Think of redaction as putting a black bar over sensitive information—like what you see in spy movies when a “TOP SECRET” document gets declassified.

Except here’s the catch: in the digital world, simply covering something with a black box might not actually remove the text underneath.
If you don’t do it right, sneaky people can highlight, copy, and paste your “redacted” text into another document to see what you tried to hide.
That’s why proper redaction removes the information completely. It’s like erasing a word from a book, not just slapping a sticker over it.
Let’s learn how to do this in the digital world.
This is the method I use to redact documents. If you want to remove sensitive information like a pro, Adobe Acrobat is your best friend.
Now, just to be clear—I don’t mean the free Adobe Acrobat Reader. Nope.
I’m talking about Adobe Acrobat Pro, which is very much not free. In fact, it’s downright pricey. Currently, it’s $19.99 a month or $239.88 a year. Ouch.
If you only need to redact the occasional document, it might not be worth the hit to your wallet.
But here’s a trick: you can sign up for a single month, then cancel. Or, if you try it and decide it’s not for you, cancel within 14 days for a full refund.
That said, Adobe Acrobat Pro is the gold standard for working with PDFs. It’s secure, reliable, and, unlike other tools, it won’t just pretend to redact your secrets—it’ll make sure they’re gone for good.
Plus, it’s user-friendly once you know the steps. Here’s how to do it:
(Note: Tech companies love rearranging things. If the instructions below aren’t exact, the tech fairies have probably moved things around. If you’re stuck, ask a trusted friend or family member for help, or do a quick web search for instructions using your device model and software version.)
And there you go! You’ve officially redacted your document like a digital ninja.
Ah, free tools. They sound great in theory. Who doesn’t love free?
But when it comes to redacting sensitive documents, these tools are about as trustworthy as a shady car salesman.
Here’s why:
If you’re dealing with private details like financial information or legal documents, steer clear of these tools. It’s not worth the risk.
Don’t trust technology? No problem!
You can use the old-school method of printing out the document, redacting it manually, and then rescanning it. Here’s how it works:
The downside? It’s time-consuming and requires access to both a printer and scanner.
Sometimes, you just need a quick fix. Here are a couple of built-in tools that might work for simple redactions:
These methods are better than nothing, but they’re not foolproof. If security is a priority, stick to Adobe Acrobat Pro or the print-and-scan method.
Even with the right tools, mistakes can happen. Here are some common redaction blunders to watch out for:
Before you dive into redacting like a pro, there are a few safety steps you’ll want to keep in mind. Think of these as the “measure twice, cut once” rules for protecting your private info.
They’ll save you from headaches—and potential slip-ups—down the road. Here’s what to do:
Redacting sensitive information doesn’t have to be complicated or scary.
Whether you choose Adobe Acrobat, the print-and-scan method, or a built-in tool, the key is to take your time and double-check your work. Protecting your privacy is worth the extra effort.
Now go forth, redact like a pro, and keep your secrets safe from prying eyes. And remember: when in doubt, there’s always the trusty black marker!