Newsletter Subscribe
Enter your email address below and subscribe to our newsletter

Have you ever scrolled through the 4,782 photos on your phone and felt a bit like a dragon hoarding treasure it doesn’t know what to do with? You have priceless pictures of grandkids, blurry snaps of a squirrel that looked suspiciously like your cousin Earl, and a dozen shots of your thumb. These are your memories, but they’re all just… sitting there.
You’ve probably thought, “I should make a nice slideshow for Sarah’s birthday,” or “This vacation deserves more than a jumbled photo album on Facebook.” But then you see the sheer number of video editing apps, each promising to turn your photos into a Hollywood blockbuster with one click, and your brain just says, nope. It feels like trying to pick a single cereal from an aisle that’s a mile long.
Relax. You don’t need a film degree or a teenager on standby to turn your digital photo pile into something wonderful. We’re here to be your friendly translator, cutting through the jargon to help you pick the right tool for the job. Let’s turn that digital clutter into digital treasures.
The first thing to know is that you don’t need complicated, expensive software. In fact, many of the best tools for beginners are free and surprisingly powerful. The trick is knowing which one fits what you want to do, whether it’s a simple, elegant slideshow or a fun video with music and effects.
We’ve waded through the options for you. Below is a quick comparison of the top contenders that are perfect for someone just getting started. These apps are popular for a reason—they pack a punch without being overwhelming.
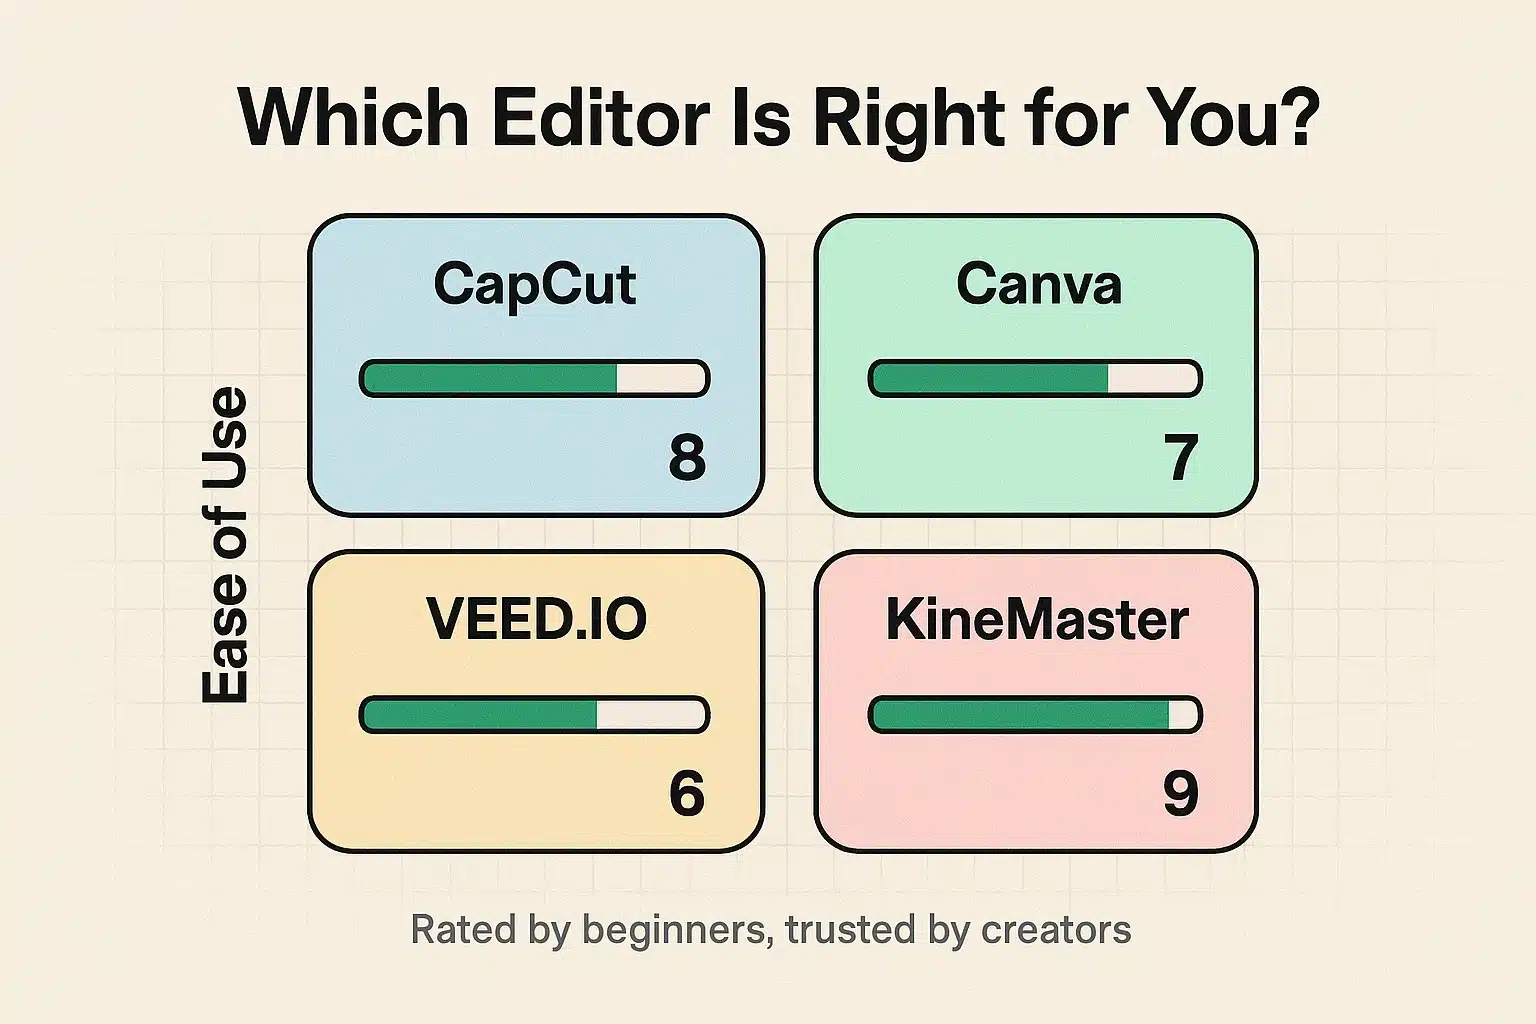
Here’s a closer look at what makes each one special:
Getting started can feel like the hardest part. The secret is to break it down into a few simple steps. Forget about all the fancy buttons for now and just follow this basic path from taking the picture to sharing your finished creation.
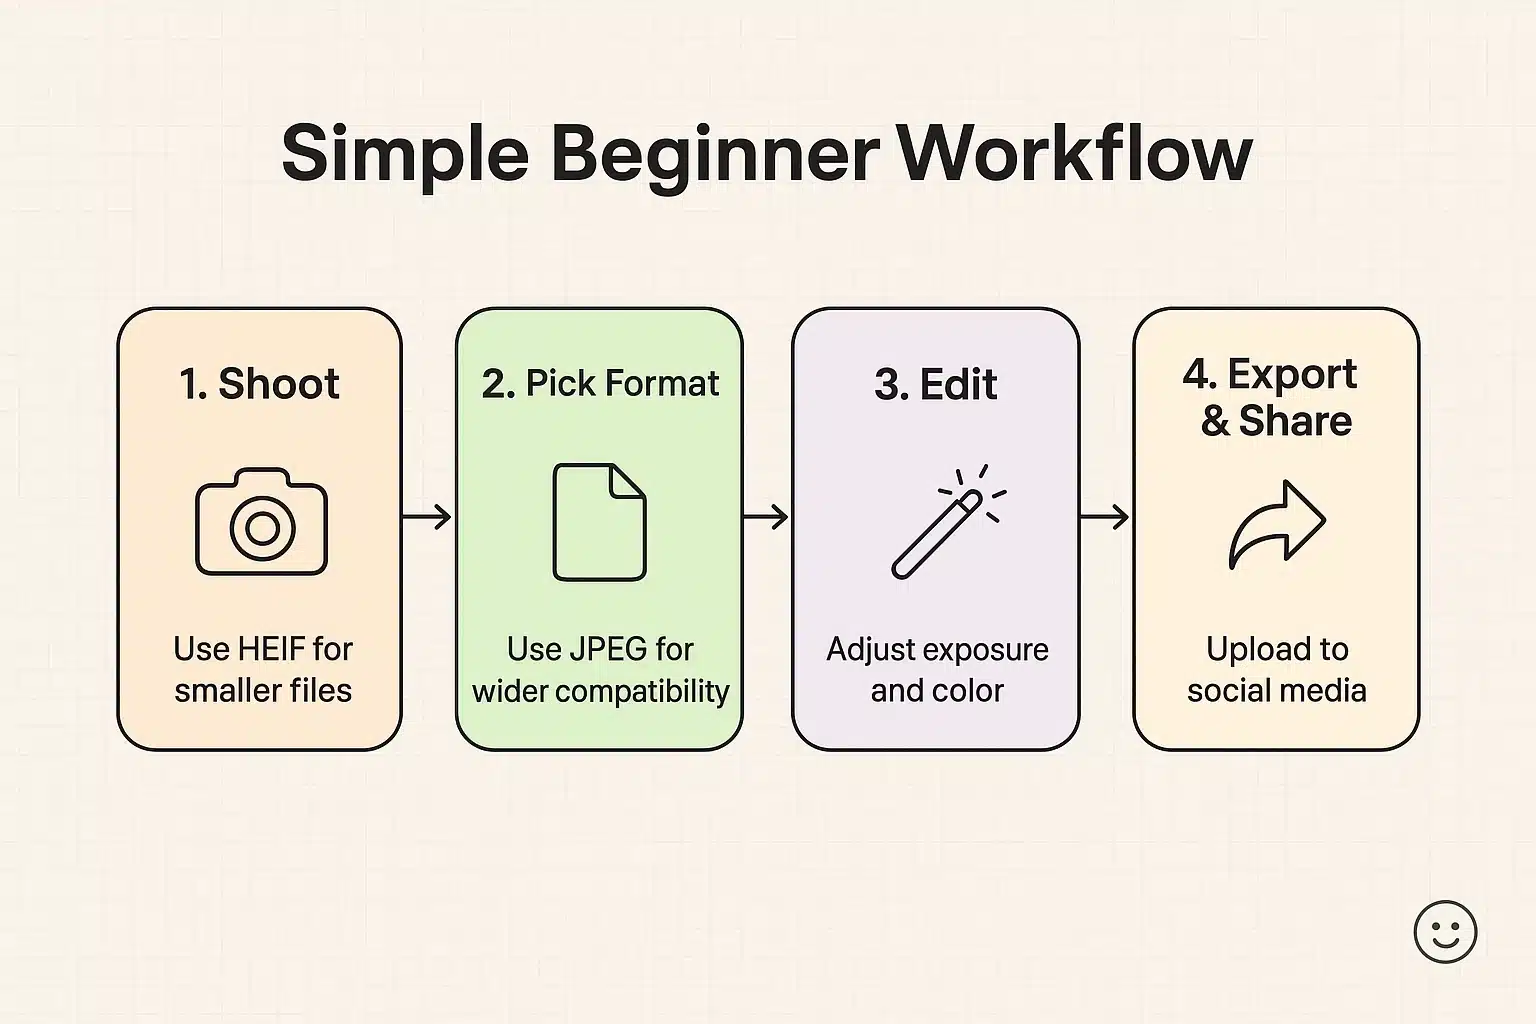
Have you ever seen weird file names like “.HEIC” on your iPhone photos and wondered what in the world that is? Don’t panic. This is one of those techy things that sounds more complicated than it is.
Think of it like this: JPEG is the classic, universal photo format—like a standard letter envelope that everyone recognizes. HEIC is a newer, more efficient format that’s like one of those space-saving vacuum-sealed bags. It holds the same quality photo but takes up less room on your phone. Most modern apps and devices handle both just fine, so you rarely need to worry about it.
This is the million-dollar question, isn’t it? The good news is, you don’t need to spend a dime to get started. Nearly every major app, including the ones we’ve discussed, operates on a “freemium” model. You get a fantastic set of tools for free, and they hope you’ll eventually pay for the extra-fancy features.
For beginners, the free versions are more than enough. You might have to live with a small watermark on your video (like with KineMaster’s free plan), or some of the coolest AI effects might be locked (like in CapCut). Our advice? Get your feet wet with the free tools first. You can create incredible things without ever reaching for your wallet. Once you see the value, you can decide if an upgrade is worth it.
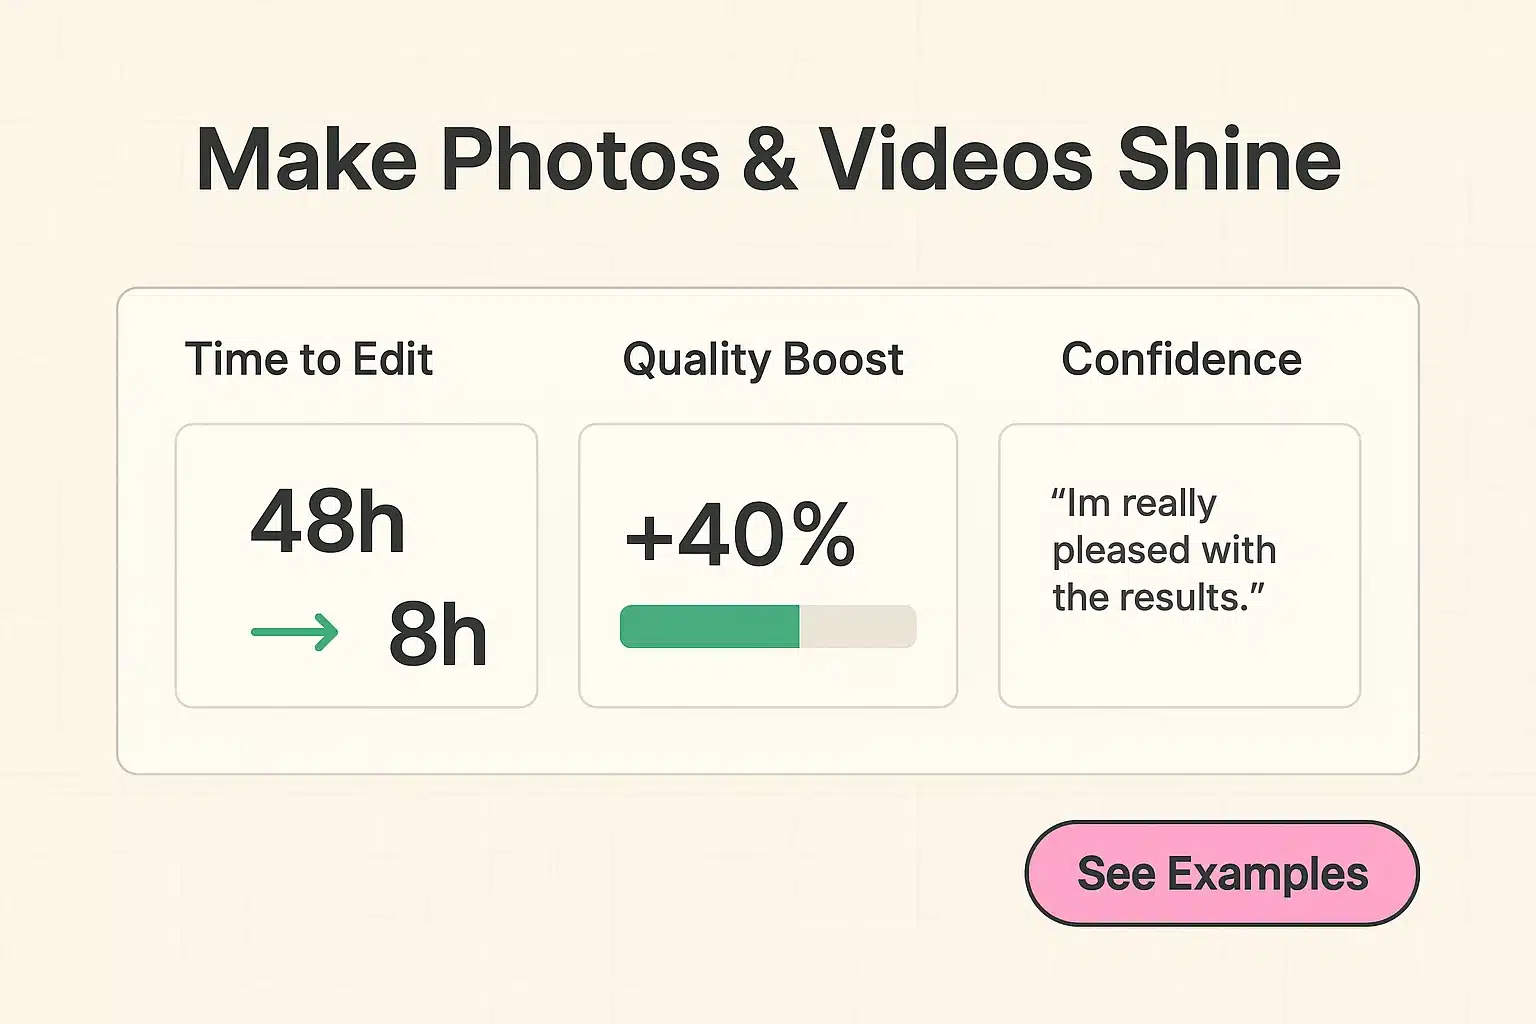
As you can see, even a few simple tweaks can transform a good photo into a great one. The tools to do this are at your fingertips and won’t cost you anything to try.
Once you start creating these beautiful video memories, the last thing you want is for a phone mishap to erase them forever. Keeping your photos and videos backed up is crucial. If you’ve ever worried about losing your pictures and thought, how do I backup my iPhone photos, we have a simple, step-by-step guide to make sure they’re always safe and sound.
Do I need a fancy new phone to do this?
Absolutely not! Any smartphone from the last five or six years has a camera that is more than capable of taking stunning photos and videos. The phone you already have is a creative powerhouse.
This still seems a little complicated. What if I get stuck?
Start small. Don’t try to make a 30-minute epic documentary for your first project. Your first goal should be a simple, 30-second slideshow with five of your favorite photos and a nice song. You’ll be amazed at how quickly you pick it up.
What’s the difference between a video editor and a slideshow maker?
Great question. A slideshow maker (like Canva) is specifically designed to turn a series of photos into a video. A full video editor (like CapCut or KineMaster) can do that too, but it also lets you trim video clips, add special effects, and gives you more creative control.
You are now officially equipped to move from a photo hoarder to a digital storyteller. The journey from a camera roll full of random pictures to a beautiful video that makes someone smile is shorter and easier than you think.
Our recommendation? Pick one tool from our list—CapCut is a fantastic starting point—and create a short video with just five of your favorite photos. Don’t overthink it. Just play. You’ll be creating cherished memories in minutes, and that’s what technology should be all about.