Newsletter Subscribe
Enter your email address below and subscribe to our newsletter
Enter your email address below and subscribe to our newsletter
Remember the “good old days” of photo albums? You’d sit at the kitchen table with a shoebox full of prints, a stick of glue that smelled vaguely of almonds, and those magnetic pages covered in plastic film that stuck to everything except the photos.
If you made a mistake, you had to peel back that plastic sheet with the surgical precision of a bomb defusal expert, praying you didn’t rip the only existing photo of Aunt Edna’s 1974 luau.
Fast forward to today. You probably have a powerful camera in your pocket (your smartphone) that has captured more images of your grandchildren, your garden, and your lunch than you know what to do with. But instead of a sticky physical album, those memories are floating in a digital abyss, somewhere between a text message from 2019 and a screenshot of a recipe for lasagna.
You want to organize them. You want to share them. But a tiny voice in your head whispers, “If I move this photo to an album, will it disappear from my phone? If I delete the album, do I delete the memory forever?”
Relax. We are going to turn that digital chaos into a beautiful, shareable masterpiece. And we promise: no glue required.
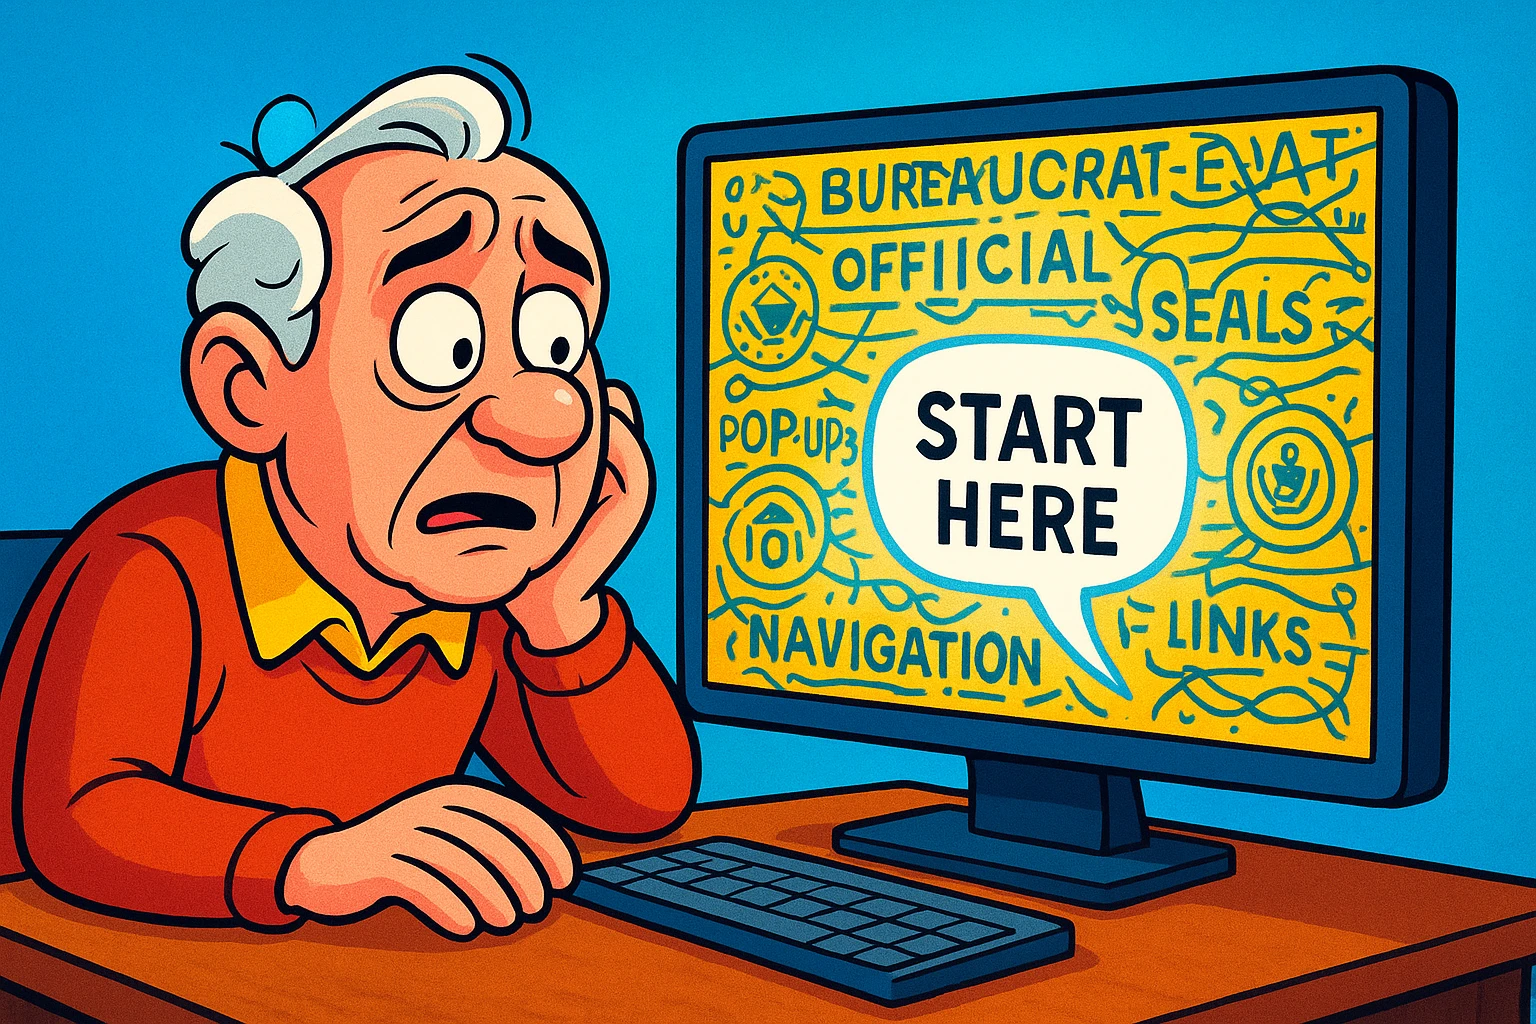
Before we press a single button, we need to have a serious chat about how digital albums actually work. This is the “Aha!” moment that changes everything.
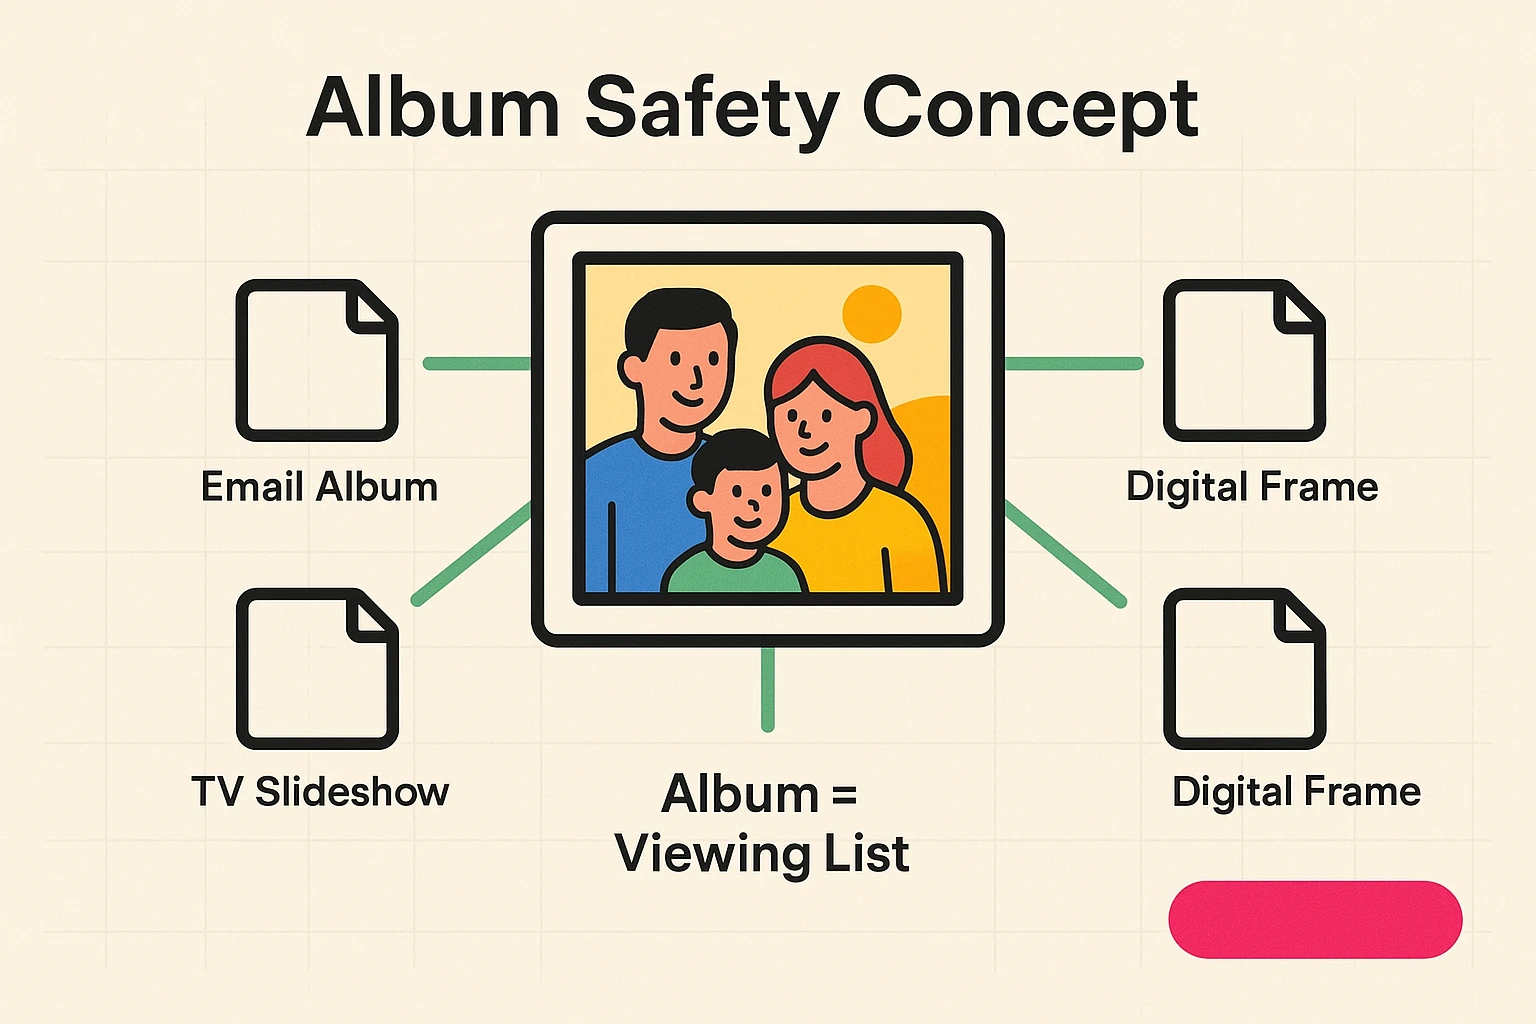
Most seniors believe that putting a photo into a Digital Album is like moving a physical print from a shoebox into a book. They think if they move it, it’s gone from the original spot.
That is a myth.
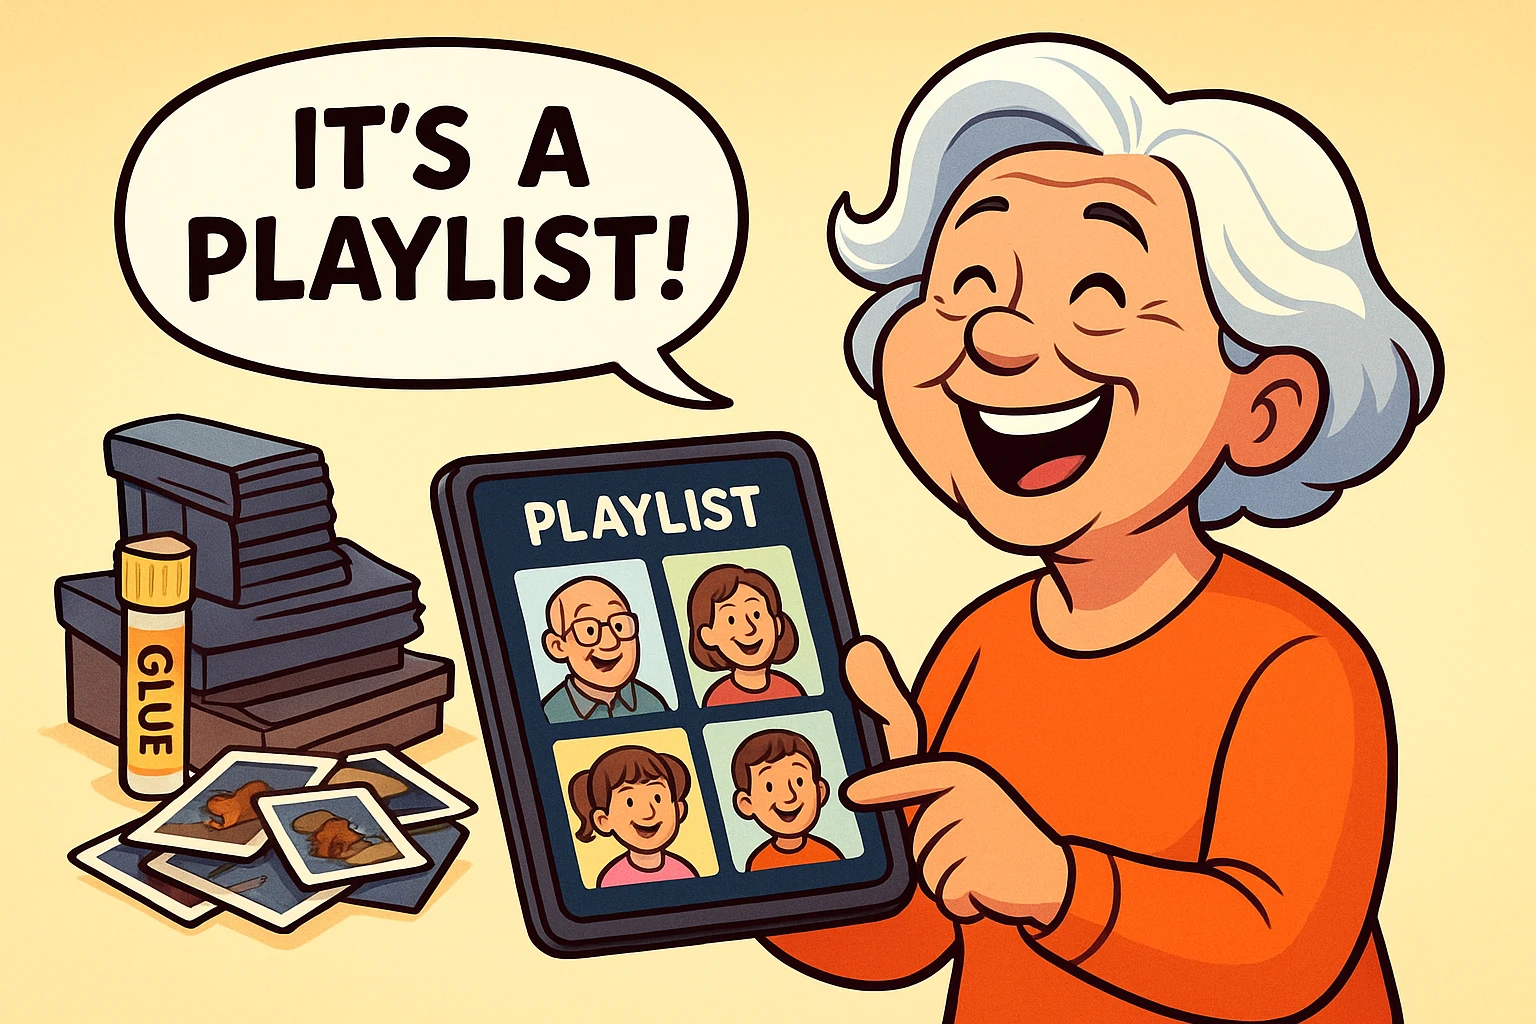
Think of your photos like songs on a jukebox. You have thousands of songs in the machine (your photo library). When you create a digital album, you are simply creating a Playlist. You are telling the computer, “Play these 10 specific songs.”
If you delete the playlist, the songs are still safe in the jukebox. If you remove a photo from an album, the original photo stays safely in your main library.
The biggest mistake people make is trying to share everything.
Your family loves you. They really do. But they do not need to see 17 consecutive shots of the same sunset, including the three where your thumb is covering the lens.
To create a great album, you need to be a Curator, not a Collector.
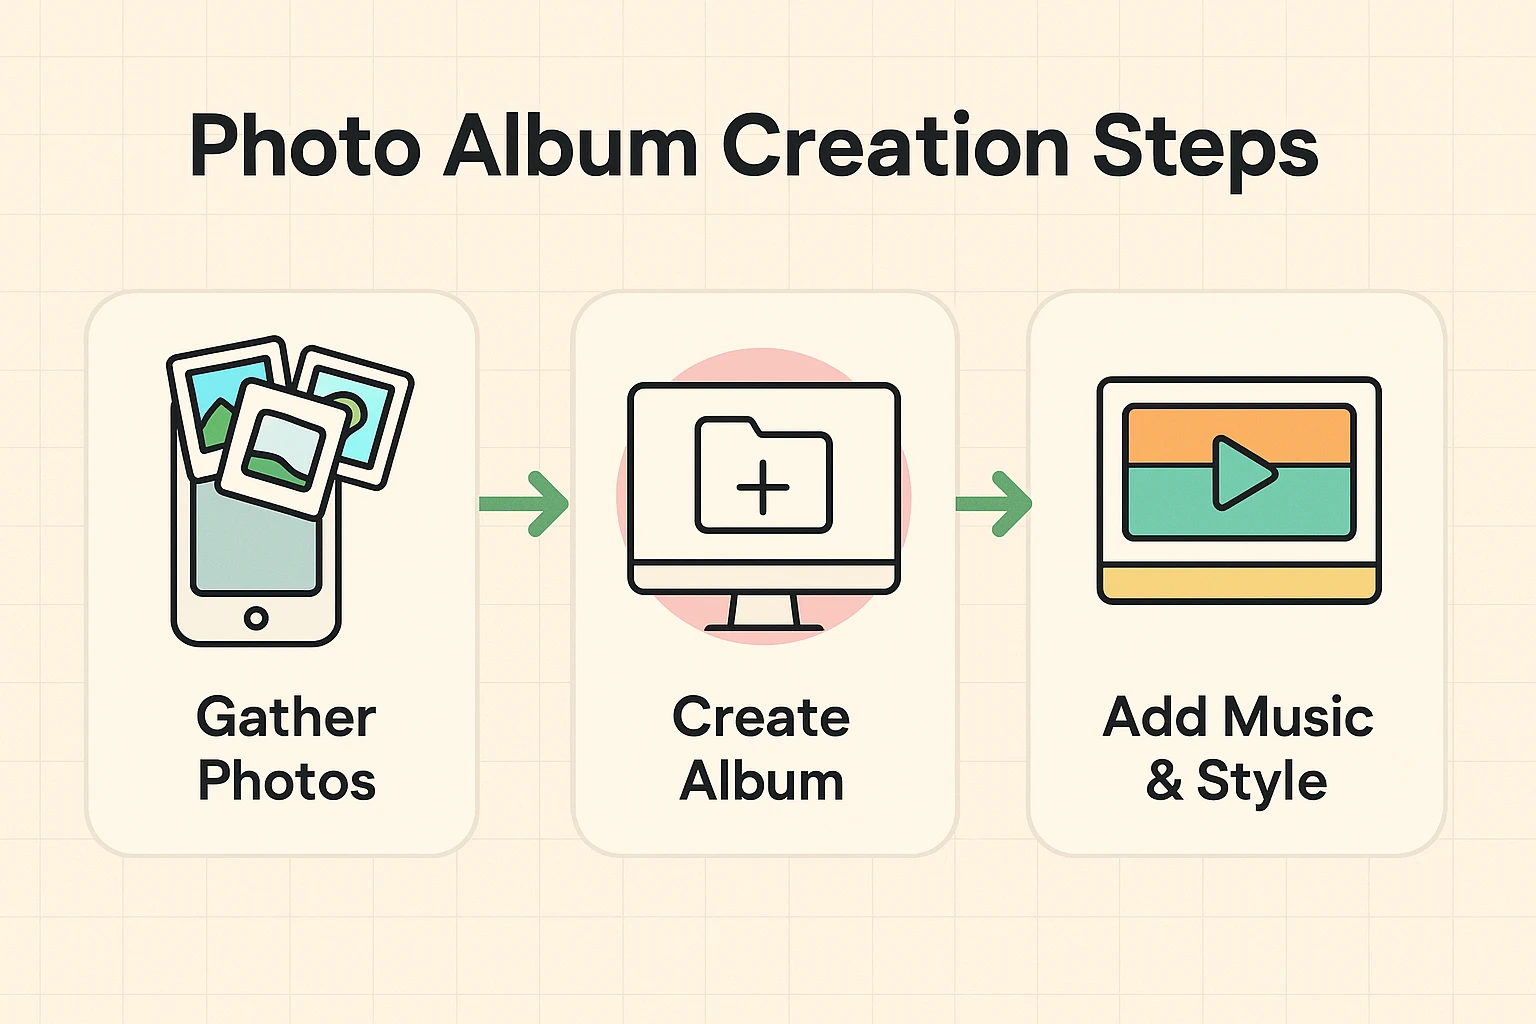
Now that you’ve mentally picked your favorites, it’s time to group them. The beauty of modern tech is that you likely already have the software you need installed on your phone.
Whether you are Team iPhone or Team Android, the process is surprisingly similar.
Pro-Tip: Before you start moving thousands of memories around, it gives you great peace of mind to ensure your originals are safe. If you haven’t done so recently, take a moment to learn how to backup pictures from iphone so you never have to worry about losing a file.
We’ve all been there. You want to show someone a photo, so you hand them your phone. Then, they start swiping left. And swiping. And swiping. Suddenly, your blood pressure spikes because they are inching dangerously close to that embarrassing photo of you trying on wigs at the mall.
Digital Albums solve this. When you share an album, they only see the photos in that album. They cannot see the rest of your library.
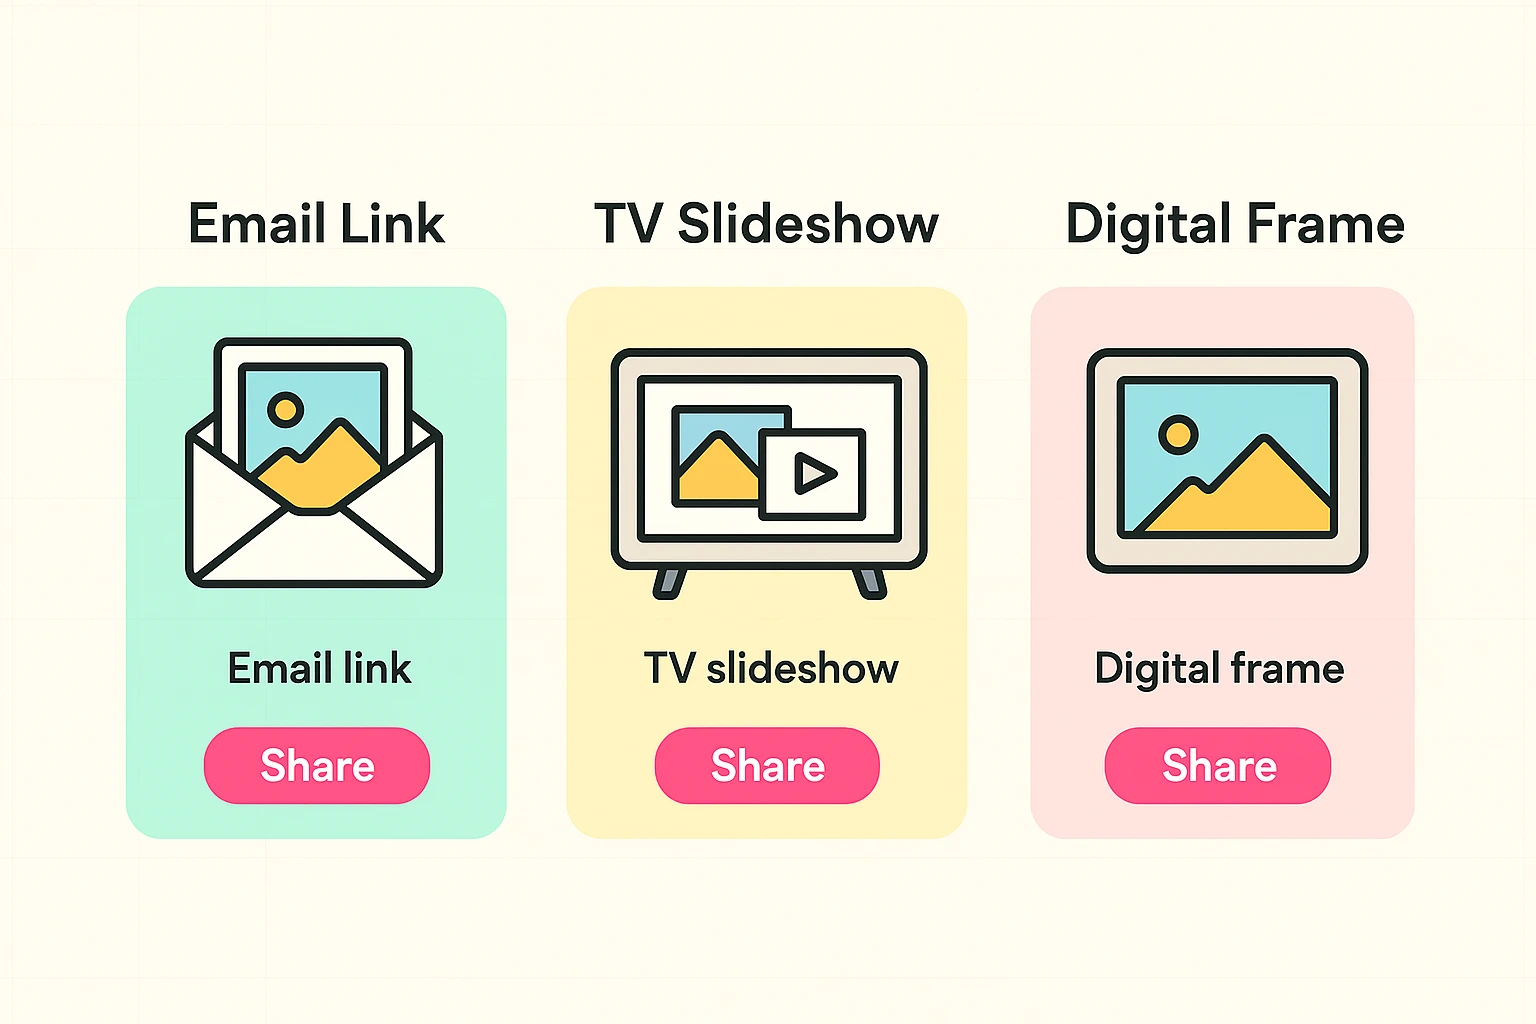
Here are the three levels of sharing mastery:
In your new album, look for the Share icon (it usually looks like a square with an arrow pointing up, or a “<” symbol with dots). Select Copy Link or Email.
If you have a Smart TV, an Apple TV, or a Roku, you can often “Cast” or “AirPlay” your album to the big screen.
If you have a family member who isn’t tech-savvy (or if you are that family member!), a digital photo frame (like Aura or Skylight) is magic. You can email photos directly to the frame sitting on the mantle.
Generally, NO. In Apple Photos and Google Photos, removing a picture from an album just takes it off the “Playlist.” The “Song” (photo) stays in your library. However, be careful—if you select “Delete from Library,” that’s the nuclear option. Always look for “Remove from Album.”
Technically, anyone with the link can see it. But unless you post that link on Facebook or Twitter, only the people you email/text it to will have access. It’s like giving someone a key to a specific safety deposit box, not the key to the whole bank.
Creating albums is free features on your phone. However, if you have thousands of photos, Apple or Google might ask you to pay a small fee (usually a few dollars a month) for extra storage space to back them up safely. Think of it as renting a very cheap, very secure storage unit for your memories.
You now have the power to liberate your photos from the digital shoebox. Start small. Create one album—maybe “Summer 2024” or “The Cat Being Weird.”
Send the link to a friend or family member. When you get that text back saying, “Oh wow, I haven’t seen this one before!” you’ll realize that digital albums aren’t just about technology. They’re about keeping the stories alive, without the sticky pages.