Newsletter Subscribe
Enter your email address below and subscribe to our newsletter
Do you remember the Camcorder Era? It was a time when capturing a birthday party required a shoulder-mounted device the size and weight of a small microwave oven. You’d hoist this plastic beast onto your shoulder, look through a black-and-white viewfinder, and film little Timmy blowing out candles while shouting directions like a slightly out-of-breath Hollywood director.
Fast forward to today. Timmy is 42, the camcorder is likely in a landfill, and the evidence of that birthday party is trapped inside a black plastic brick—a VHS tape—sitting in a shoebox labeled “Miscellaneous 1989” in your attic.
Here is the uncomfortable truth about that box: It is a ticking time bomb. Not the exploding kind (hopefully), but the kind where the contents are slowly, chemically erasing themselves. If you’ve been meaning to “get around to” digitizing those tapes, consider this your friendly nudge. The magnetic tape inside those cassettes wasn’t built to last forever. In fact, it’s a bit like a loaf of bread—eventually, it goes stale, and no amount of wishing will make it fresh again.
But don’t panic! We aren’t here to scare you; we’re here to help you perform a rescue mission. Converting your home movies isn’t just about technology; it’s about time travel. It’s about ensuring that your great-grandkids can laugh at your hairstyles. Let’s look at how to save those memories without losing your mind (or your money).
Before we get into the “how,” we need to cover the “why.” You might think your tapes are safe because they look sturdy. After all, you could probably drop a VHS tape off a roof and it would survive better than a modern iPhone. But the danger isn’t physical breakage; it’s chemical breakdown.
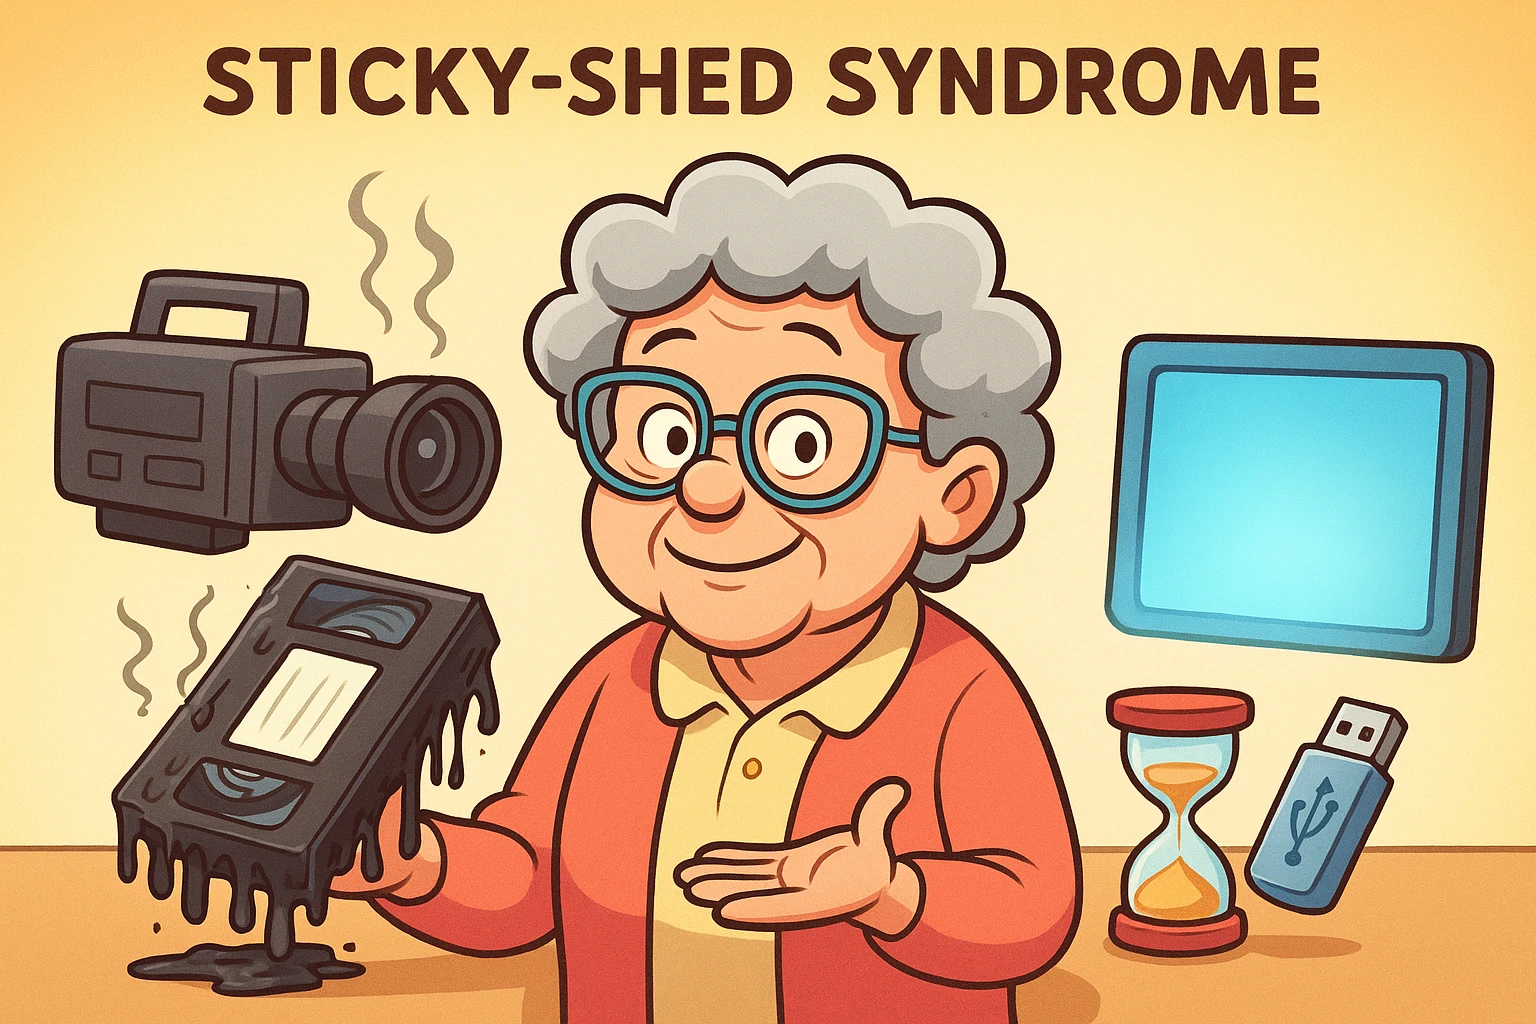
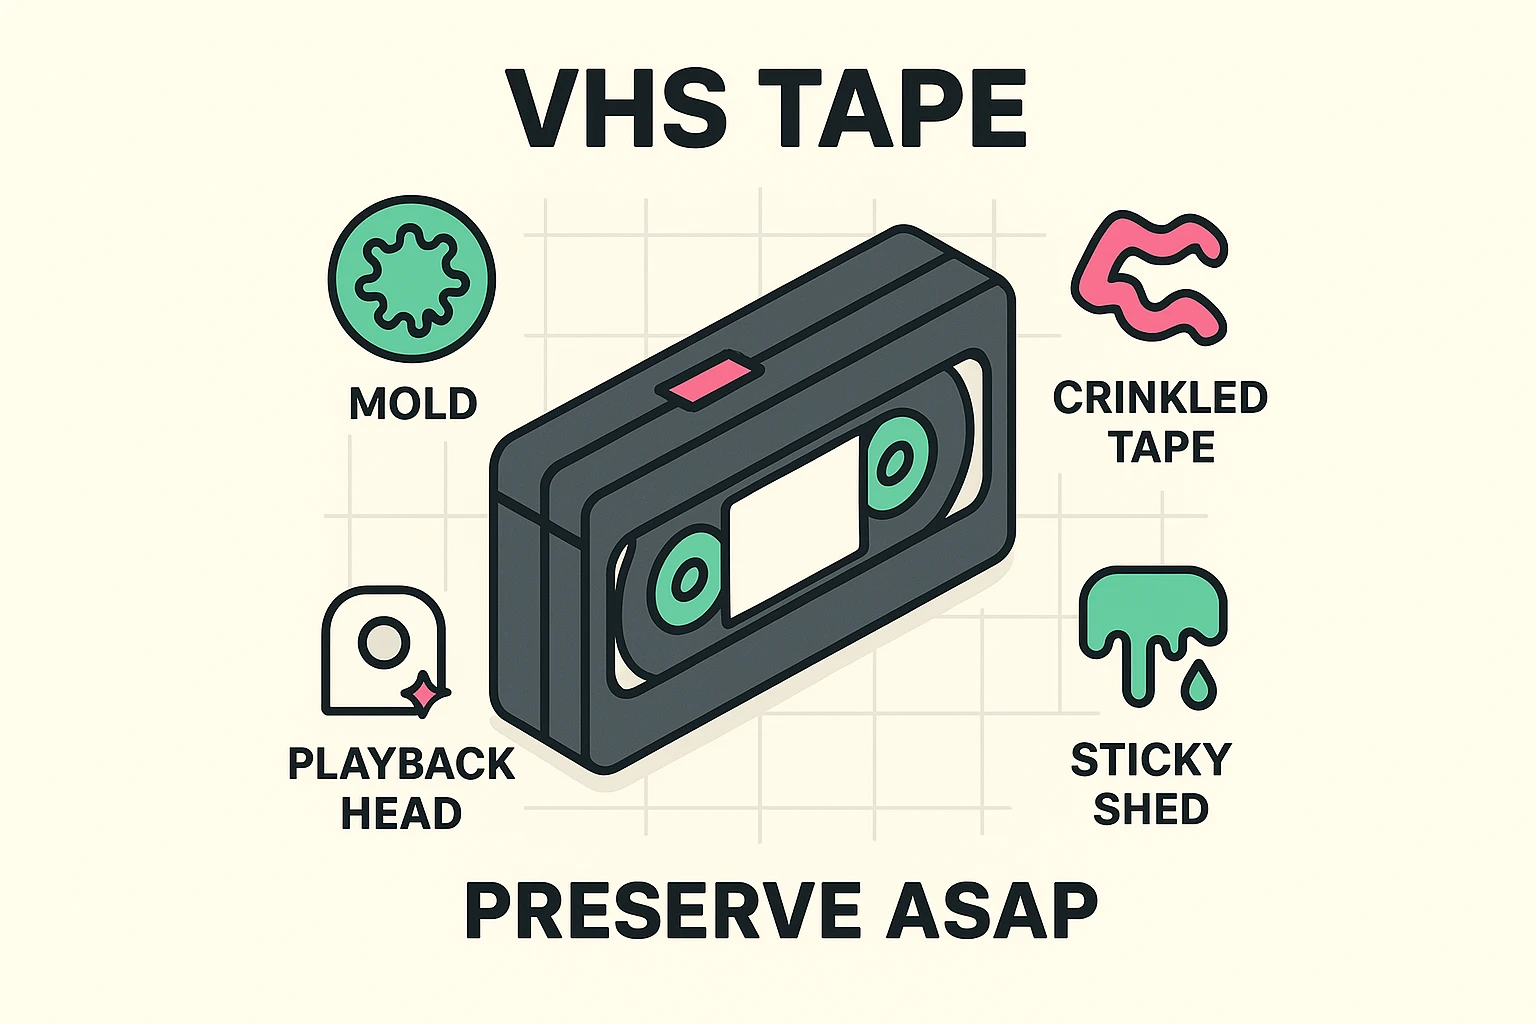
A VHS tape is essentially a long strip of plastic coated with magnetic “paint.” This paint holds the video and audio signals. Over decades, the binder—the glue holding that magnetic paint to the plastic—starts to absorb moisture from the air. This leads to something with the terrifying name “Sticky-Shed Syndrome.”
When a tape with Sticky-Shed is played, the magnetic layer literally peels off and clogs up your VCR heads. It’s a double whammy: you ruin the player and destroy the recording.
The world of digitization is polarized. On one side, you have expensive services promising the moon. On the other, you have tech forums suggesting you need a degree in electrical engineering to plug a VCR into a computer.
The reality is somewhere in the middle. Here are the three main paths you can take, ranked by how much coffee you’ll need to drink to get them done.
Best for: People who have more money than time and are terrified of cables.
This is the “ship-and-forget” model. Companies like Legacybox or your local photo lab will take your box of tapes, digitize them, and send them back with a USB drive or a link to the cloud.
Best for: The tech-curious senior who wants to do it themselves but doesn’t want to install complex software.
There are devices (like the ClearClick Video2Digital) that look like small Game Boys. You plug your VCR directly into them, press “Play” on the VCR and “Record” on the device, and it saves the movie to a memory card.
Best for: The “Empowered Beginner” who wants the best possible quality and isn’t afraid of a little software.
This involves buying a USB capture card (a dongle that connects the VCR cables to your computer’s USB port) and using software like OBS Studio (free) or the software that comes with the dongle (like Elgato).
If you decide to tackle this yourself, you’re going to run into some terms that sound like Star Trek technobabble. Let’s translate them into plain English so you can impress your grandkids.
You might see software promising to convert your old VHS tapes into glorious 4K resolution. Do not fall for this.
Imagine you have a blurry photo of a soup bowl. If you take a picture of that photo with a high-end camera, do you suddenly see the individual carrots in the soup? No. You just have a very high-resolution picture of a blurry photo.
VHS has a native resolution of roughly 333×480 pixels. Modern 4K TVs display 3840×2160 pixels. Stretching a VHS signal to 4K doesn’t add detail; it just makes the flaws bigger. The goal isn’t to make it look like a modern Marvel movie; the goal is to make it look like the best possible version of 1992.
When you play back your digital file on a computer, you might notice the video looks like it has jagged horizontal lines during fast movement—like someone is running through a set of mini-blinds.
This is called “interlacing.” Old TVs drew images in alternating lines (odd lines, then even lines). Modern computer screens draw everything at once. If you see this, you simply need to turn on a “De-interlace” filter in your software. It zips those lines back together into a smooth image.
Have you ever watched a movie where the lips move, and then two seconds later you hear the voice? It’s maddening. This often happens in DIY conversions because of “dropped frames.”
If your computer gets busy (maybe it decides to run a virus scan while you’re recording), it might skip a split-second of video. But the audio keeps recording. Over an hour-long tape, those split-seconds add up, and suddenly “Happy Birthday” is being sung while Timmy is already eating the cake.
Pro Tip: If you are recording on your computer, close every other program. Treat your computer like a temperamental artist that needs absolute silence to work.
Once you have your digital file, the fun begins. You aren’t just stuck with the raw footage. You can use simple editing software to perform what we call “The Magic Polish.”
You aren’t trying to remake the video; you are trying to minimize the distractions so the memories shine through.
Congratulations! You have digital files. Now, do not—I repeat, do not—burn them onto a DVD.
Why? Because DVDs are just the new VHS tapes. They scratch, they rot (yes, “disc rot” is real), and computers rarely even have disc drives anymore.
Instead, follow the 3-2-1 Backup Rule to ensure these memories survive the next apocalypse:
Upload your files to a cloud service like Google Photos, Apple iCloud, or Dropbox. Not only does this keep them safe if your house floods, but it also makes them shareable. You can send a link to the whole family, and they can watch Dad fall off the hammock on their smartphones, instantly.
If you are doing the DIY method, yes. You can often find them at thrift stores or eBay. Look for brands like Panasonic, JVC, or Sony. Avoid the TV/VCR combo units if possible; they are notoriously difficult to repair.
Wait, stop! We are trying to save the footage, not record the nightly news over your wedding. If the tab is missing, that’s a safety feature to prevent accidental erasure. Leave it alone!
A high-quality capture of a 2-hour movie is usually around 4 to 8 Gigabytes (GB). A 1 Terabyte (TB) hard drive can hold roughly 150 to 200 tapes.
Absolutely not. Putting a moldy tape in a VCR is like putting a sandwich filled with sand into a toaster. It will spread mold spores to the VCR heads, ruining the player and every tape you play after it. There are specialized services that clean moldy tapes—leave that one to the pros.
Digitizing your home movies is a labor of love. It takes time, patience, and a little bit of wrestling with cables. But the moment you see the grainy, slightly wobbly image of a loved one who is no longer with us, laughing and waving at the camera, you’ll know it was worth every second.
So, go find that shoebox. Blow off the dust. Your history is waiting to be re-discovered.