Newsletter Subscribe
Enter your email address below and subscribe to our newsletter
Enter your email address below and subscribe to our newsletter
Remember the last time you stood in the greeting card aisle at the pharmacy? You likely spent twenty minutes searching for a birthday card that didn’t feature a) a joke about bodily functions, b) a glitter explosion that will haunt the recipient’s carpet for decades, or c) a price tag that costs more than a gallon of milk.
It’s a specific kind of paralysis. You’re holding a $7 piece of folded paper, thinking, “I have a camera in my pocket that takes better pictures than this.”
And you’re right. You do.
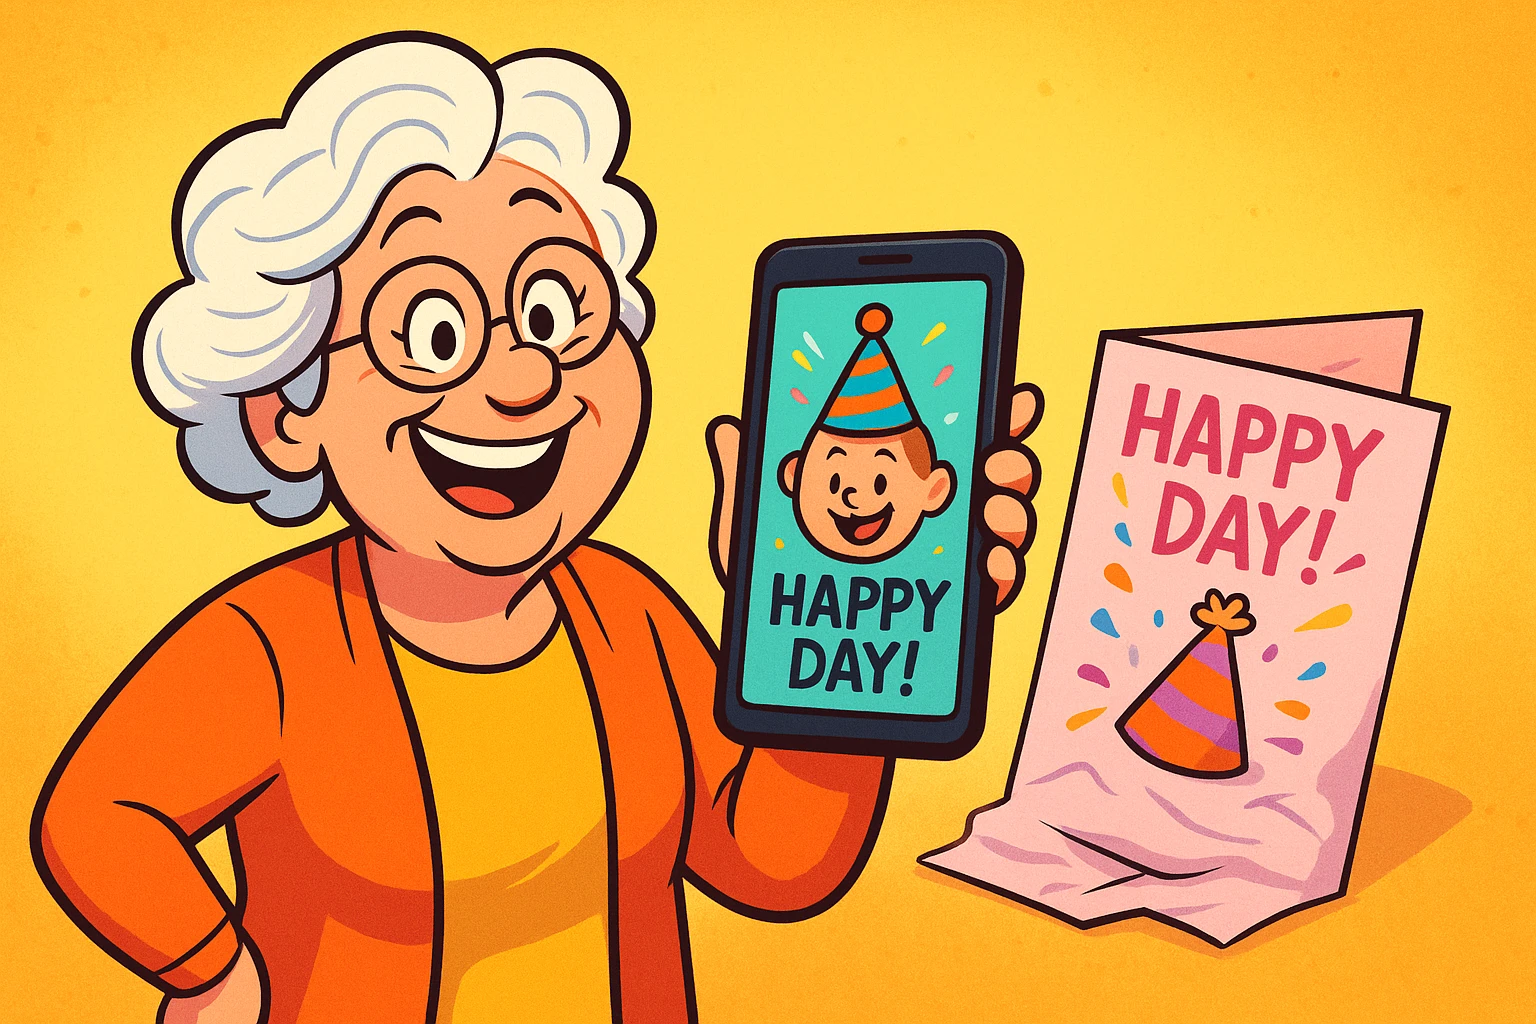
The smartphone in your pocket isn’t just a device for making calls and accidentally taking videos of your shoes while walking. It is a full-fledged creative studio. With just a few taps, you can take that adorable photo of your grandson covered in spaghetti, slap a “Happy Birthday!” sticker on it, and send it off—all without licking a single envelope or getting a paper cut.
We are going to walk through how to turn your digital photos into personalized messages. It’s easier than you think, and unlike watercolor painting, there’s no water to spill on the rug.

Aside from saving money on store-bought cards, there is a “secret sauce” to sending a personalized photo message: Connection.
A generic card says, “I remembered your birthday while I was picking up a prescription.” A photo of you holding a glass of wine with the text “Cheers to 60 Years!” says, “I made this just for you.”
Research into digital literacy shows that when seniors engage in creative tasks on their devices—rather than just passively scrolling through news feeds—it boosts cognitive stimulation and confidence. It shifts the dynamic from “I don’t understand this gadget” to “Look what I made with this gadget.” Plus, it’s just plain fun to put a digital hat on your cat.
You do not need to buy expensive software like Photoshop. Photoshop is like buying a space shuttle when you just need to drive to the grocery store. It has too many buttons, and if you press the wrong one, you might delete the moon.
For most of us, the tools built right into our phones are plenty.
On both iPhone and Android, when you look at a photo, there is usually a button that says Edit. Inside that menu, there is often a “Markup” tool (look for a pen tip icon). This lets you scribble or add text boxes directly onto the picture.
If you want to get a little fancier—say, adding digital balloons or using pretty fonts—you might download a free app like Canva or Snapseed. These apps are designed for normal humans, not graphic designers. They use a “drag and drop” system. You see a sticker you like? You drag it onto the photo. Simple.
However, a quick word of caution: When downloading new apps, you might see offers for “Pro” versions or subscriptions. Many of these use AI (Artificial Intelligence) to do fancy tricks. If you decide to purchase a subscription, always practice secure online shopping habits to protect your financial information.

Just because you can use 15 different fonts and neon green text doesn’t mean you should. We want your message to look inviting, not like a warning label.
Here are three golden rules for adding text to photos:
If your photo is a picture of a snowman, do not use white text. It will vanish like… well, a snowman in July.
Look for “negative space” in your photo—the blue sky above a head, or the grassy field below the dog. That is where your text lives. Don’t paste the words “Happy Anniversary” directly over your spouse’s nose. They generally don’t appreciate that.
A photo is for a headline, not a novel.
Let’s try a simple scenario. You want to send a “Good Morning” picture to your family group chat.
Congratulations! You have just become a digital content creator. You can text that image just like any other photo, but now it carries your personal voice.

In most modern smartphones (like iPhones and Samsungs), editing is “non-destructive.” This means you can edit the photo, save it, and if you hate it later, you can usually go back into “Edit” and click “Revert” to turn it back to the original. However, if you are nervous, you can always take a screenshot of your photo and edit the copy!
Absolutely not. Your phone has basic text tools built-in. If you want more variety (like stickers of turkeys for Thanksgiving), free versions of apps like Canva or Adobe Express are excellent. You only need to pay if you want very specific, advanced features.
Yes! Once you save the photo with the text on it, it’s just a standard picture file (JPEG). You can print it at home or send it to Walgreens or CVS just like any other snapshot.
The best way to learn is to play. Open your camera roll, find a picture of your lunch, and practice adding the word “Yum.” If it looks terrible, delete it. No one has to know.
Technology often feels like a serious business of passwords and updates, but it’s also a toy box. Don’t be afraid to open the lid and mess around.
Ready to learn more about keeping your digital life fun and safe? Check out our other guides on managing your photo storage so you have plenty of room for all these new creations!