Newsletter Subscribe
Enter your email address below and subscribe to our newsletter
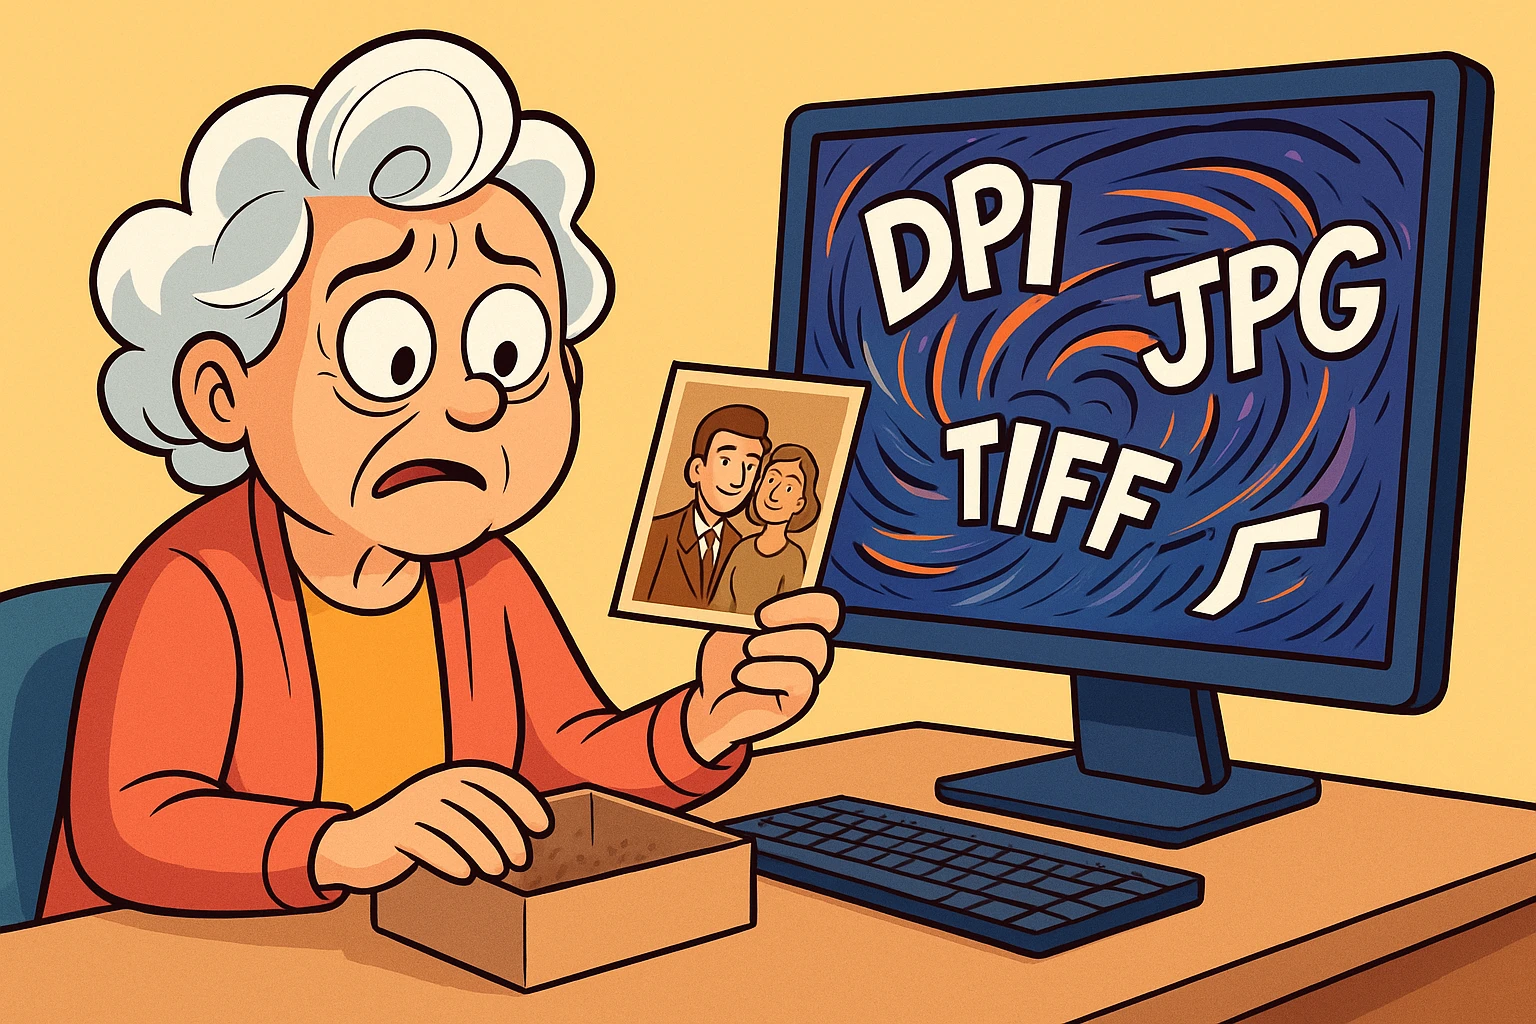
You finally decided to do it. You pulled that dusty, terrifying shoebox of old photos out of the closet. You bought a scanner—or maybe you dusted off the one that’s been functioning as a cat bed for three years. You are ready to preserve your family history before those pictures of Uncle Larry’s questionable fashion choices from the 1970s fade into oblivion.
You open the scanning software, ready to click “Go,” and suddenly you are assaulted by an alphabet soup of acronyms.
DPI? PPI? TIFF? JPG? Bit Depth?
It feels like the computer is asking you to solve a calculus equation when all you wanted to do was save a picture of your mom’s wedding. You panic. You consider just taking a photo of the photo with your phone (please don’t) or shoving the box back into the closet for another decade (also please don’t).
Here is the truth: The software engineers who design scanners are very smart people, but they are terrible at explaining things to normal humans. They assume you know that “interpolation” isn’t a type of pasta.
But fear not. We are going to cut through the jargon and give you the “Scan Once, Use Forever” formula. Because the only thing worse than scanning 500 photos is realizing a year later you did it wrong and having to scan them all over again.
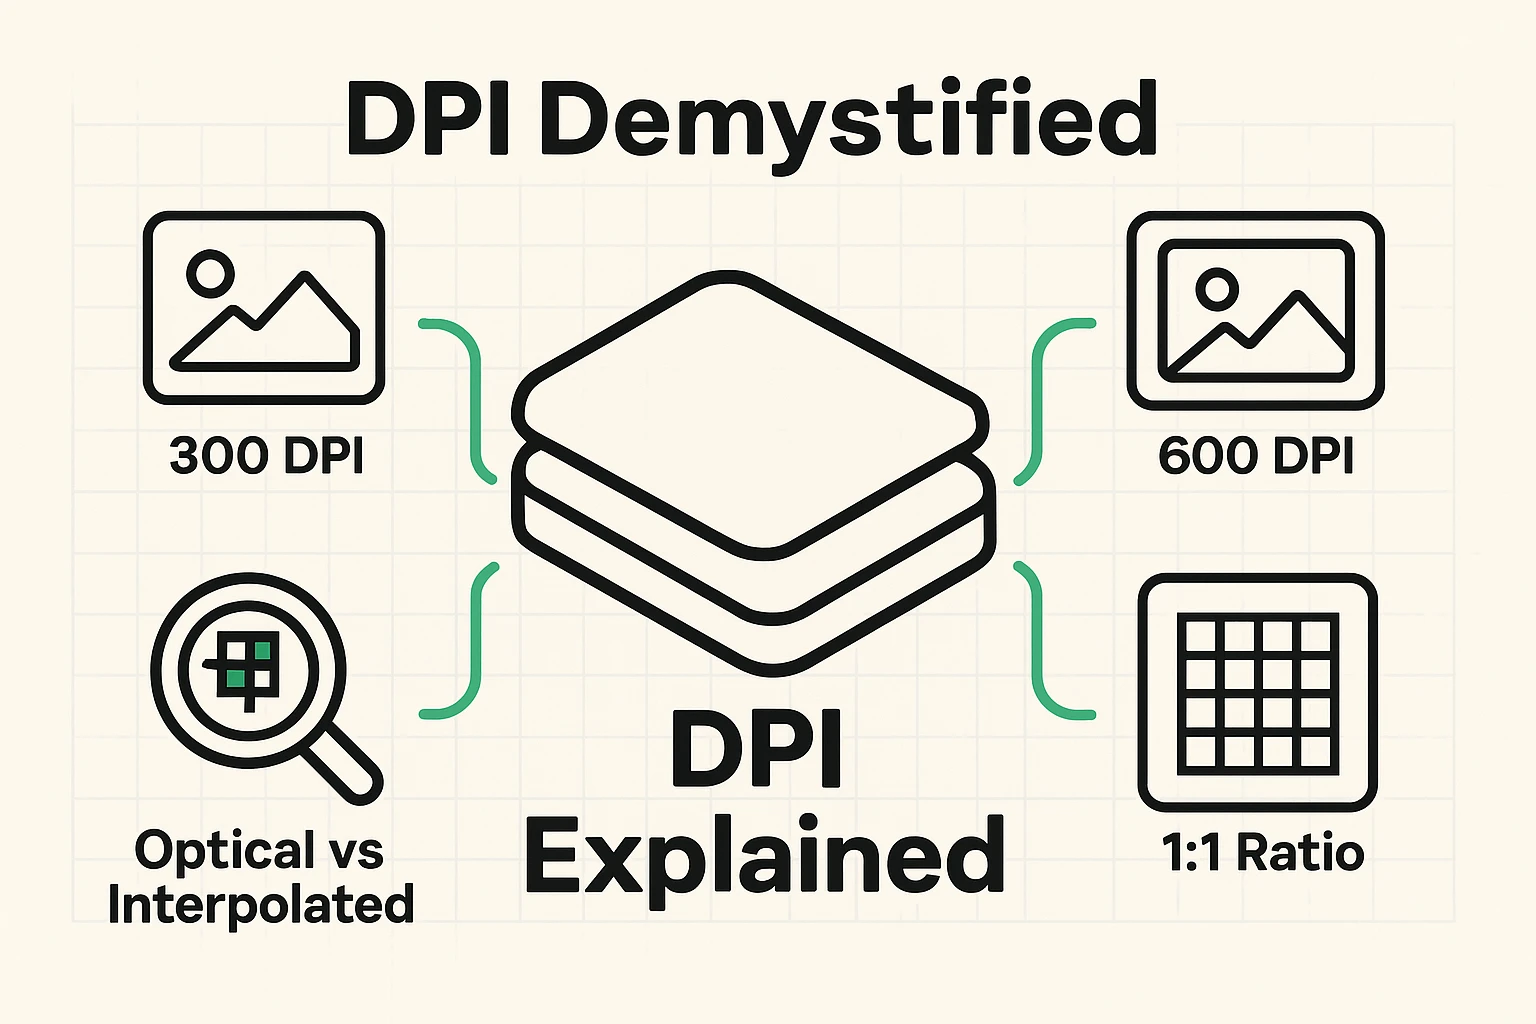
DPI stands for Dots Per Inch. Think of your digital photo as a mosaic floor. If you use big, clunky tiles, the picture looks blocky. If you use tiny, microscopic tiles, the picture looks smooth and detailed.
The higher the DPI, the more “tiles” (or dots) the scanner captures.
Most people think, “I want the best quality, so I’ll crank the DPI up to maximum!” This is a trap. Here is the simple rule of thumb:
Here is where scanner marketing gets sneaky. Your scanner box might scream “9600 DPI Resolution!”
Unless you have professional, museum-grade equipment, your scanner is lying. Most home scanners have an optical limit (what the lens can actually see) of about 600 to 1200 DPI.
When you force a basic scanner to scan at a crazy number like 9600 DPI, it uses something called Interpolation. This is just a fancy word for “guessing.” The scanner captures the real dots, and then the computer inserts fake dots in between them to make the file bigger.
Imagine taking a cup of soup and adding a gallon of water to it. You have more soup, sure, but it’s watery and flavorless. Scanning at interpolated resolutions just fills your hard drive with massive files that don’t actually have any extra detail.
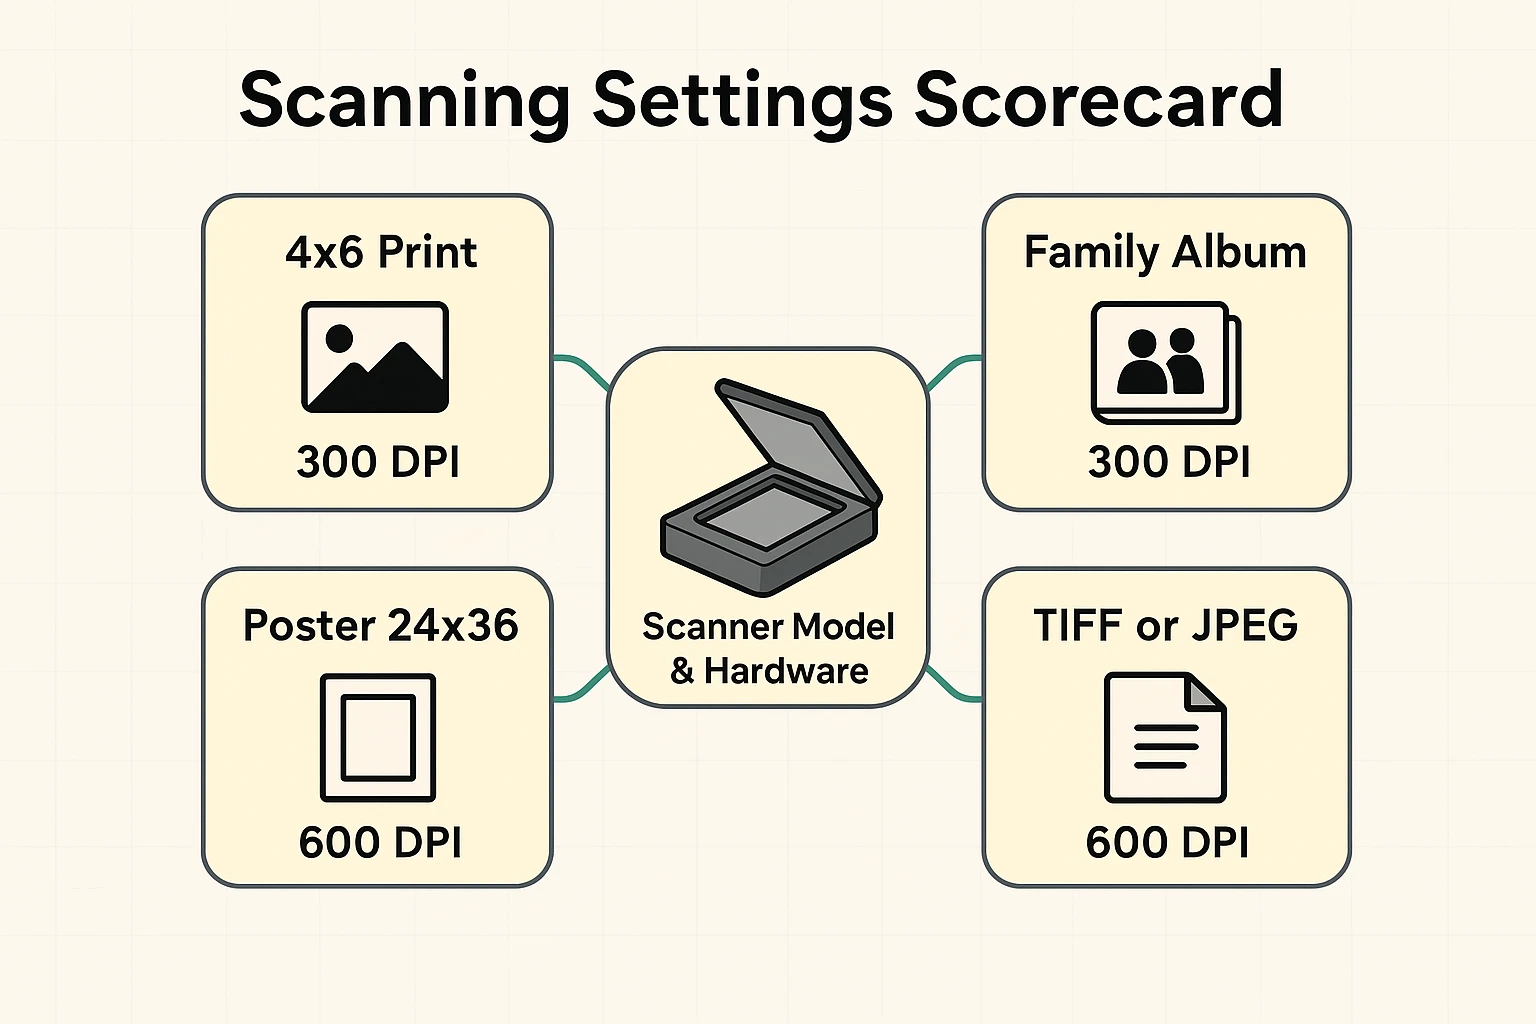
The Takeaway: Stick to 600 DPI for standard photos. It allows you to enlarge the photo later if you want, but it doesn’t create bloated, fake files.
Once you’ve scanned the photo, the computer asks: “How would you like to wrap this?” This is the file format.
JPG (or JPEG) is the format everyone knows. It’s light, it’s portable, and it works on every device in the world.
TIFF is the heavy-duty archival format.

So, which one do you pick? Both.
Think of the TIFF file as your Master Copy (or digital negative). You scan it as a TIFF and store it safely on your hard drive or cloud backup. You never touch it.
When you want to post the photo on Facebook or email it to your cousin, you make a copy of that TIFF and save the copy as a JPG.
Sometimes you’ll see an option for “Bit Depth”—usually 8-bit, 16-bit, or 24-bit.
Think of Bit Depth like a box of crayons.
Why does this matter? If your old photo is faded and has dark shadows, an 8-bit scan might just show a black blob. A 16-bit scan captures the subtle shades of grey within that shadow. Even if you can’t see them perfectly now, a photo restoration expert (or smart software) can use those extra “crayons” to draw the detail out later.
Recommendation: If you have the storage space, choose 16-bit (sometimes called 48-bit color). It gives you more data to work with if you ever try to restore the color.
Okay, that was a lot of technical talk. Let’s boil it down to a cheat sheet you can tape to the lid of your scanner.
If you are using an “All-in-One” printer/scanner/fax/espresso-maker you bought for $60, don’t sweat the settings too much. These machines are great for scanning documents, but they aren’t built for high-end photo archiving.
If you really care about these photos, consider buying a dedicated flatbed photo scanner (Epson and Canon make good ones) or using a professional digitizing service.
Also, clean the glass! Dust is the enemy. A single speck of dust on a scanner glass looks like a boulder on a digital photo. Wiping the glass with a microfiber cloth takes 5 seconds and saves you hours of digital cleanup later.
Photos scanned at these settings are large, but hard drives are cheap these days. A 600 DPI TIFF of a standard photo might be around 25-50 MB. You can fit about 20,000 of them on a standard 1TB external hard drive that costs less than a nice dinner out.
Phone apps like Google PhotoScan are miracles for sharing quickly. “Look, here’s a pic of me as a baby!” But they are not for archiving. They rely on your hand being steady and the lighting in your kitchen being perfect (it isn’t). Use apps for fun; use a scanner for history.
This is a different beast. Because slides are so tiny (roughly 1 inch), scanning them at 300 or 600 DPI will result in a postage-stamp-sized image. You need to scan slides and negatives at much higher resolutions—usually 2400 DPI to 3200 DPI—to get a printable image.
Scanning photos is a race against time. Chemicals degrade, paper yellows, and colors shift. By digitizing them properly now—using the right “Digital DNA” of TIFF and proper DPI—you are freezing those memories in time.
It might seem tedious to change settings and wait for the scanner to whir, but think of it this way: You aren’t just creating files. You are building a time machine for your great-grandchildren.
Now, go tackle that shoebox. You’ve got this.