Newsletter Subscribe
Enter your email address below and subscribe to our newsletter
Picture this: You just brought home a brand-new Wi-Fi router. It’s a sleek, blinking plastic box that promises to beam the internet directly to your tablet so you can watch cat videos at warp speed. You plug it in, type in the gibberish password printed on the sticker (which usually looks something like “X7qP9zL42”), and voila! You’re online.
You dust off your hands, declare yourself a technological genius, and never look at that little blinking box again.
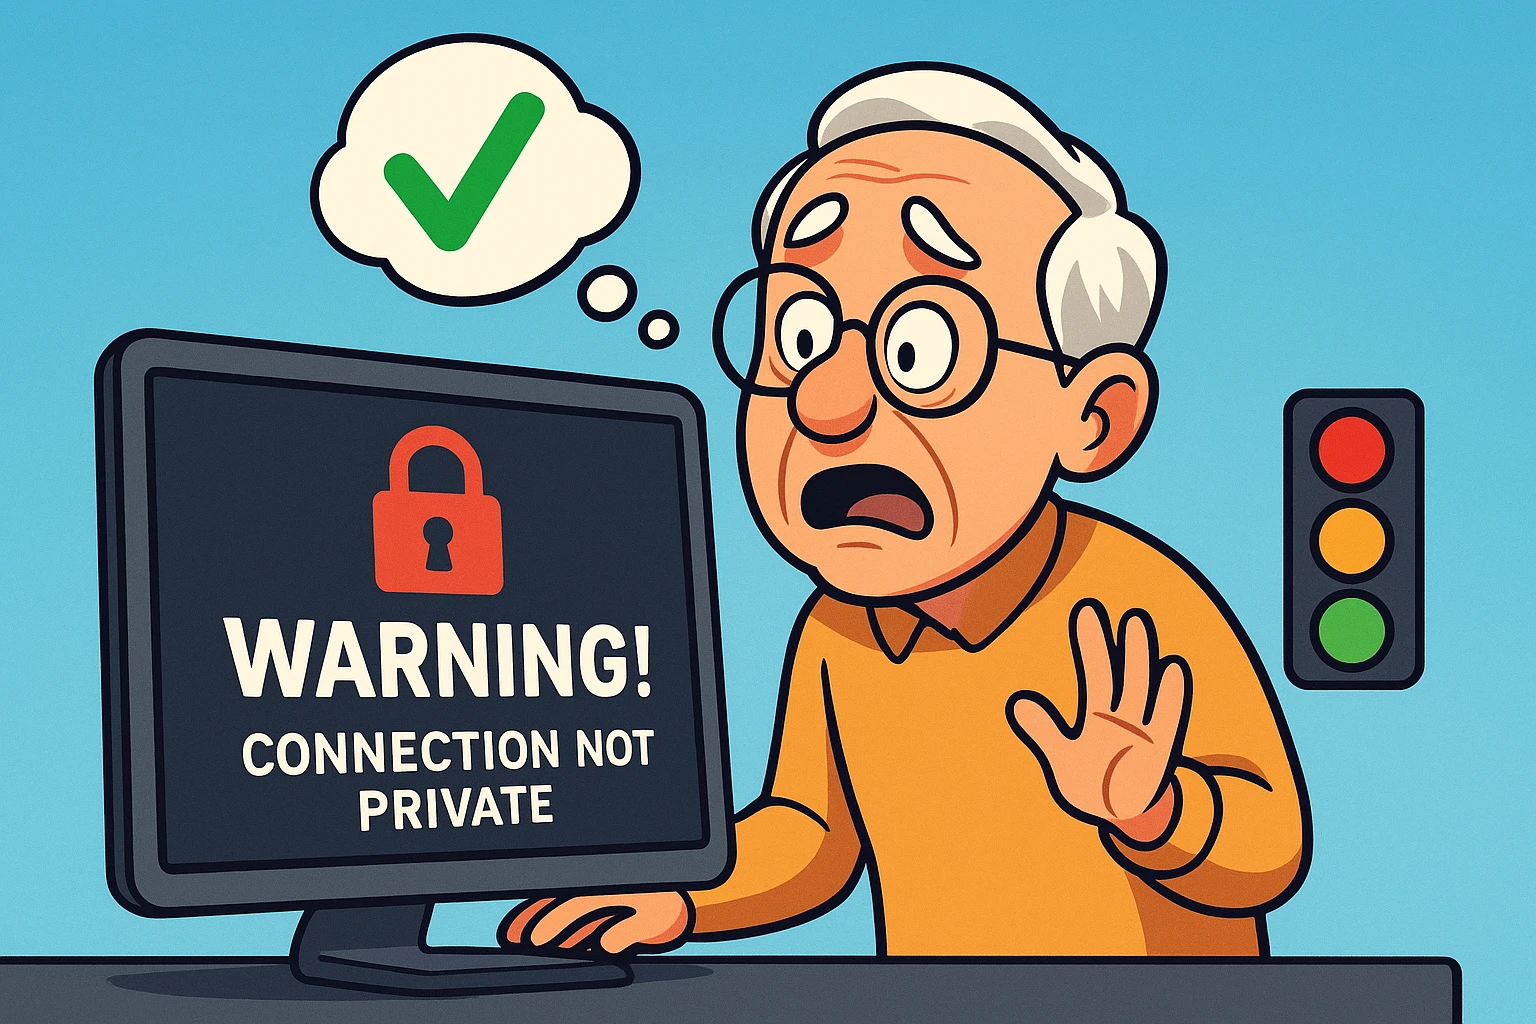
If this is your exact relationship with your router, you are definitely not alone. But here is the mildly terrifying part: leaving your router exactly as it came out of the box is like buying a state-of-the-art vault, putting your valuables inside, and leaving the combination set to “1-2-3-4.”
According to recent cybersecurity research, a staggering 81% of us are sitting at risk right now simply because we never changed our router’s default passwords. It turns out, those factory-fresh settings are basically a digital welcome mat for hackers. Today, we are going to fix that. We’re going to walk through exactly how to lock down your network in plain English, with zero risk of “breaking the internet” along the way.
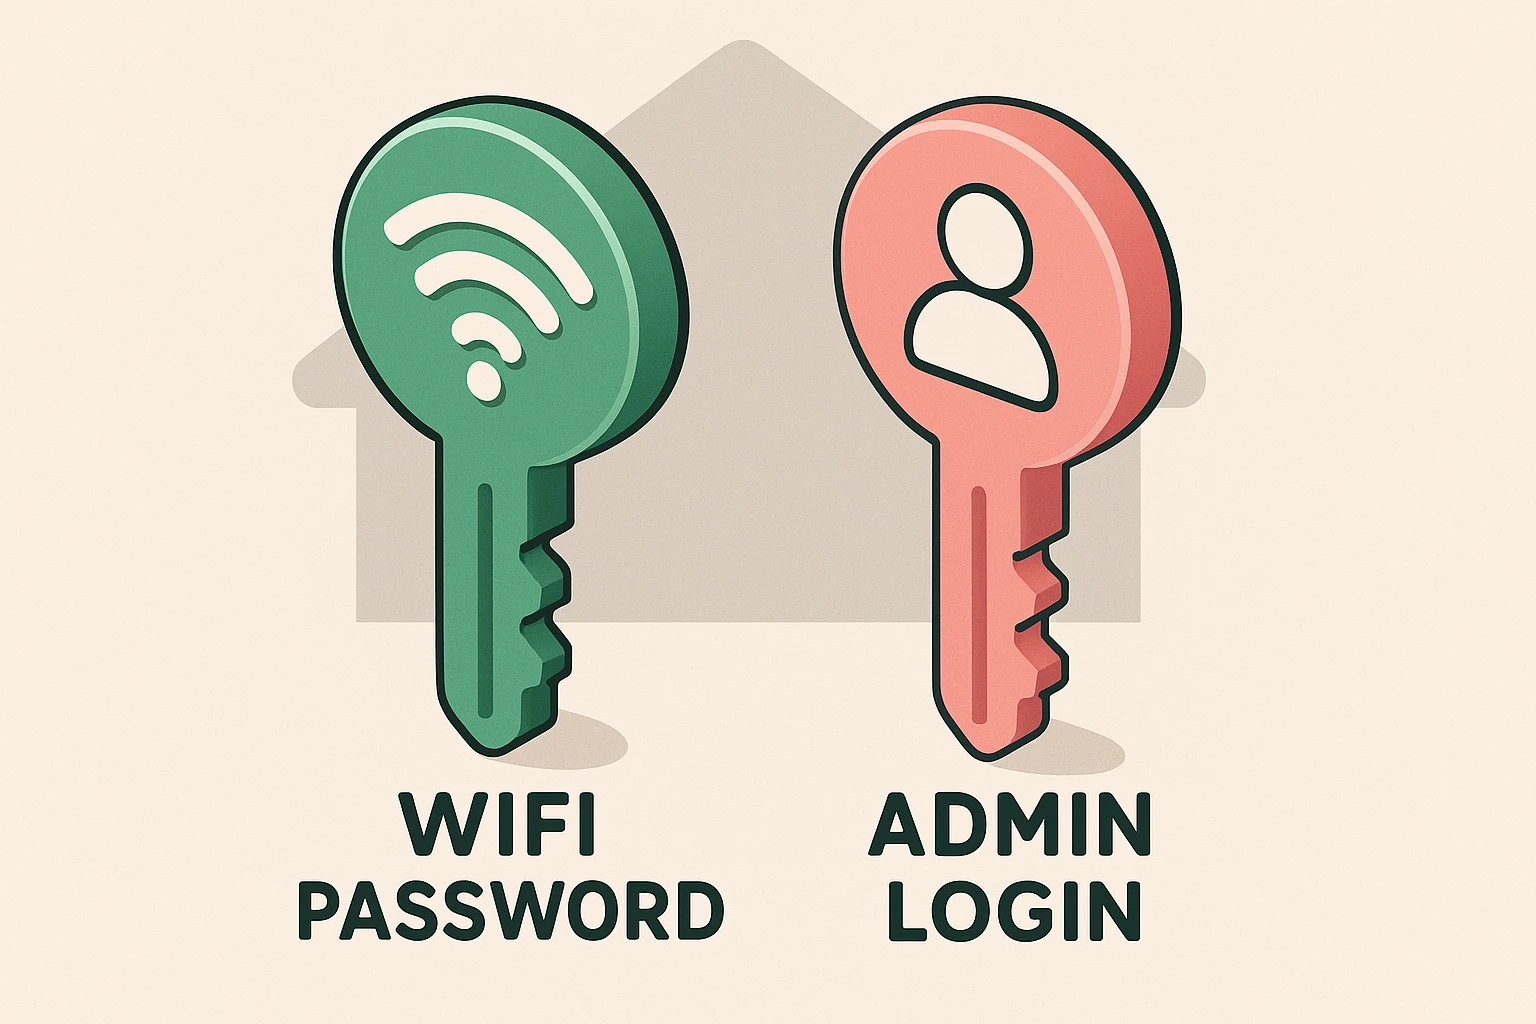
Before we press any buttons, we need to clear up the biggest point of confusion. Your router actually has two different doors, which means it needs two different keys.
The Wi-Fi Password is the key to your front door. It’s what you give your grandkids when they come over so their phones can connect to your internet. It lets people inside the house.
The Admin Login, on the other hand, is the master key to your home security system. It doesn’t just let someone use the internet; it lets them change the locks, turn off the cameras, and rename your network to “Batman’s Batcave.” Most people only ever think about the front door key, leaving the master security panel wide open to anyone who wanders by.
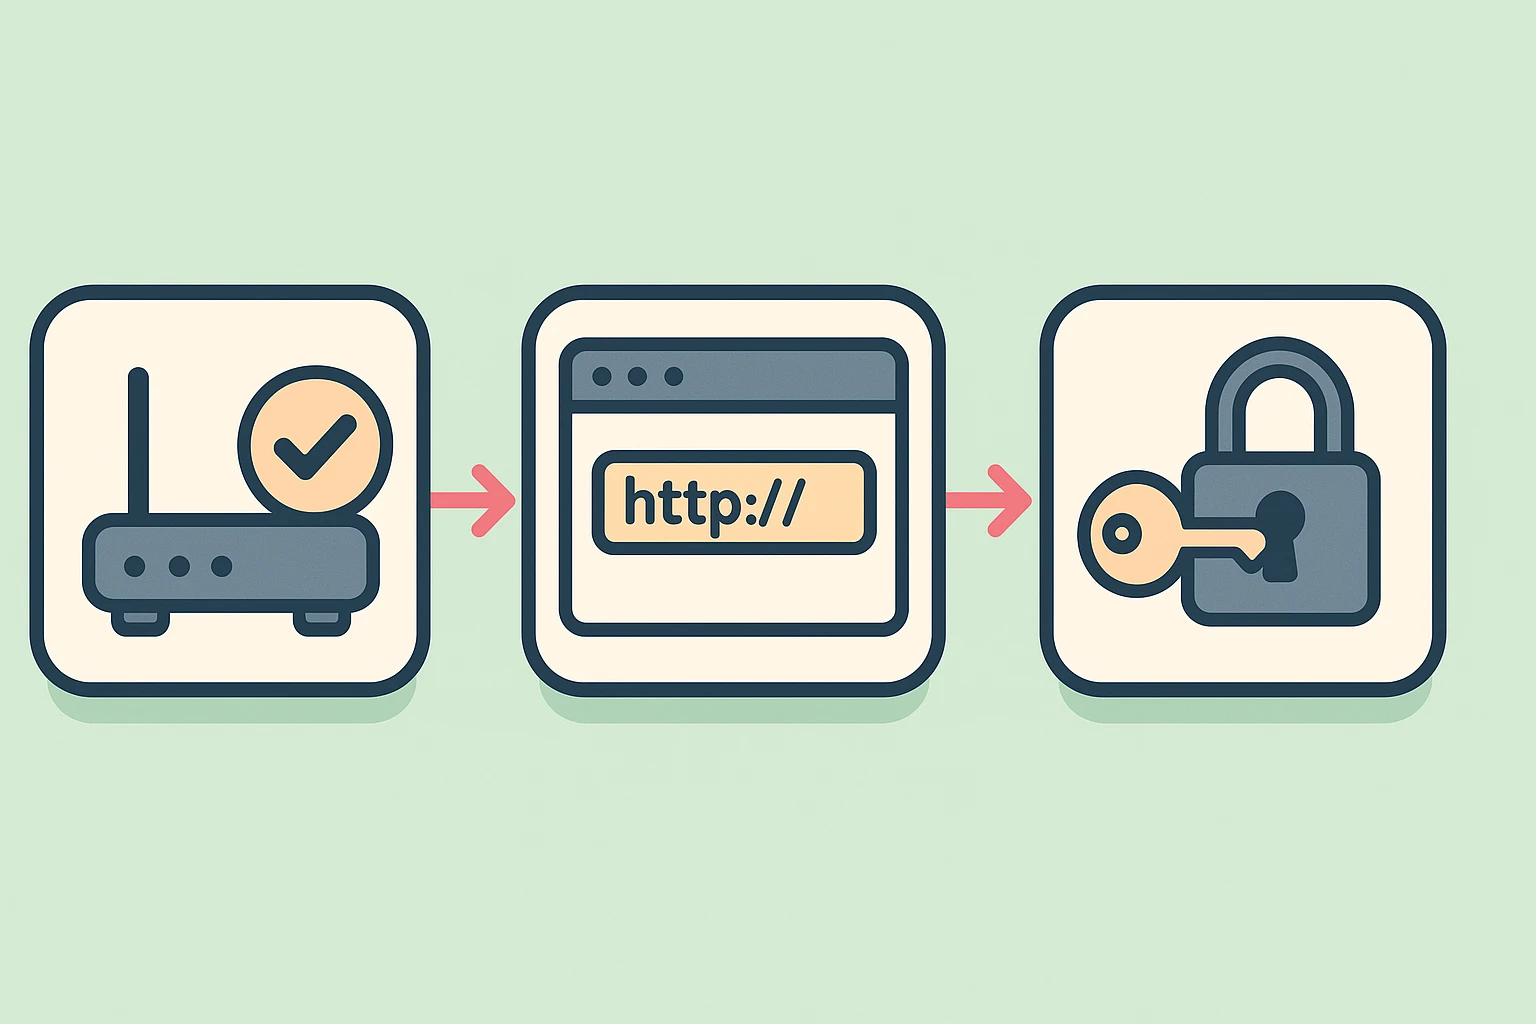
To change the locks, we first have to find the master control panel. Every router has a digital “home address,” usually called an IP address. Don’t let the acronym scare you. It’s simply a string of numbers that acts like a direct intercom line to your device.
The absolute easiest way to find this is the “Sticker Method.” Go pick up your router (gently, please) and look at the sticker on the back or bottom. You are looking for a sequence of numbers with dots, usually something like 192.168.1.1 or 10.0.0.1.
Write this number down on a piece of paper. Right next to it on the sticker, you’ll likely see an “Admin Username” (often just “admin”) and an “Admin Password” (often “password,” or another random string of letters). Write those down, too.
Now, take that piece of paper back to your computer or tablet. This next step is where 90% of people get tripped up, so pay close attention.
You need to type that number (like 192.168.1.1) into the address bar at the very top of your internet browser. Do not type it into the Google search box in the middle of the screen. If you type it into Google, you’ll just get a bunch of confusing search results about computer networking.
Typing it in the top address bar is like dialing a phone number directly, whereas searching for it is like asking the operator to look it up. Once you hit “Enter,” you should see a login screen pop up. (By the way, if you ever need to check their website for a router manufacturer to get a manual, always ensure you’re on the official brand page, not a copycat site).
You’ve made it to the vault! Now, type in that default Admin Username and Admin Password you found on the sticker. Once you’re in, you might feel like you’re looking at the control panel of the Space Shuttle. Don’t panic.
Look for a menu option that says something like “Settings,” “Administration,” “Security,” or “Advanced.”
Step 1: Update the Master Key (Admin Password). Find the option to change the router login password. Pick something you’ll remember but a hacker won’t. “Fluffy2024” is bad. A phrase like “BlueCoffeeMugOnDesk!” is much better.
Step 2: Update the Guest Key (Wi-Fi Password). Next, look for “Wireless” or “WLAN” settings. Here, you can change your actual Wi-Fi network name (the one your neighbors see) and the Wi-Fi password. If you see an option for security type, make sure it’s set to WPA3 (or WPA2 if WPA3 isn’t available). That’s just the government-recommended standard for keeping snoops out.
I can hear the nervous thoughts already. “What if I click the wrong thing? What if my smart TV stops working? What if I break the internet for the whole neighborhood?”
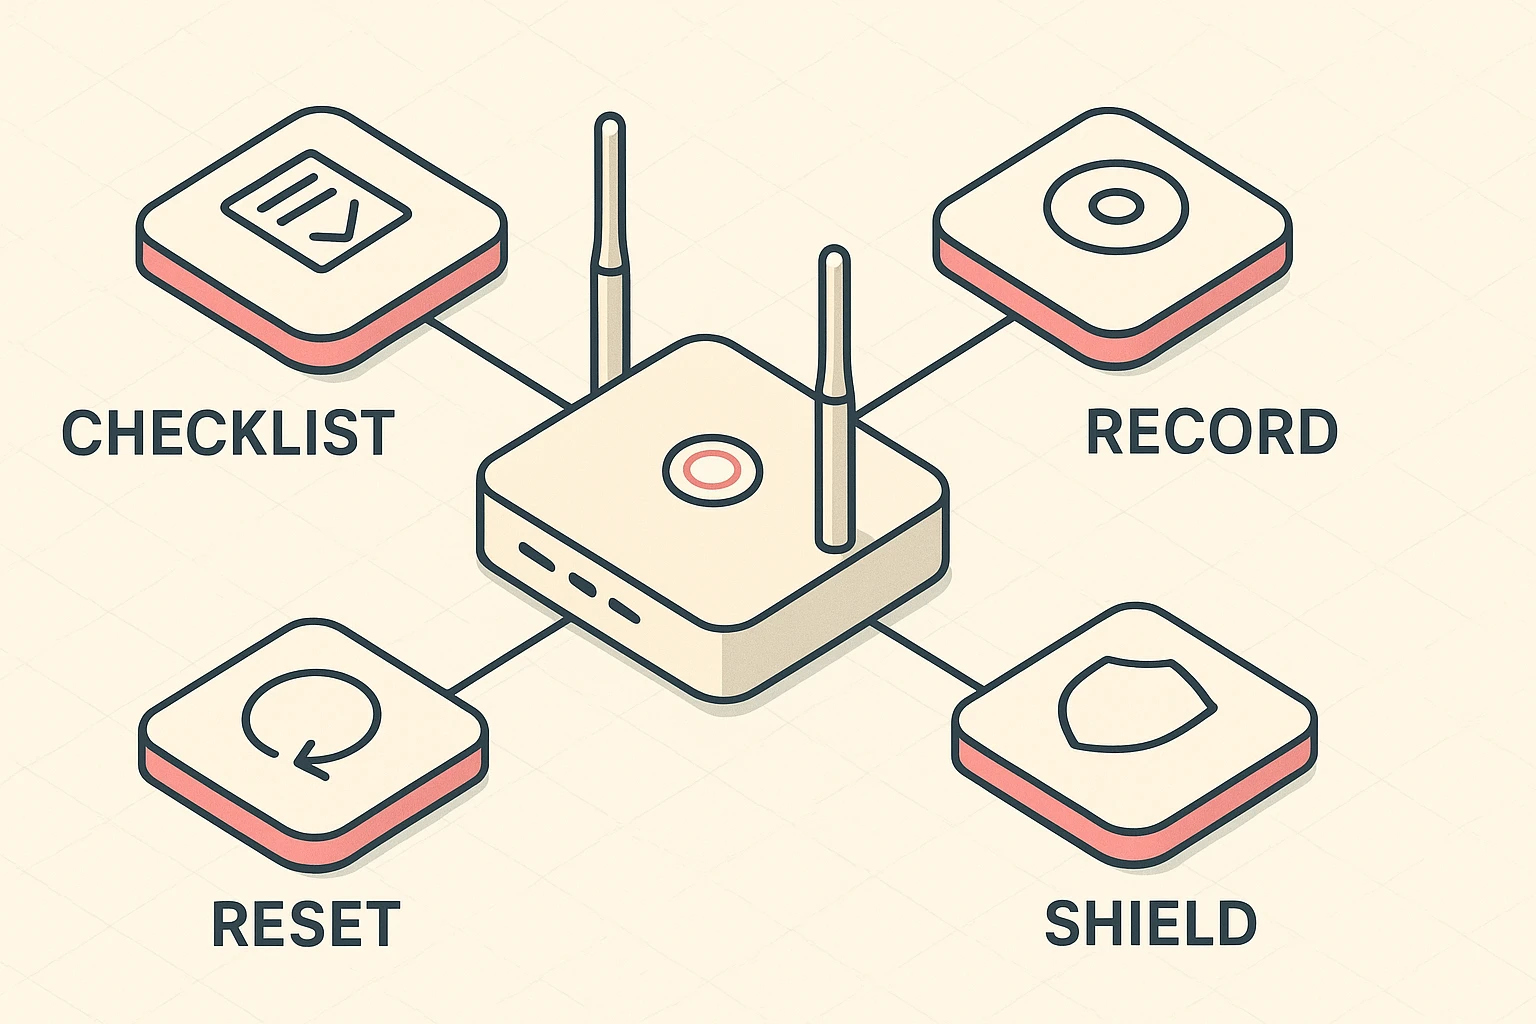
Take a deep breath. You cannot permanently break your router. Every single router on the planet has a tiny, hidden “Reset” button on the back, usually tucked inside a little hole so you can’t push it by accident.
If you mess everything up, get completely locked out, or your iPad refuses to connect, just grab a paperclip. Press and hold that tiny reset button for about 10 seconds. Your router will blink, reboot, and act exactly like it just came out of the factory box again. It’s your very own digital time machine.
Don’t let this spook you! Because you are talking directly to a box inside your own house (instead of an official website out on the big internet), your web browser gets a little confused. It’s perfectly safe to click “Advanced” and “Proceed” when you are typing your own router’s 192.168.x.x address.
Yes. Changing the Wi-Fi password (the front door key) means your phone, tablet, and smart TV will need the new key to get back inside. It takes a few extra minutes of reconnecting things, but the peace of mind is entirely worth it. (Note: If you only change the Admin Password, your devices will stay connected without interruption).
A Guest Network is exactly what it sounds like—a separate Wi-Fi signal just for visitors. It’s fantastic because it lets your friends check their email without giving them access to your main network where your personal computer, printers, and smart home devices live.
Write down your brilliant new Admin Password and Wi-Fi Password. Don’t hide them on a sticky note under your computer keyboard (that’s the first place a snooper looks!). Create a “Security Folder” (a regular old physical file folder works beautifully) and tuck it away somewhere safe.
You’ve just taken a massive step in claiming ownership of your digital home. You are no longer part of that 81% sitting around with factory-fresh vulnerabilities.
Want to really solidify your new tech-ninja status? Teach this “Sticker Method” to a younger family member. You might just surprise them with how much you know!